Admins invite agents from the admin area. You match each agent to their MLS profile, and they get an email that signs them in to AgentIntel on your team’s subscription, with no card or billing of their own. Removing an agent frees their seat straight away.
Invite an agent
Sign in at app.agentintel.co.
Select your name at the bottom of the left menu, then Admin. If you are an admin without the agent side of AgentIntel, the admin area opens as soon as you sign in.
Select Invite User at the bottom of the page. It is also at the bottom of Users, under ENGAGEMENT in the left menu.
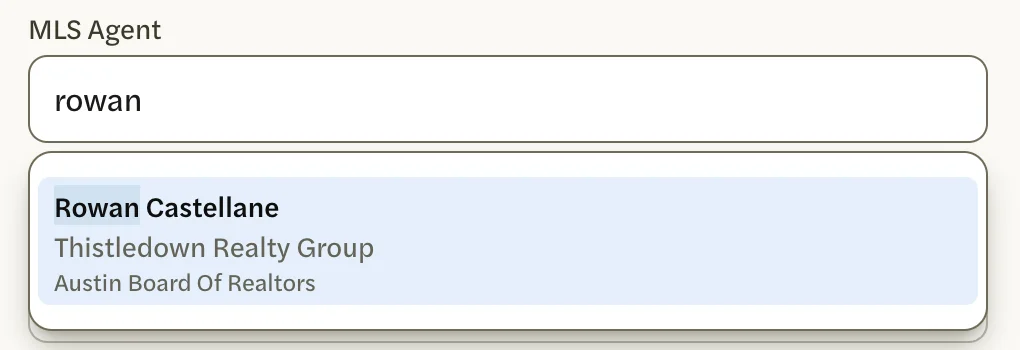
In MLS Agent, type part of the agent’s name, then select them in the list. Each result shows the agent’s name, office and association. Choose the agent first: choosing one reloads the form and clears anything else you have entered.
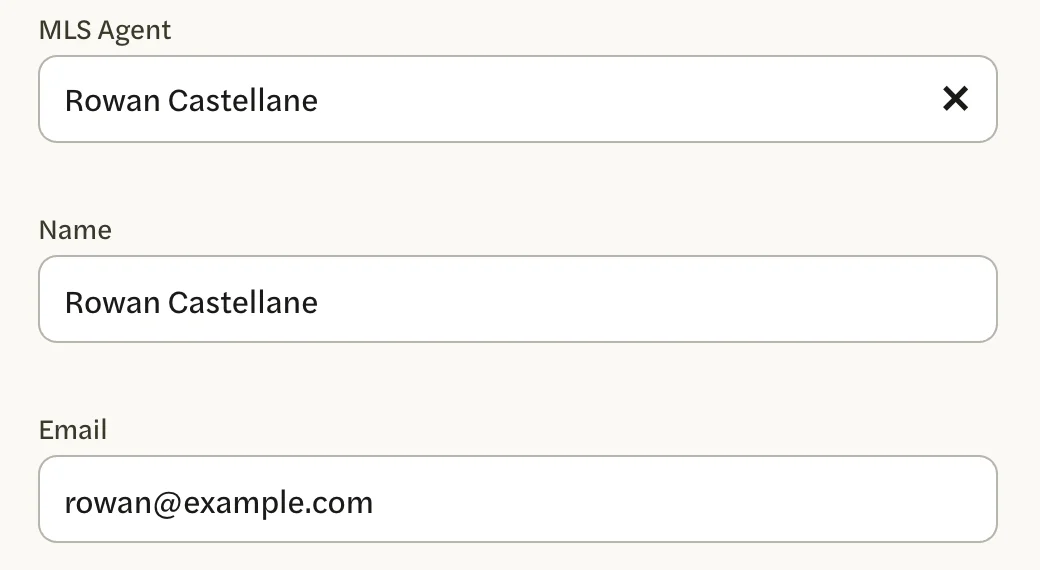
Check Name and Email. Both fill in from the agent’s MLS record. Change the email if the agent wants the invitation sent somewhere else.
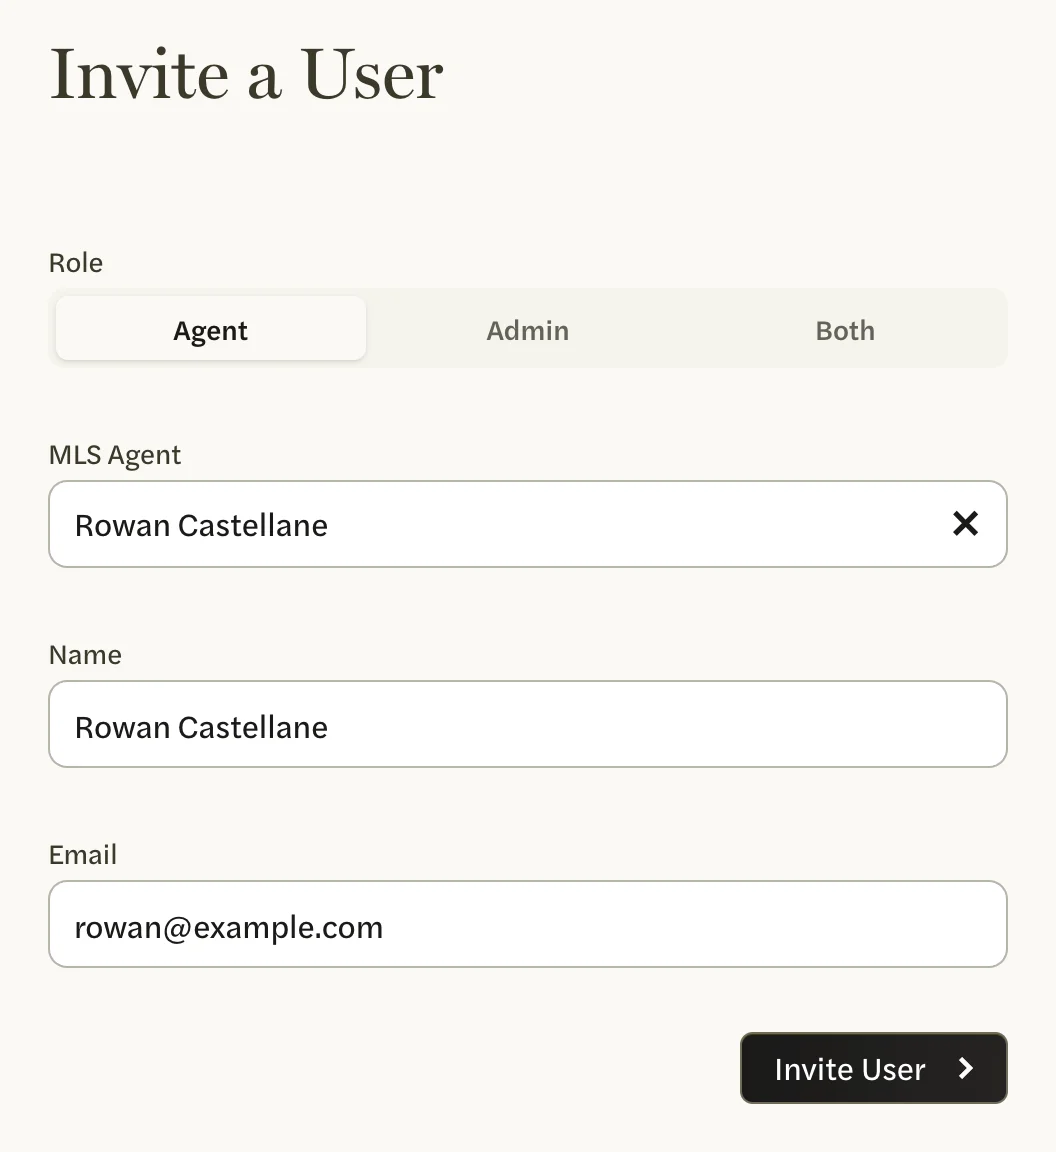
Under Role, leave Agent selected, or select Both to make them an admin as well. Roles on a team explains the difference.
Select Invite User.
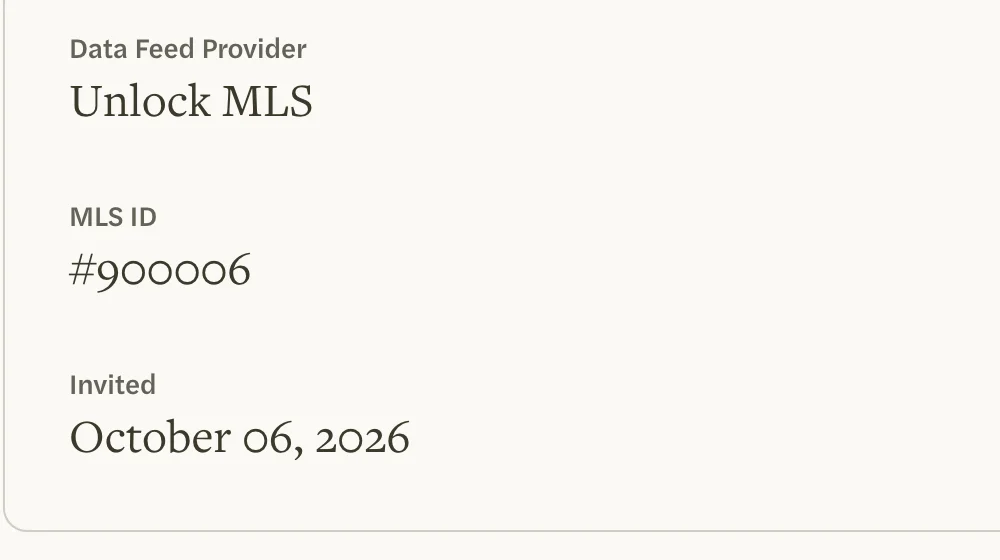
The agent’s page opens, showing Invited and today’s date. The invitation holds one of your seats from now on, whether or not they have accepted it yet.
The MLS Agent list shows active agents in your team’s MLS. When every seat is taken, the form says so and Invite User is grayed out; removing an agent frees a seat.
Only admins and the account owner can invite or remove people. Agents don’t have the admin area.
What the agent receives
They get an email whose subject starts “You’re in!” and names your brokerage. When they select GET STARTED in it, they are signed in and their Dashboard opens, already connected to your MLS. They don’t enter a card or start a trial.

GET STARTED has no time limit, but it works only once. If they select it again, they see Your confirmation link expired. We sent a new sign-in link to your email. and get a sign-in link by email instead. After the first time, they sign in at app.agentintel.co like anyone else.
If they can’t find the email, open their page (select Users, then their name) and select Resend Invitation Email. The message Confirmation email resent shows that it went. The button is there until they first sign in; after that, their page shows Visited instead of Invited.

Remove an agent
Removing someone can’t be undone, and a removed agent can’t be invited back under the same email address. Read what removing someone does first, and check the name at the top of their page before you select Remove.
In the admin area, select Users, then the agent’s name. You can also type their name in the search box on the admin area’s first page.
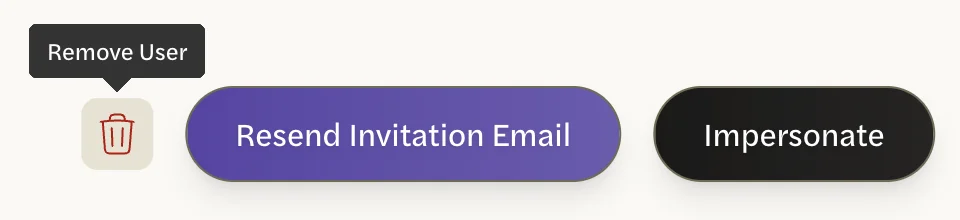
Select the trash can at the bottom of their page. Its label is Remove User.
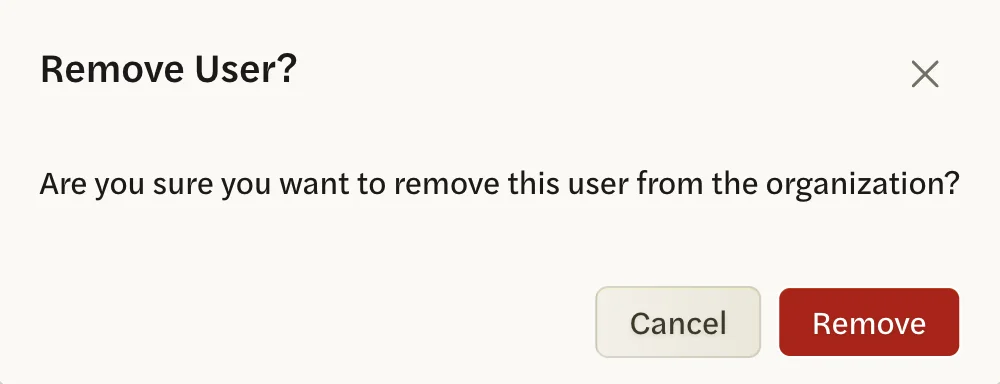
Select Remove to confirm.
You’re back on Users, with the message User removed. Their seat is free for someone else.
You can’t remove yourself or the account owner.
What removing someone does
- An agent loses access straight away but keeps their account. This includes someone with the Both role. The next page they open, even if they are already signed in, asks them to start a subscription of their own. Their sign-in and everything they made stay with their account.
- They keep their copy of your team’s branding. If your admin area shows Reports and Social under BRANDING, each agent was given a copy of your team’s logo and colors for their reports and social posts when they joined. A removed agent keeps that copy.
- You can’t invite them back under the same email address. Their account keeps the address, so a new invitation stops with has already been taken under Email. You can invite them under a different email address instead. That makes a new account: they sign in with the new address, and nothing from their old account comes with it.
- Someone with the Admin role is deleted. An admin who isn’t also an agent has no account outside your team, so it is removed completely. Their email address can be invited again afterwards.