Admins set the team’s branding in the admin area, under BRANDING: a logo, two report colors, the brokerage name and address that print on reports, and the four layouts for social posts. Each agent you invite afterwards starts with a copy of it, which they can change. Agents already on the team keep the branding they have.
Team branding reaches an agent when you invite them. Changing it later doesn’t change agents who are already on the team, including you if you are also an agent. Set it before you invite your agents, or see Update agents already on your team.
Set your team’s report branding
Select your name at the bottom of the left menu, then Admin. If you are an admin without the agent side of AgentIntel, the admin area opens as soon as you sign in.
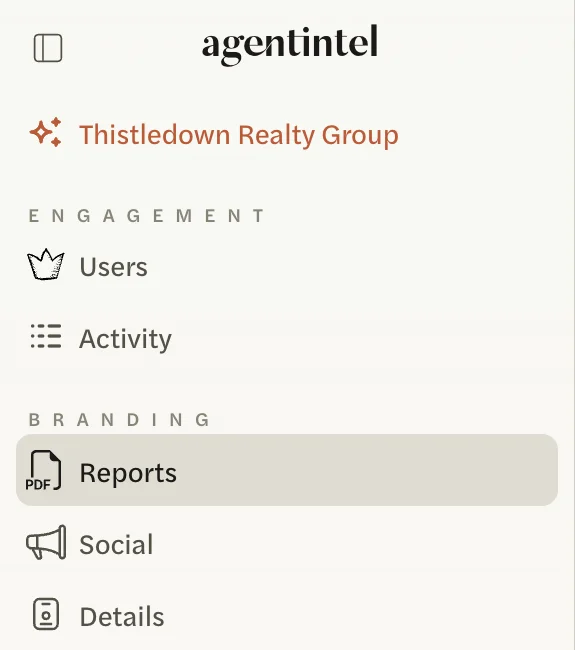
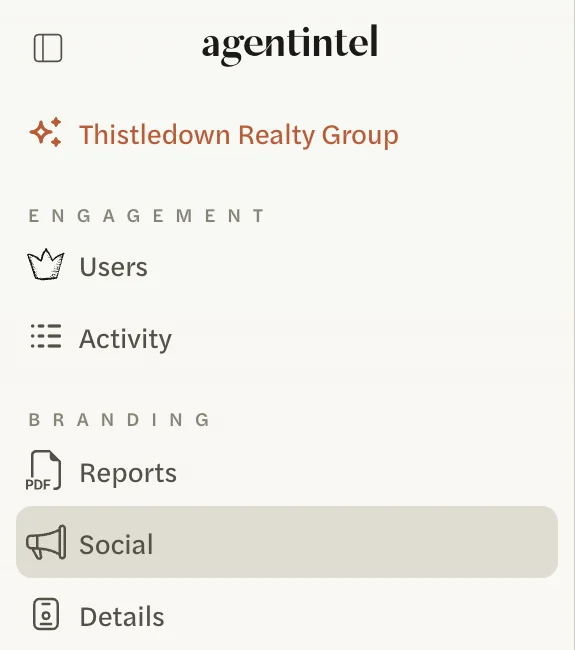
Under BRANDING in the left menu, select Reports.
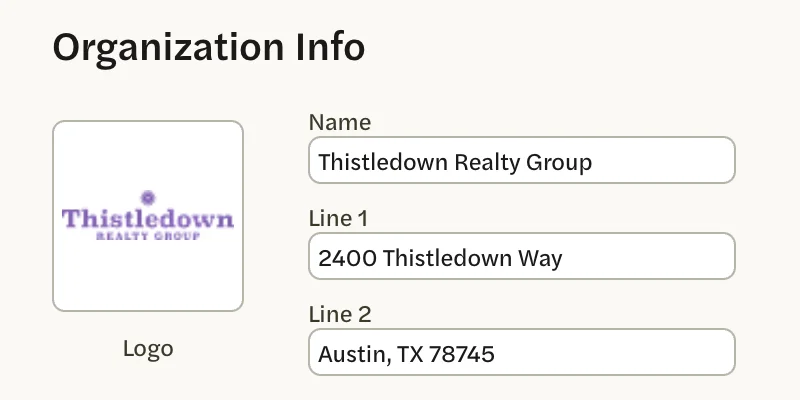
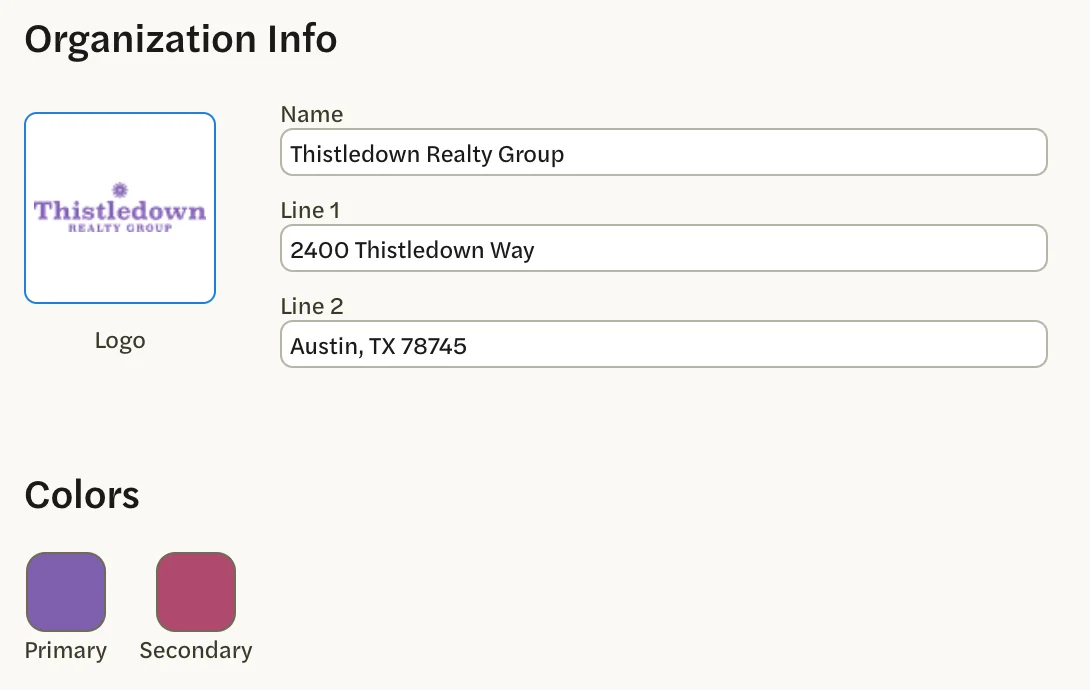
Under Organization Info, check Name, Line 1 and Line 2. They are your brokerage’s name and address, printed at the bottom right of every report page except the cover.
Select the Logo square. In the Logo Picker, select Manage and add your logo. When the upload finishes, the picker shows the versions of your logo. Select the one you want, even if one already shows a tick: selecting a version is what saves your choice. Add and choose a logo explains the versions.
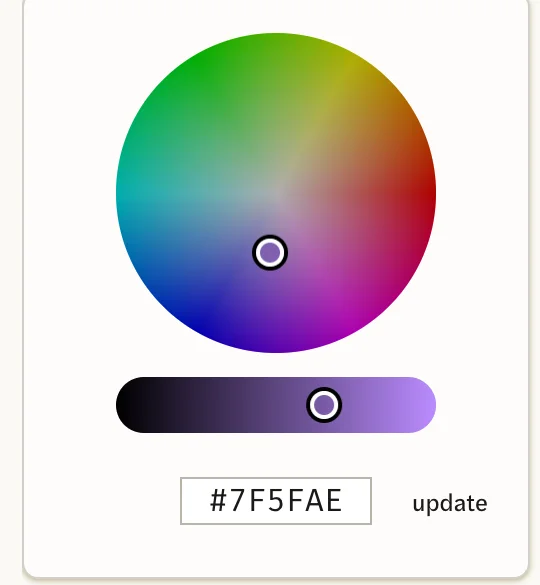
Under Colors, select Primary, type your color’s six-digit code, such as #7F5FAE, and select update. Do the same for Secondary. Customize your report shows what each color paints.
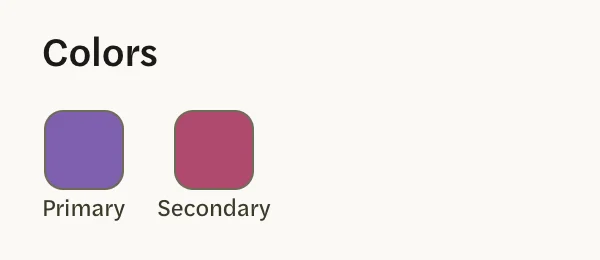
Each change saves as you make it; there is no Save button. The Logo square and the two color squares show what you have chosen.
Only admins and the account owner can set team branding. Agents don’t have the admin area.
Set your team’s social layouts
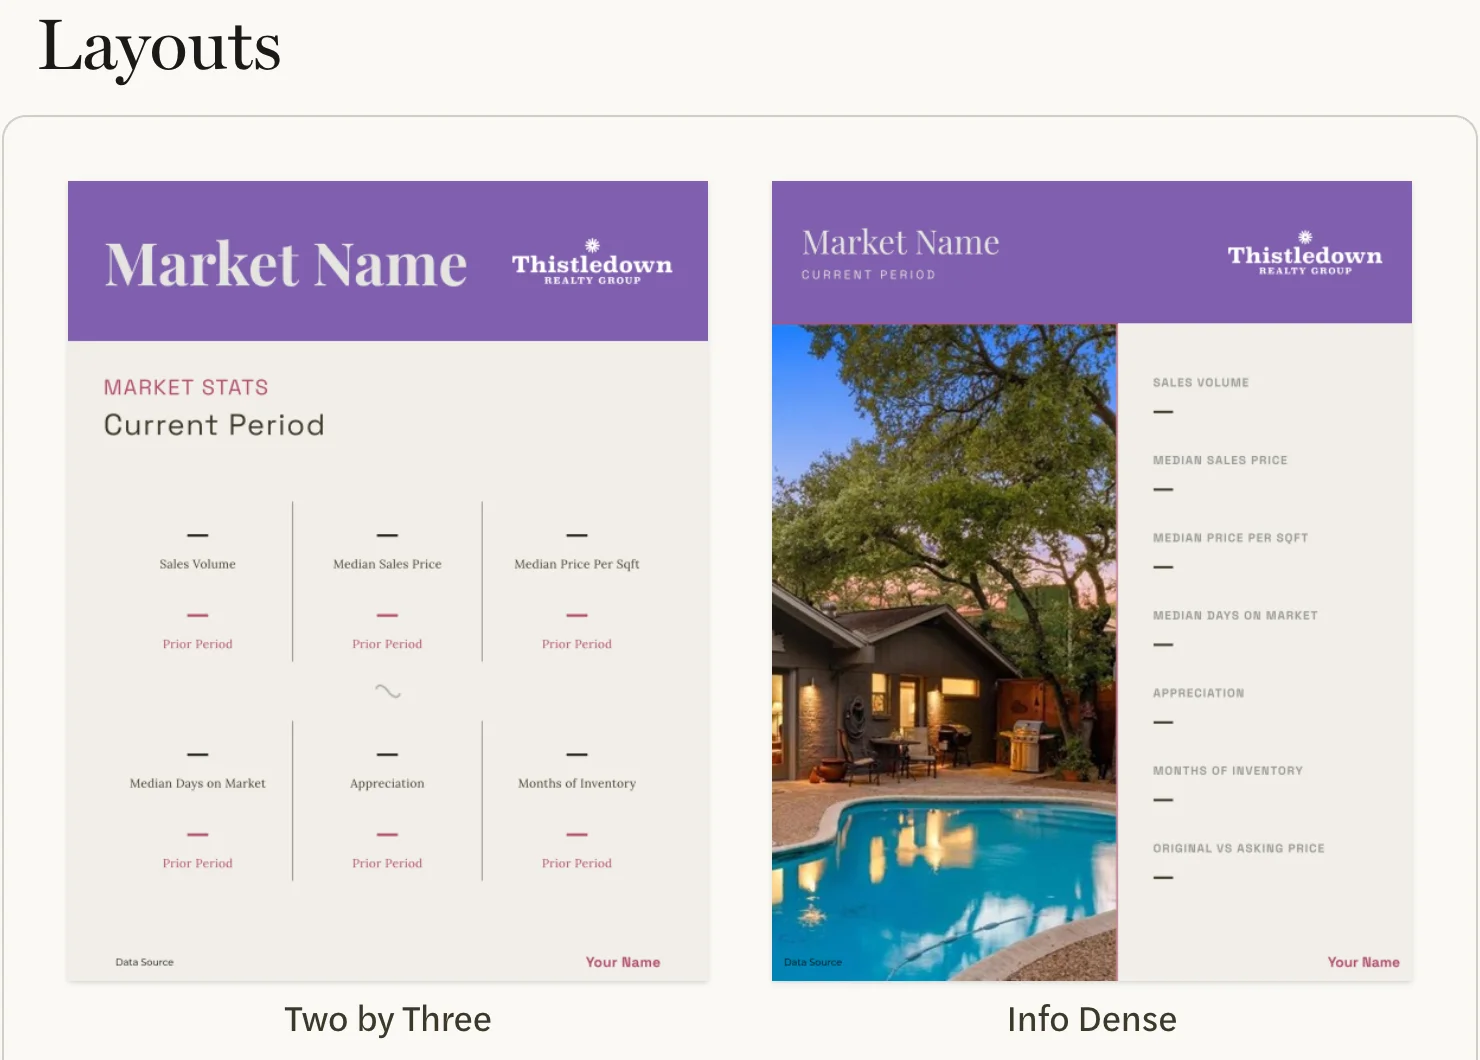
Under BRANDING, select Social. The page shows the team’s four Layouts: Two by Three, Info Dense, Modern Compare and Overlay Graphic.
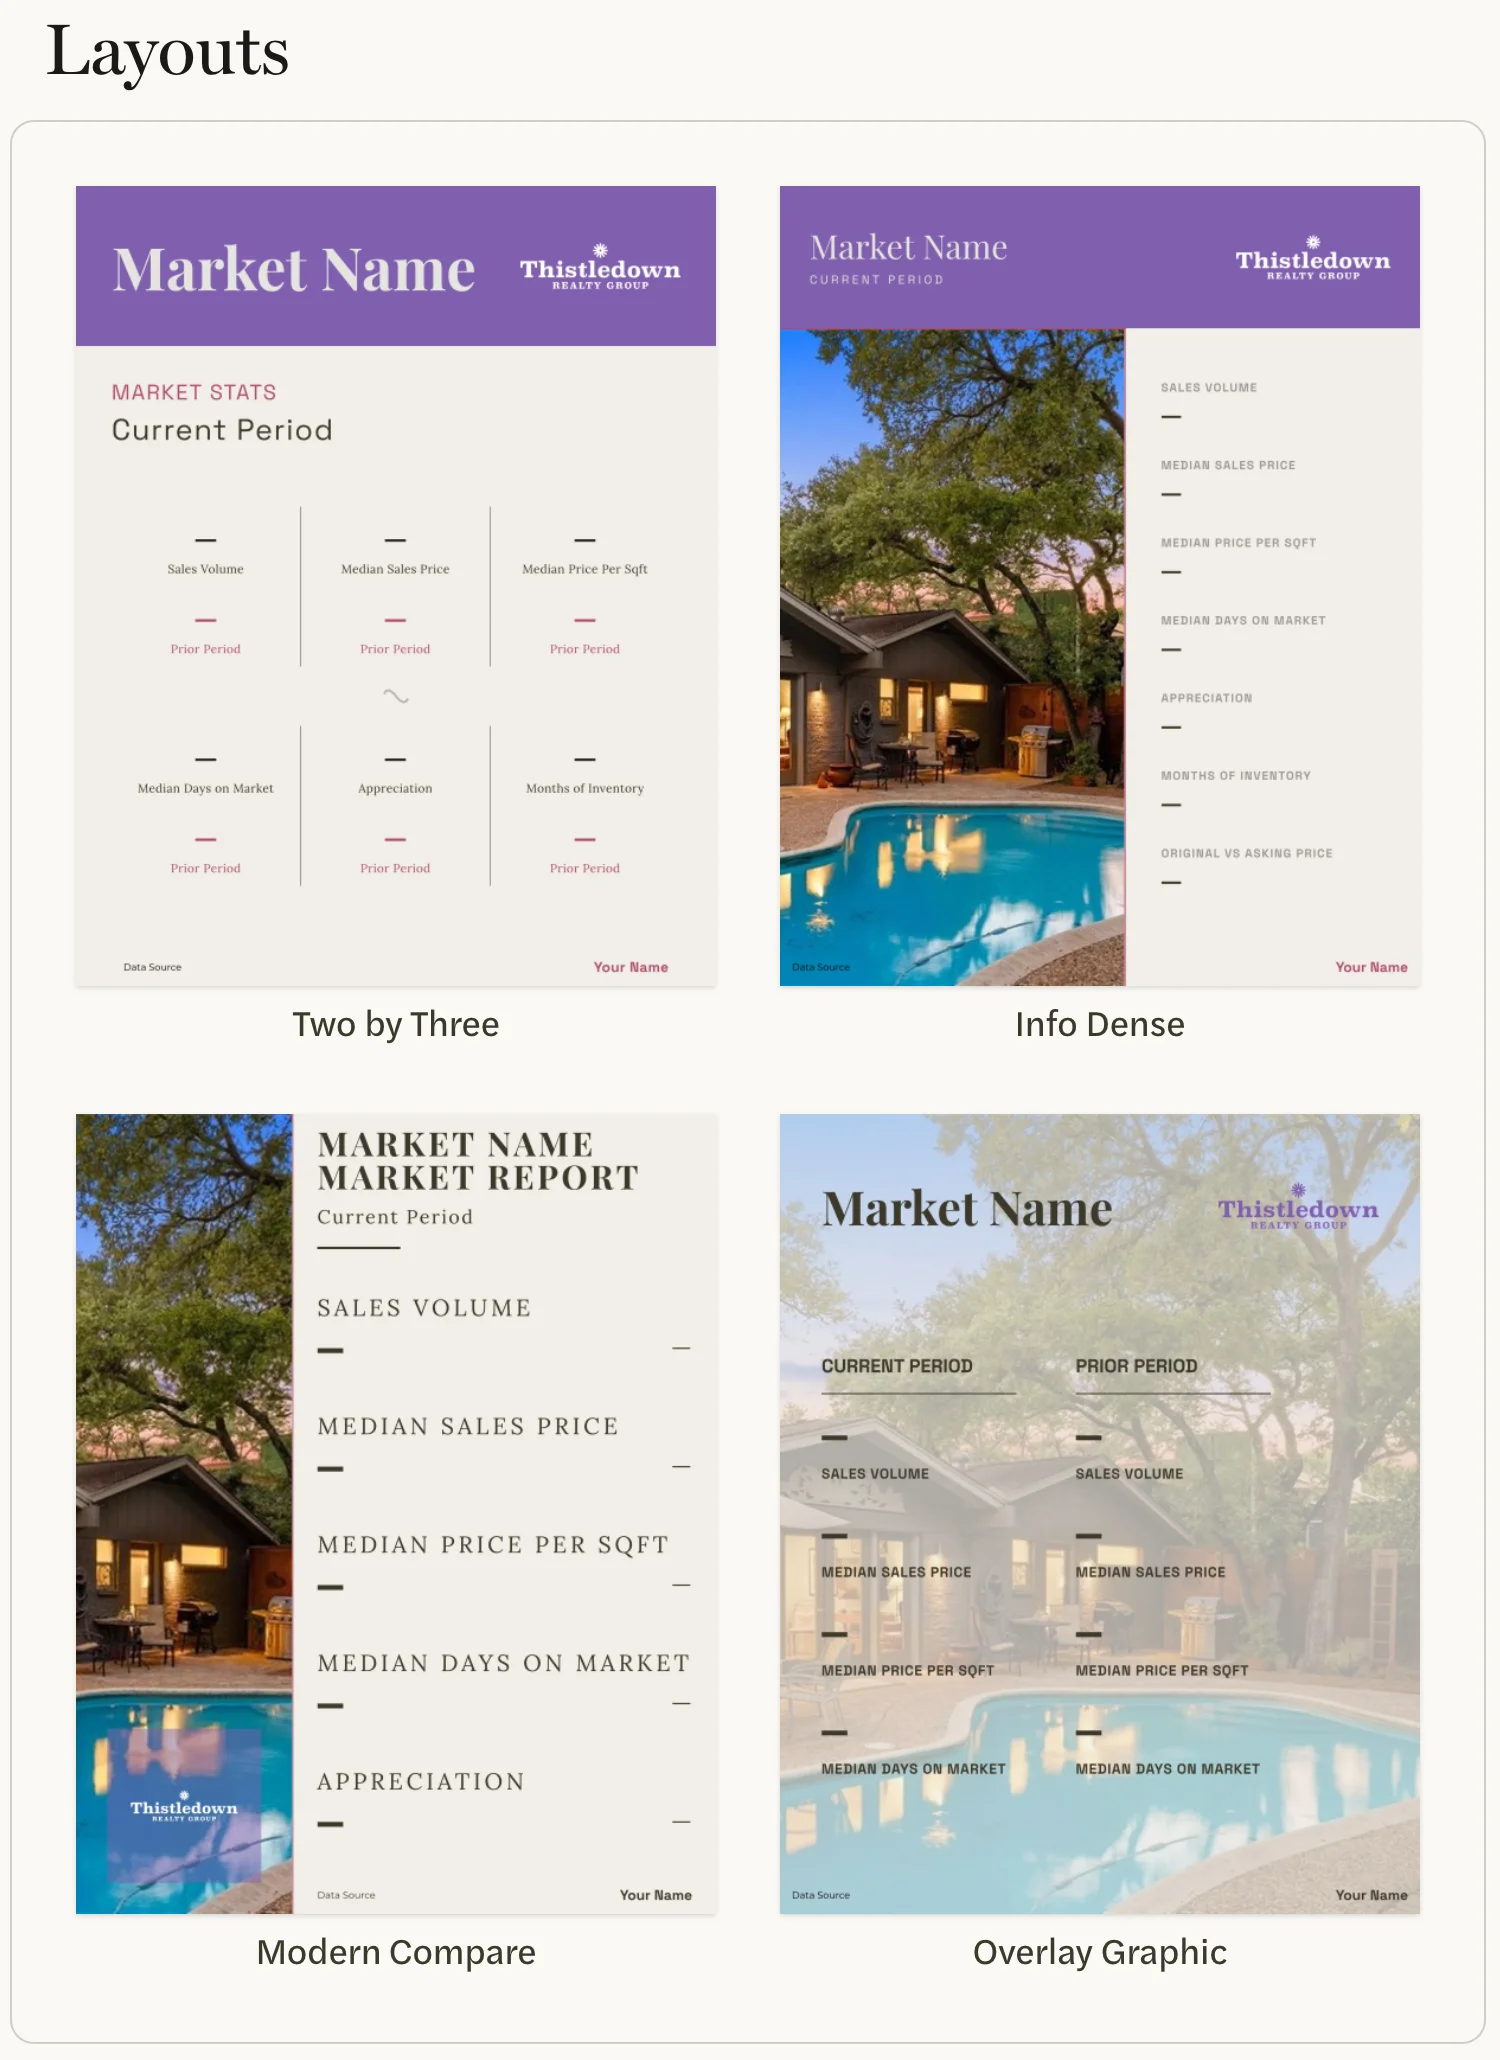
Select a layout. A sample opens on the left, with its settings on the right.
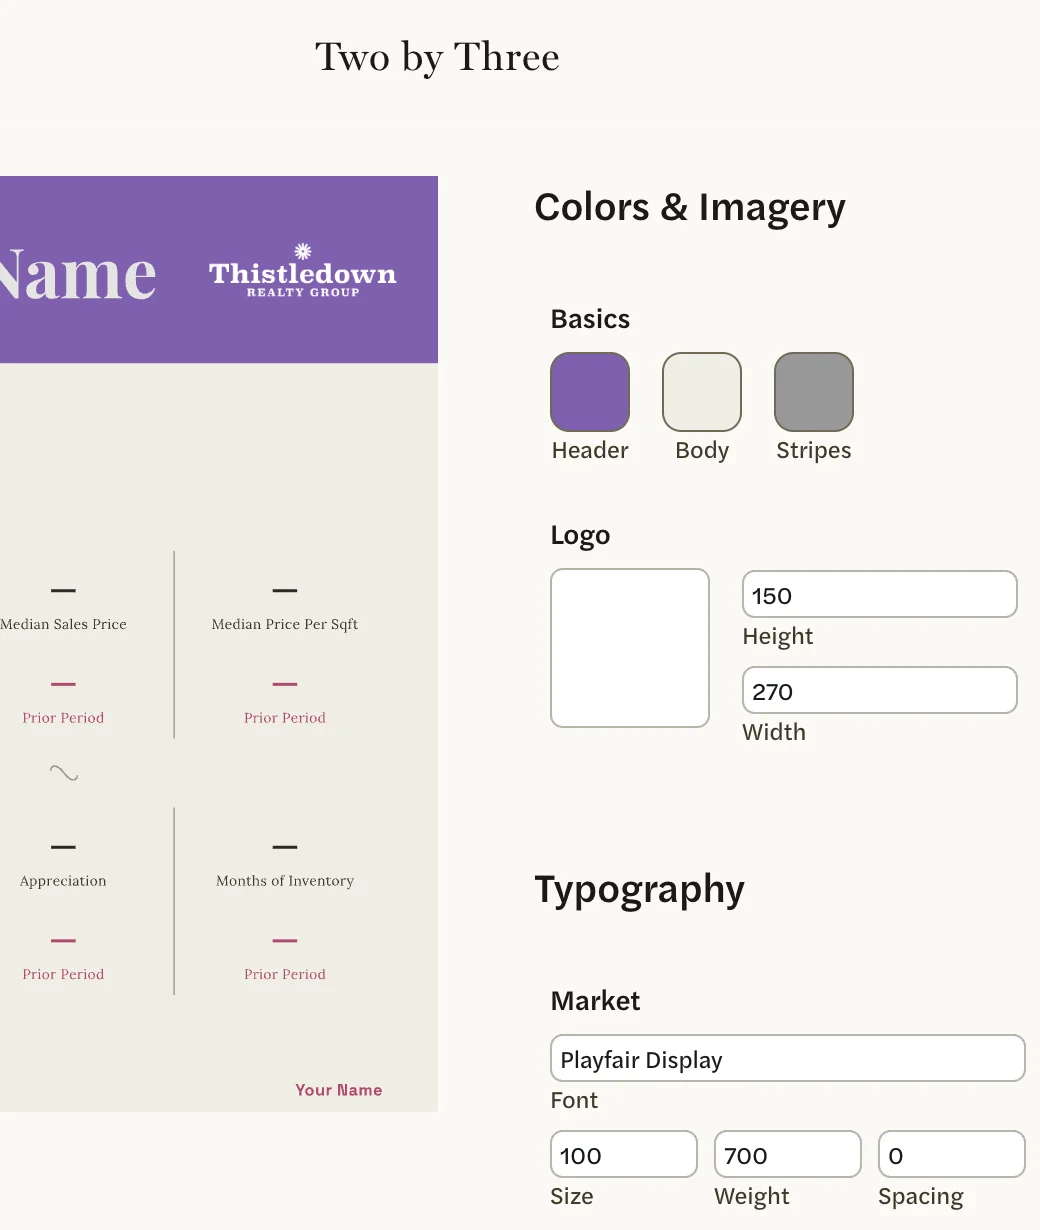
Under Colors & Imagery, set the background and border colors under Basics. On Modern Compare and Overlay Graphic, the text color is there too, as Font.
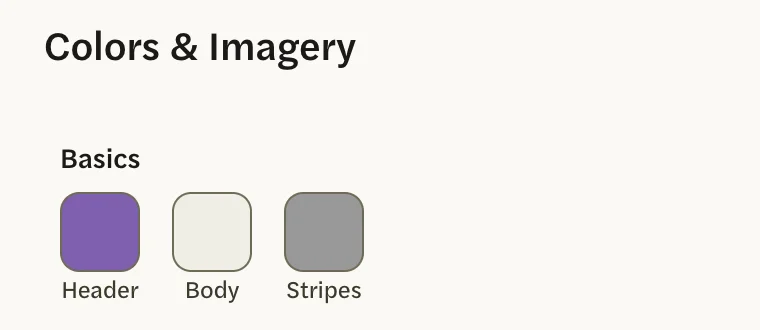
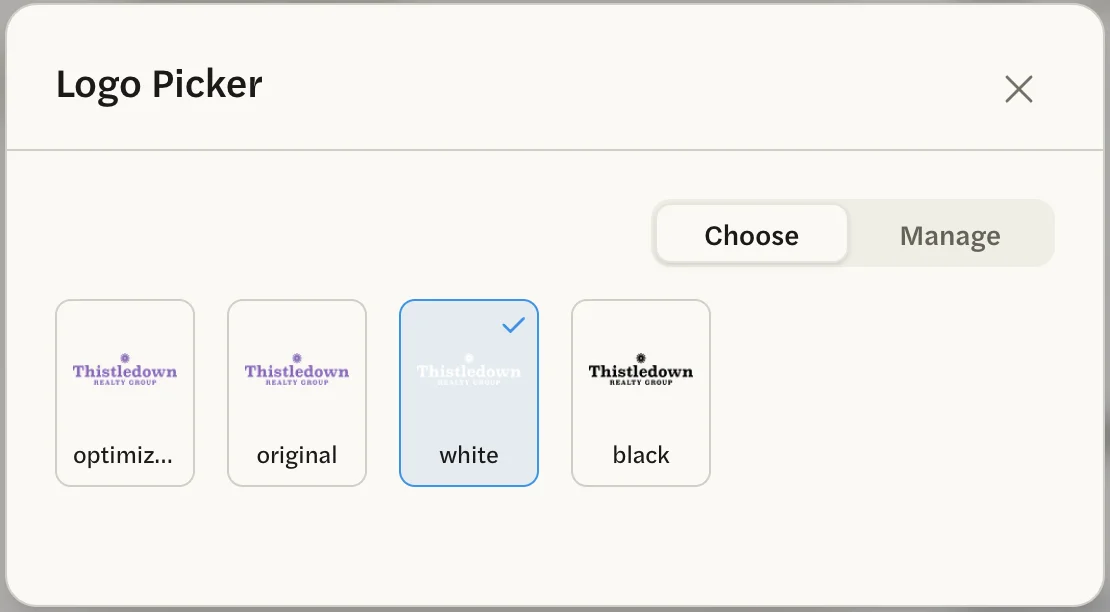
Still under Colors & Imagery, select the Logo square and select a version of your logo for this layout. On a dark or colored background, the white version shows best; it is hard to see on the Logo square itself, so check the sample.
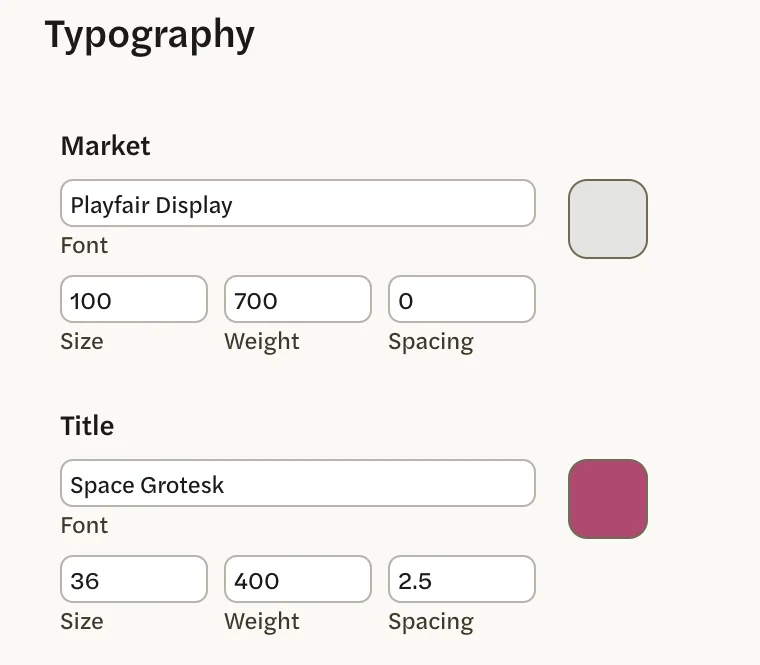
Under Typography, change the fonts if you want to. On Two by Three and Info Dense, each line of text has its own color square here, beside its font.
Select Social at the top of the page to go back, and do the same for each layout.

Each layout has its own logo and colors. Changes save as you make them, and the sample redraws to show them.
Style your templates explains each setting in the editor.
The name in the bottom corner of each social image, Your Name on the samples, is each agent’s own Wordmark. Agents set it themselves under Social, then customize. It isn’t part of team branding.
What agents get, and when
- Agents you invite from now on start with a copy. When you invite an agent, their account is set up with your team’s logos, the logo version and colors you chose for reports, your brokerage’s name and address, and your four social layouts. Their own name and contact lines come from their MLS profile.
- It’s a copy, not a link. Changes you make to the team’s branding later don’t reach agents who already have their copy.
- Agents can change their copy. Each agent can change their logo, colors and brokerage lines under Reports, then customize, and their copies of the layouts, headed Templates on their side, under Social, then customize. What they change doesn’t affect the team’s branding or anyone else’s.
- A removed agent keeps their copy. See what removing someone does.
Update agents already on your team
An agent’s branding doesn’t change when you change the team’s. To bring an agent who is already on the team in line with it:
- Ask them to change it. Customize your report, Add and choose a logo and Style your templates walk them through it.
- Or change it for them. View the app as them, then make the same changes under Reports, then customize, and under Social, then customize, where the four layouts are headed Templates. Nothing is copied across for you: you enter the logo and every color again by hand, on their report settings and then on each template in turn, so note your team’s color codes first. If your logo isn’t in their Logo Picker, add the file there first.
Good to know
- Details, also under BRANDING, holds your team’s name, which shows under each person’s name at the bottom of the left menu. It doesn’t print on reports: the brokerage name on reports is the Name under Organization Info.
- If your admin area has no Reports or Social under BRANDING, your account doesn’t hand out team branding. Each new agent’s branding is filled in from their own MLS profile and brokerage instead, as described in Where your branding came from.