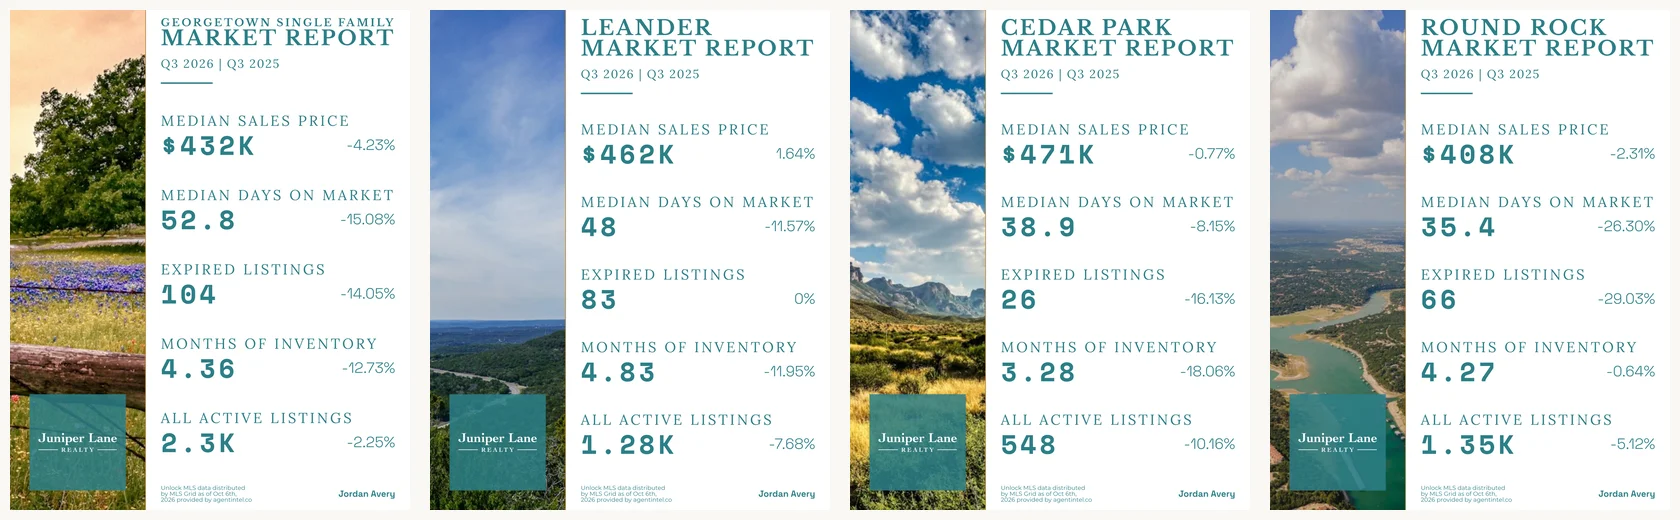
Three of the four templates show a photo: Info Dense beside the statistics, Modern Compare in a strip down the left side, and Overlay Graphic behind everything. Two by Three has no photo, so these settings change nothing on it.
You choose the photo under Images, on a post’s Design Your Post page before you select Generate Post, or on a schedule’s page at any time. There are two ways: let AgentIntel pick a stock photo for each post, or turn that off and choose a photo for each market, from stock photos or your own.
Let AgentIntel pick a stock photo
Random Stock Image is on when you start a post or a schedule, with one of the listed categories picked for you.
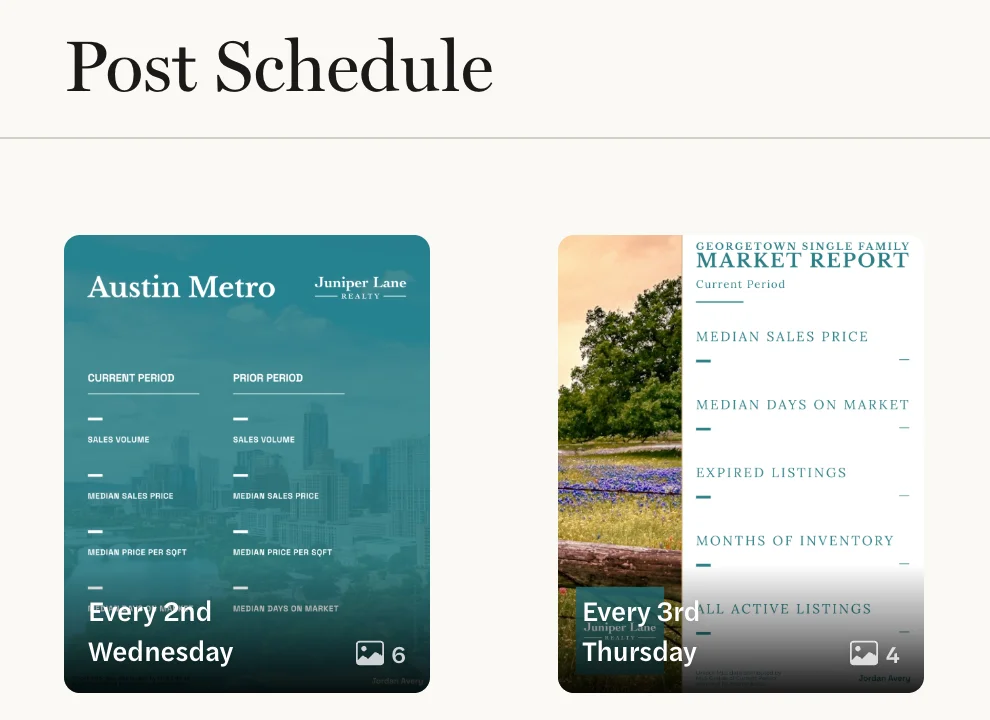
Open the post’s Design Your Post page, or select a schedule’s tile on the Social page.
Under Images, leave Random Stock Image on.
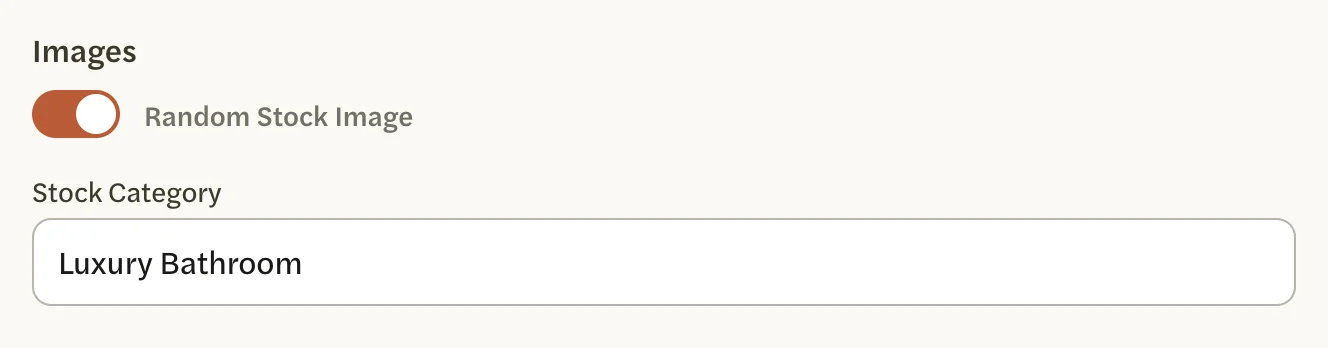
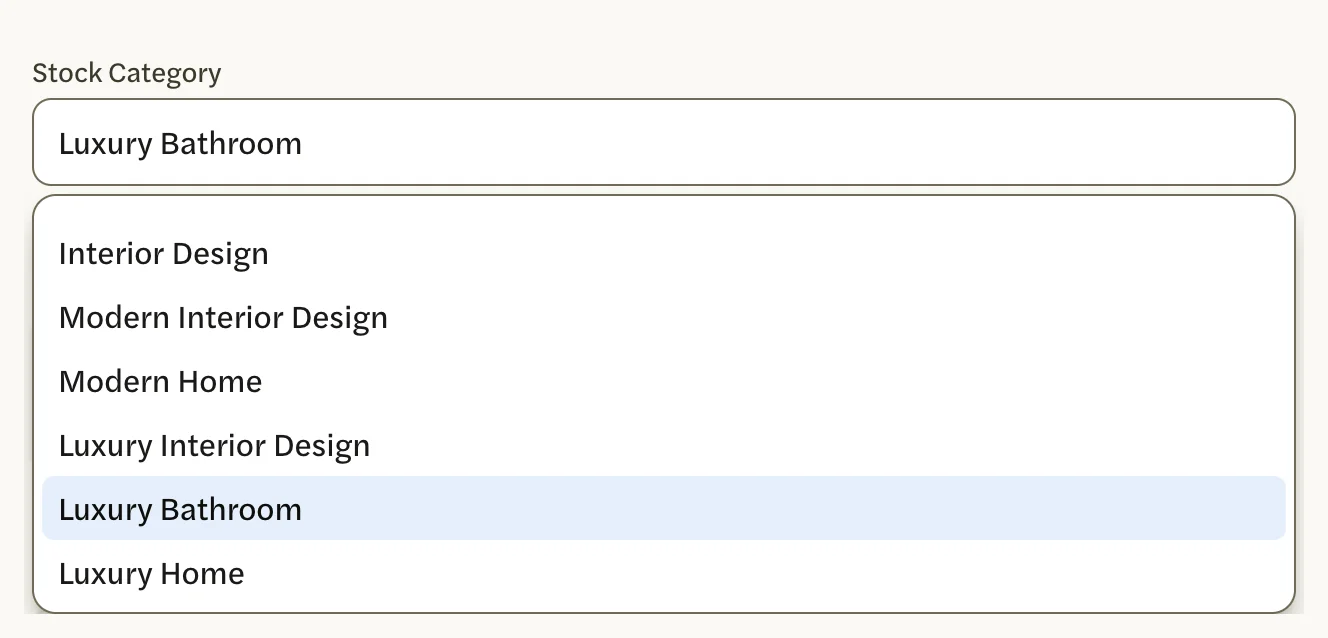
Select the box under Stock Category and choose a category, such as Modern Home or Luxury Interior Design. To search for something else, type the words, such as “Texas Hill Country”, and select Add Texas Hill Country… in the list. The choice saves straight away.

When the post is made, AgentIntel picks one photo at random from that category and uses it on every image in the post. On a schedule, each month’s post gets a new photo, never the same one as the post before.
Before the post is made, the images on the page show a sample photo from the category, the same one on every market. The post itself gets its own photo, so expect it to differ.
Choose a stock photo for each market
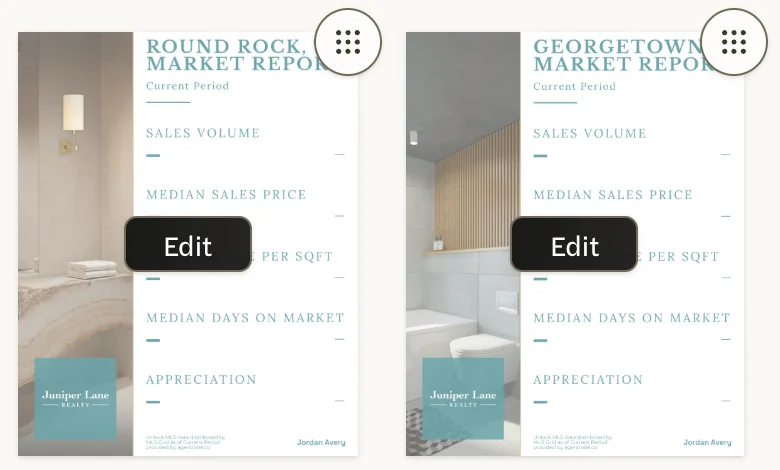
Under Images, switch Random Stock Image off. It saves straight away, and each market’s image now shows that market’s own photo.
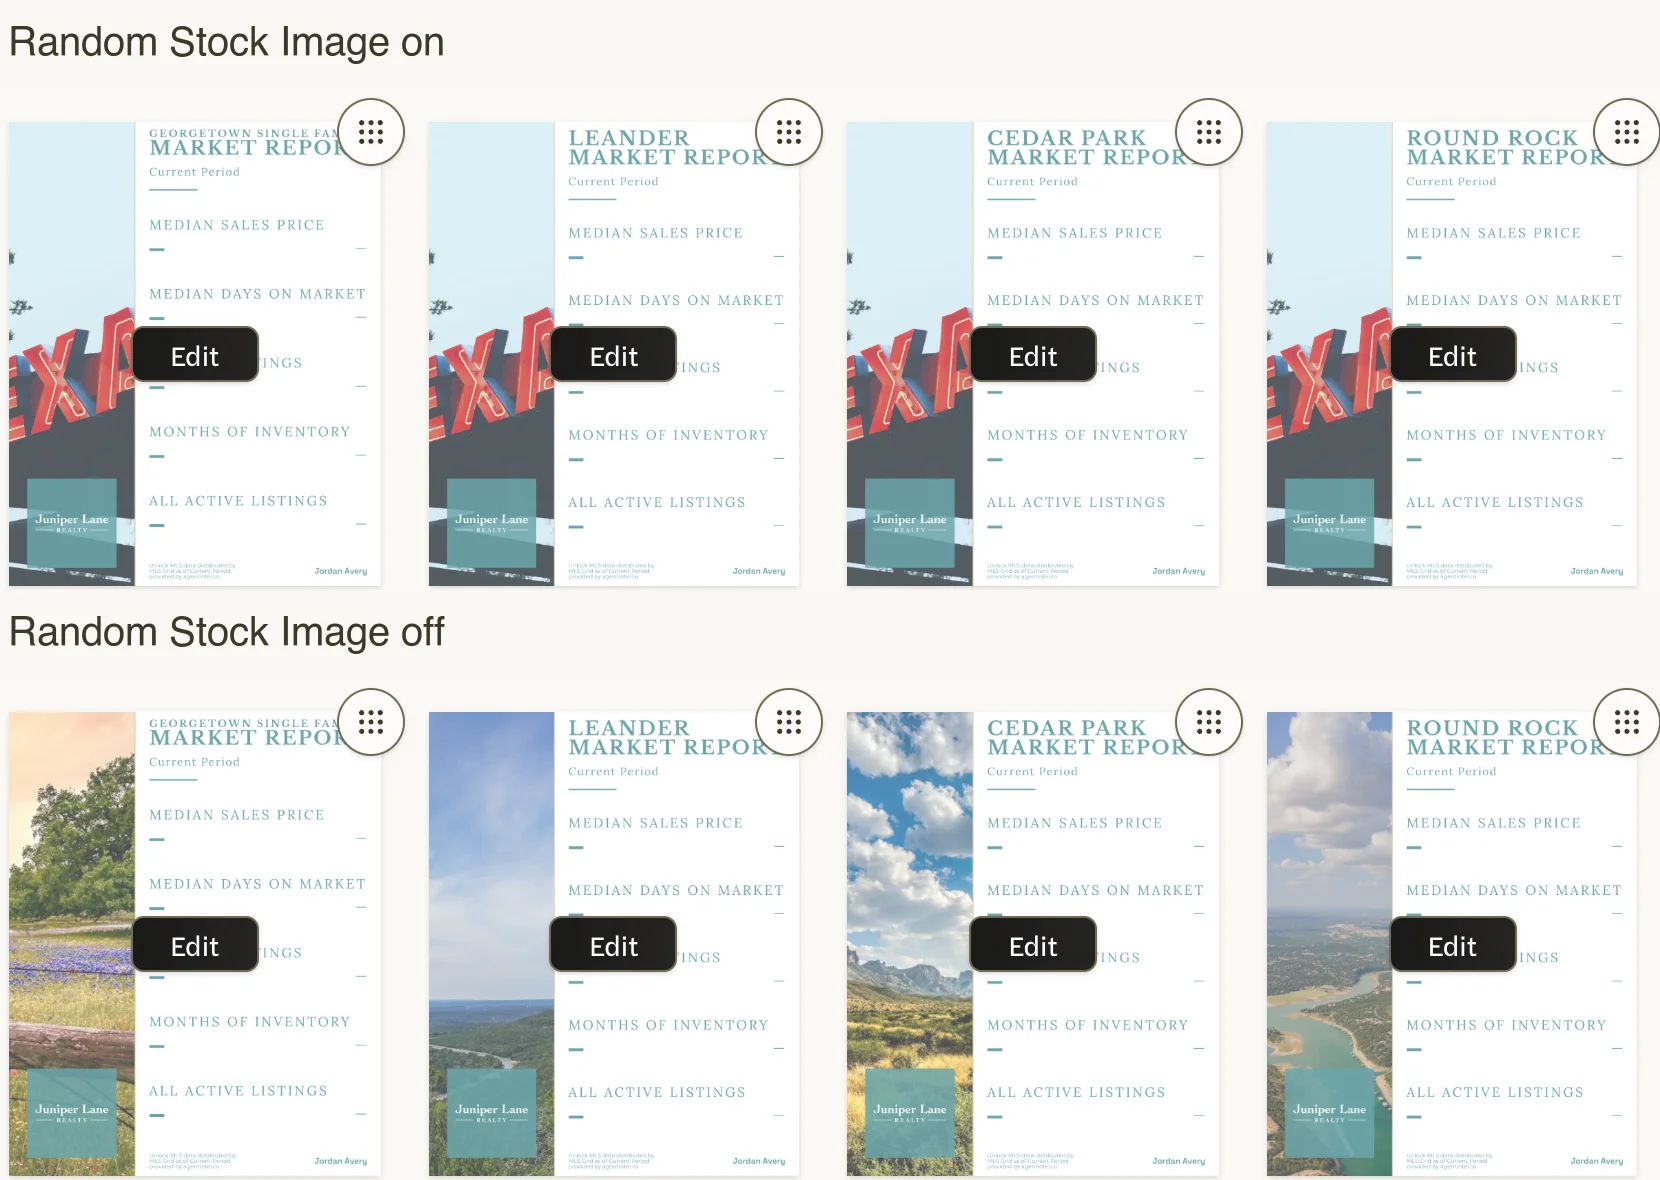
Select Edit on a market’s image. Edit market opens, with the tabs Stock and Upload.
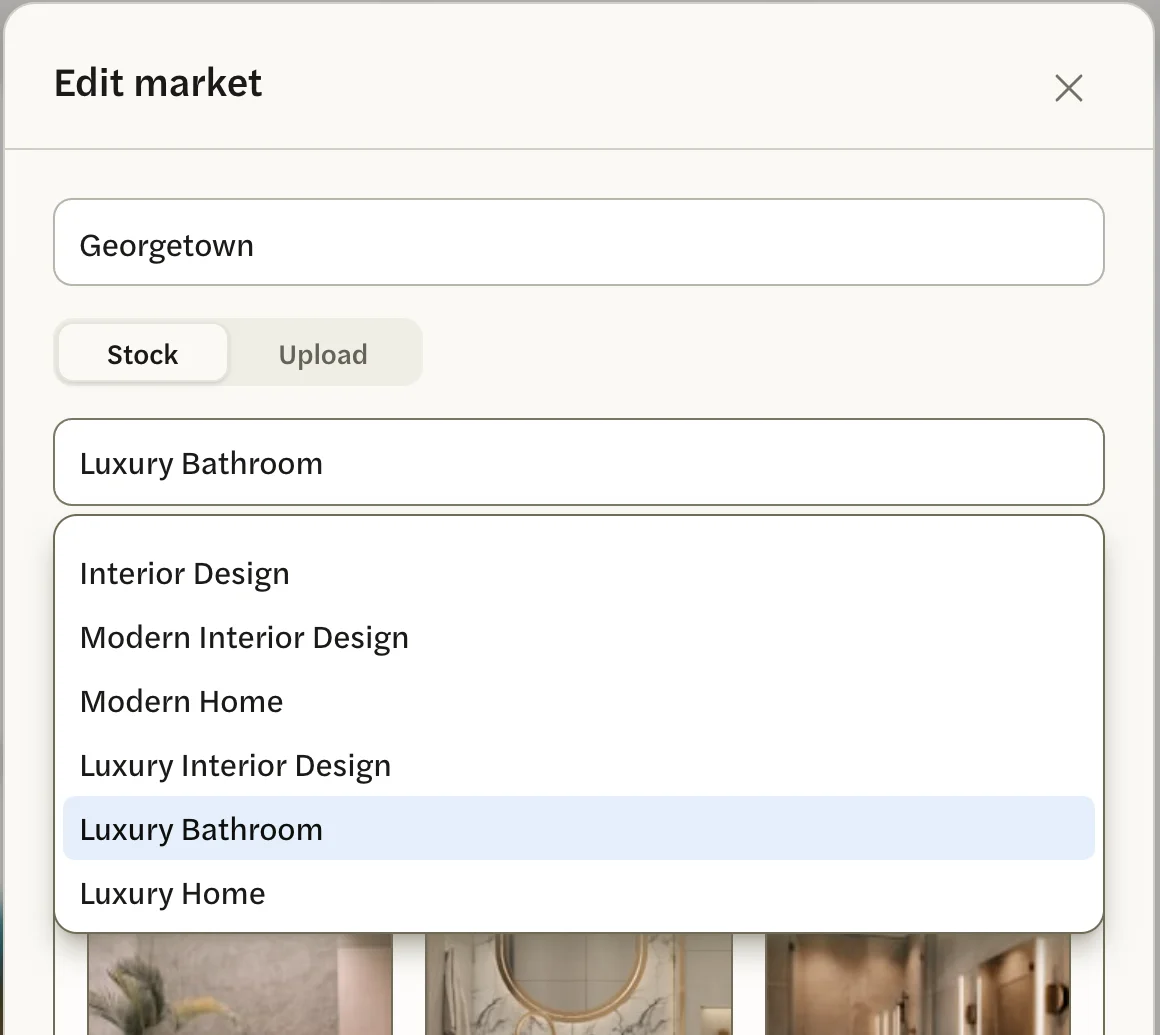
On Stock, select the category box and choose a category, or type your own words and select the Add line. The category’s photos appear below it; scroll for more.
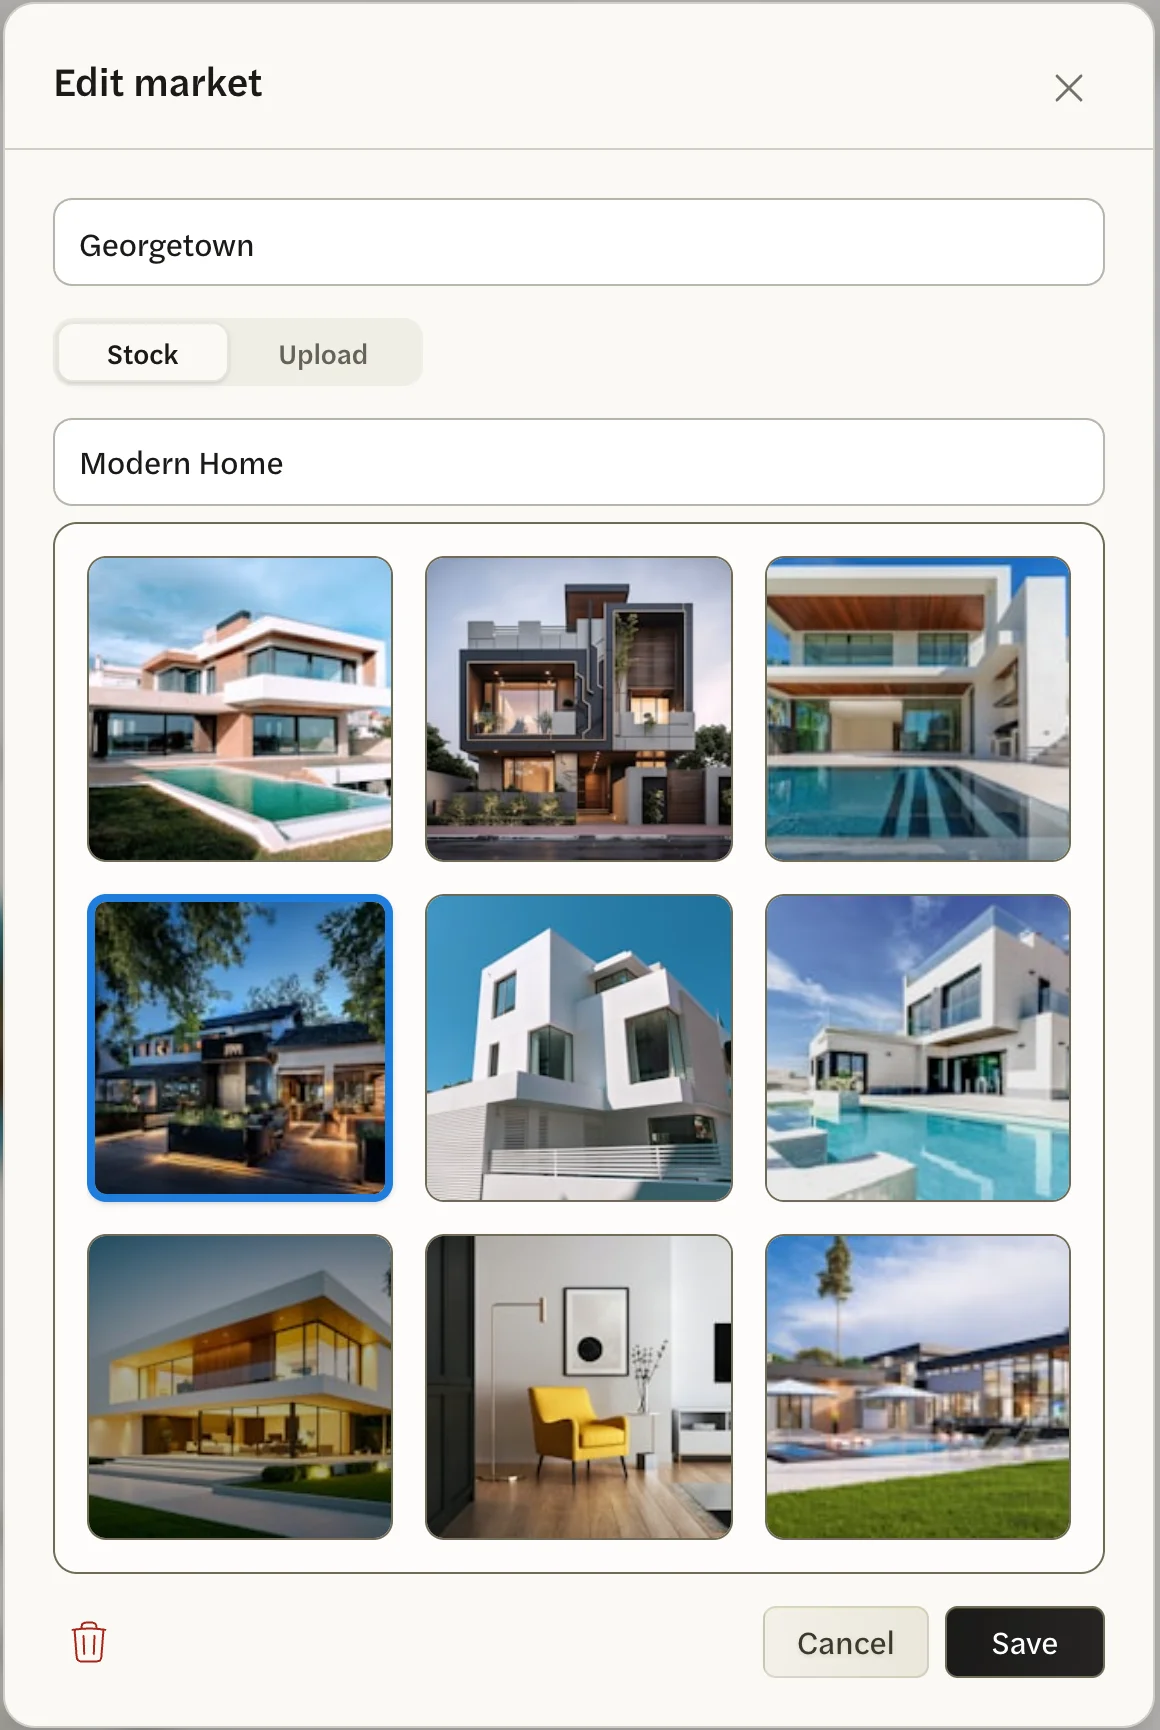
Select a photo. A blue outline marks your choice.
Select Save.
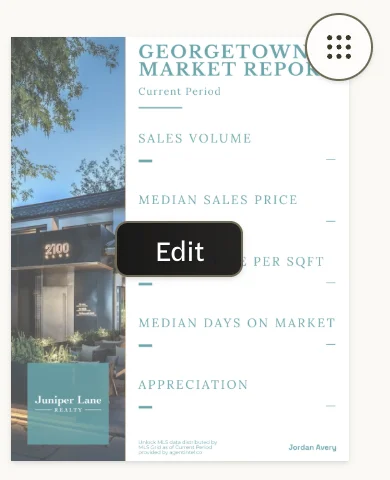
Do the same for each market. A market starts with a photo picked at random when you added it, from the post’s or schedule’s stock category at that time, and keeps it until you change it.
Use your own photo
Under Images, switch Random Stock Image off.
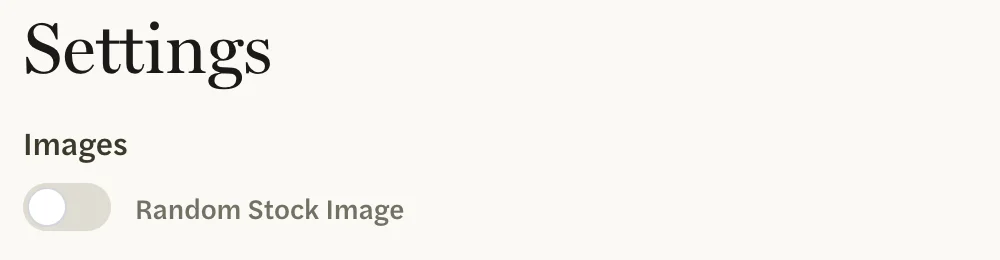
Select Edit on the market’s image, then the Upload tab.
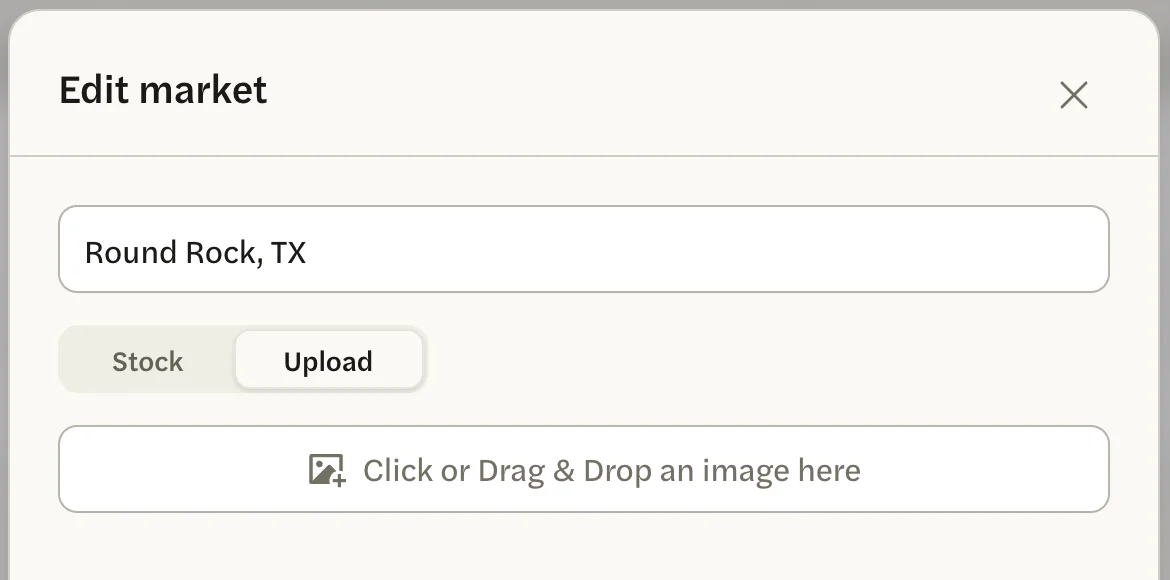
Select Click or Drag & Drop an image here and choose a photo, or drag a photo onto it. Its file name and a preview appear.
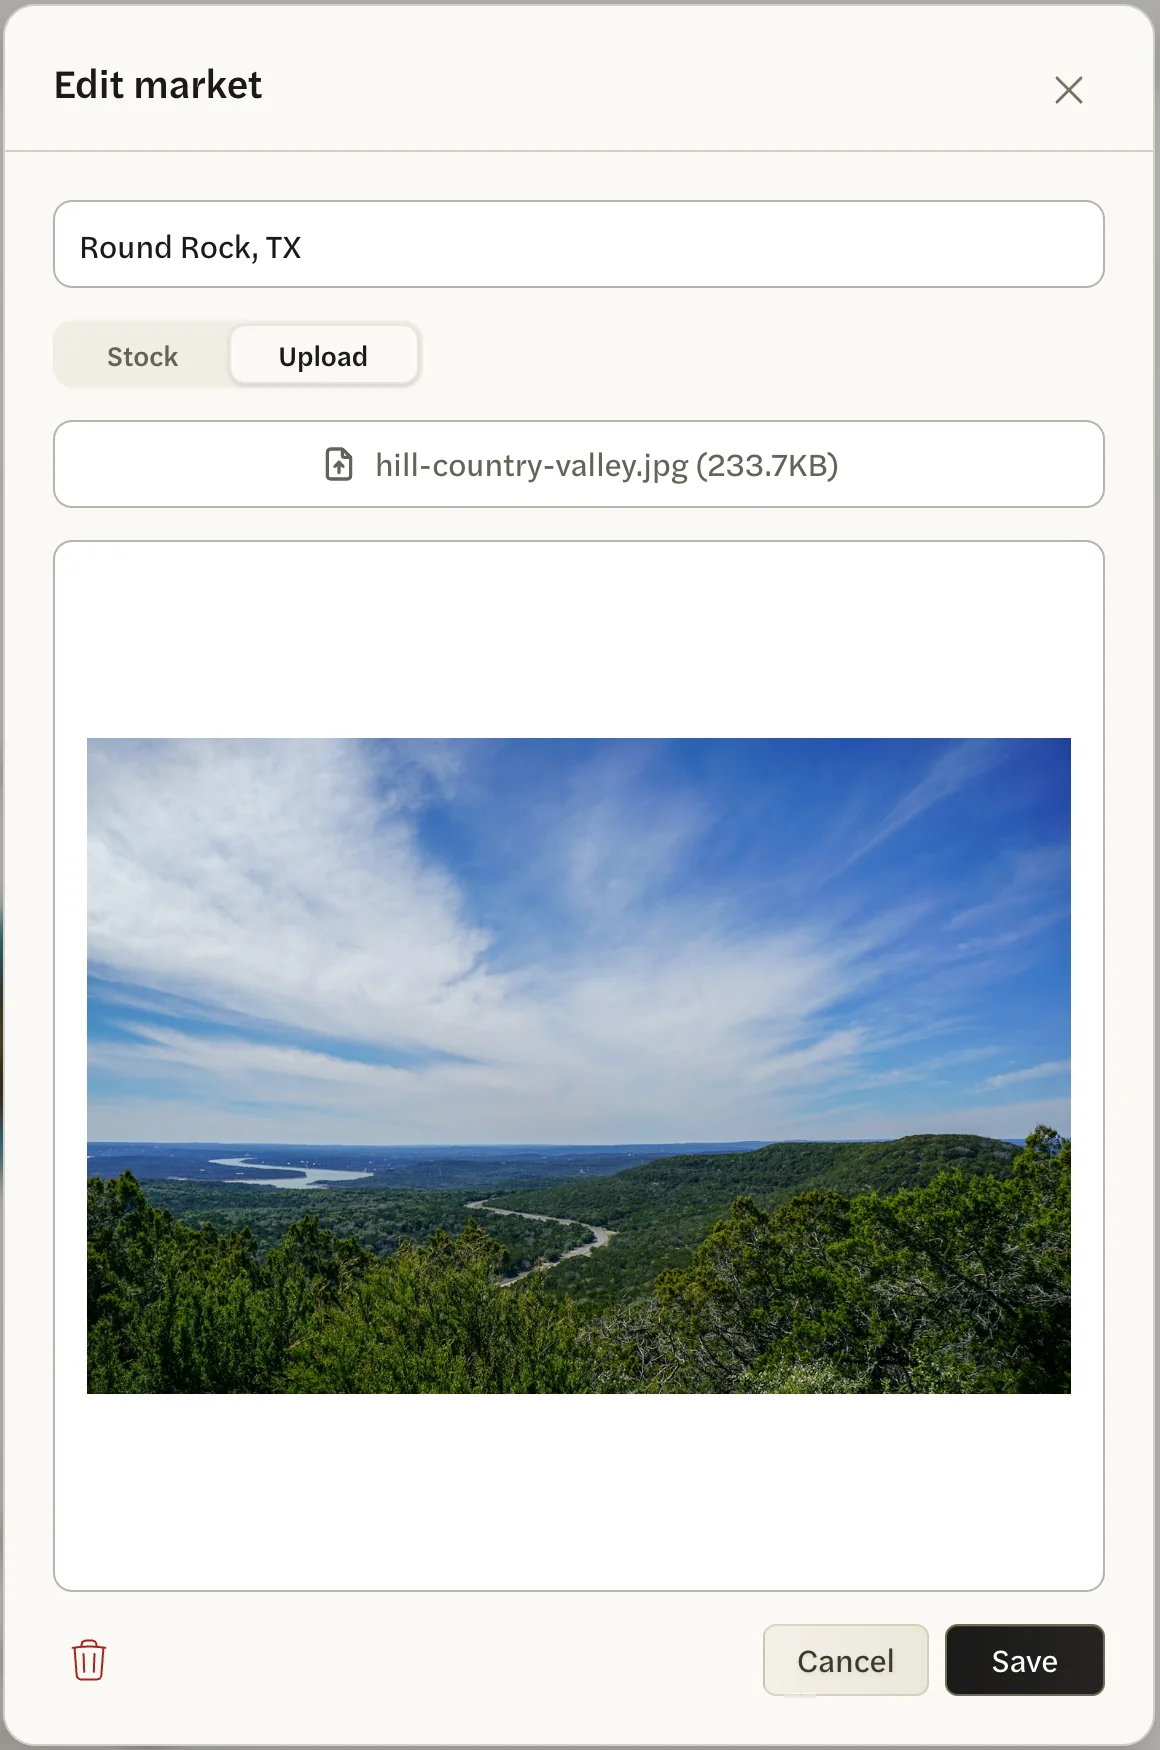
Select Save.
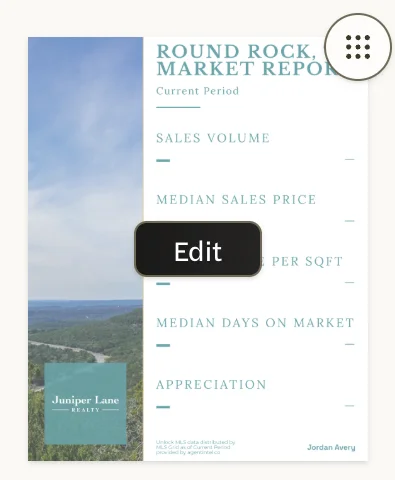
The photo is used for that market only. To use it for another market, upload it there as well.
The photo is cropped to fill its space, which on Modern Compare is a narrow upright strip. Choose a photo whose subject is near the middle.
What you see in the post
With Random Stock Image off, each image in the post carries its market’s photo.
On Overlay Graphic, the photo sits under a layer of color. A strong color or a high opacity can make a pale photo hard to see. You set that layer’s color and strength on the template. See Style your templates.
Good to know
- A schedule’s photo settings apply to every post it makes. To use a different photo for one post only, make a separate post with New Post. See Create a post.
- A finished post’s photo can’t be changed. Make a new post instead.
- Your choices for each market are kept when you switch Random Stock Image on, and come back when you switch it off again.
- If a stock photo you chose is no longer available, another photo from the same category is used in its place.