A schedule makes a new post every month, on a day such as the 3rd Thursday, for the same markets and with the same settings. Select New Schedule on the Social page, choose your markets and the day, then select Create Schedule. Each month AgentIntel makes the post and emails you when it’s ready; you share it yourself.
For a single post right now, see Create a post.
Set up a schedule
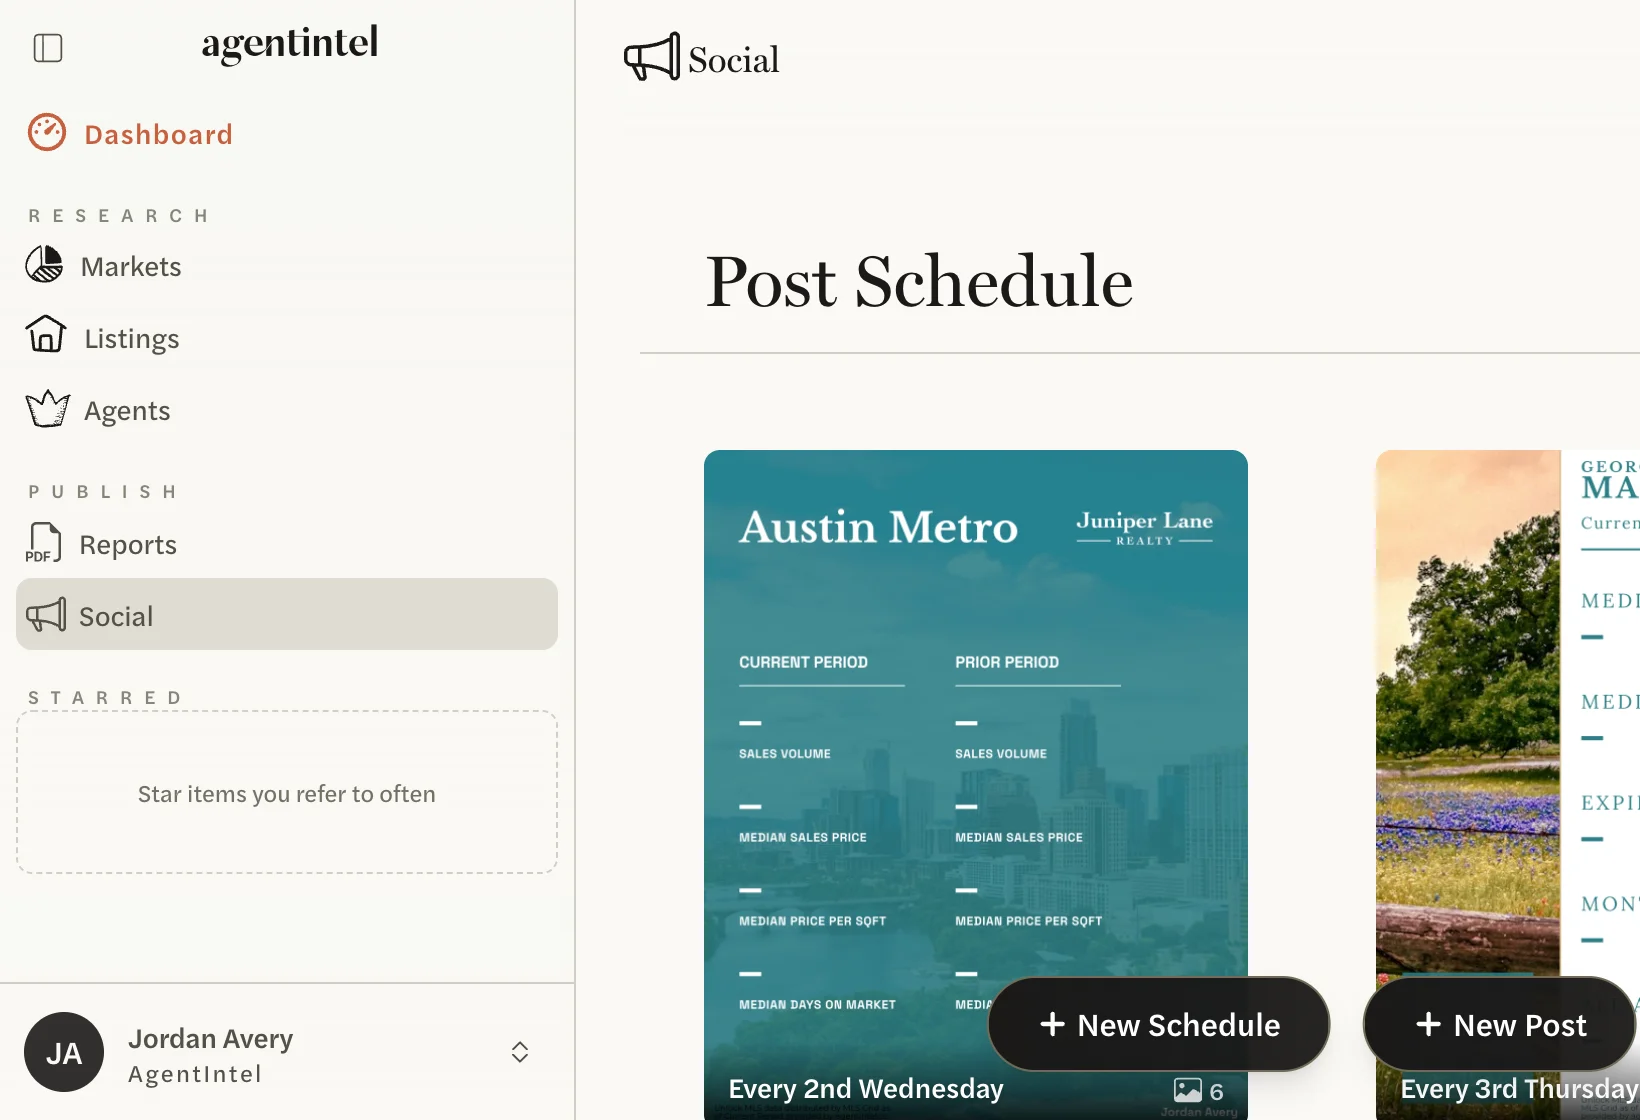
Select Social in the left menu, then New Schedule at the bottom of the page.
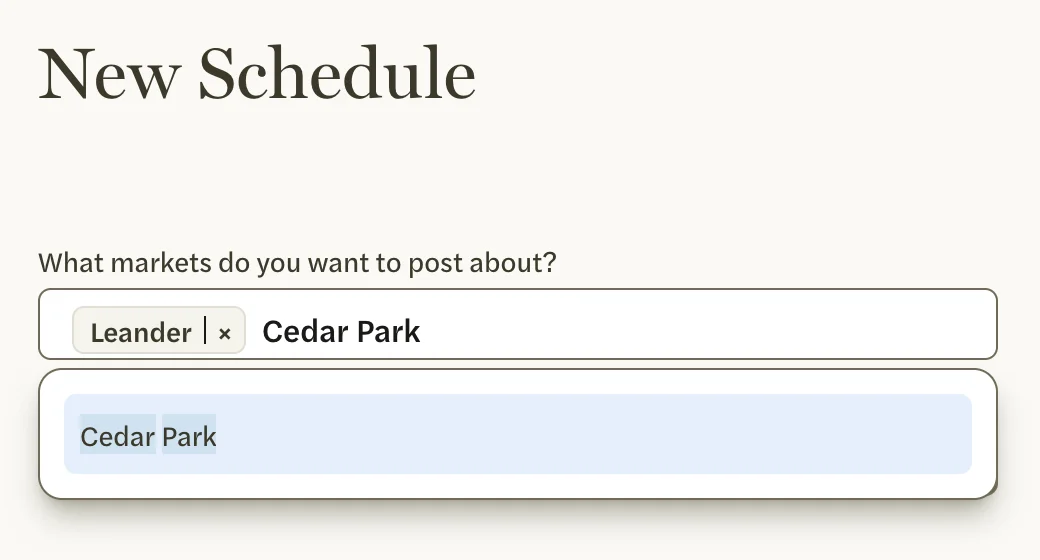
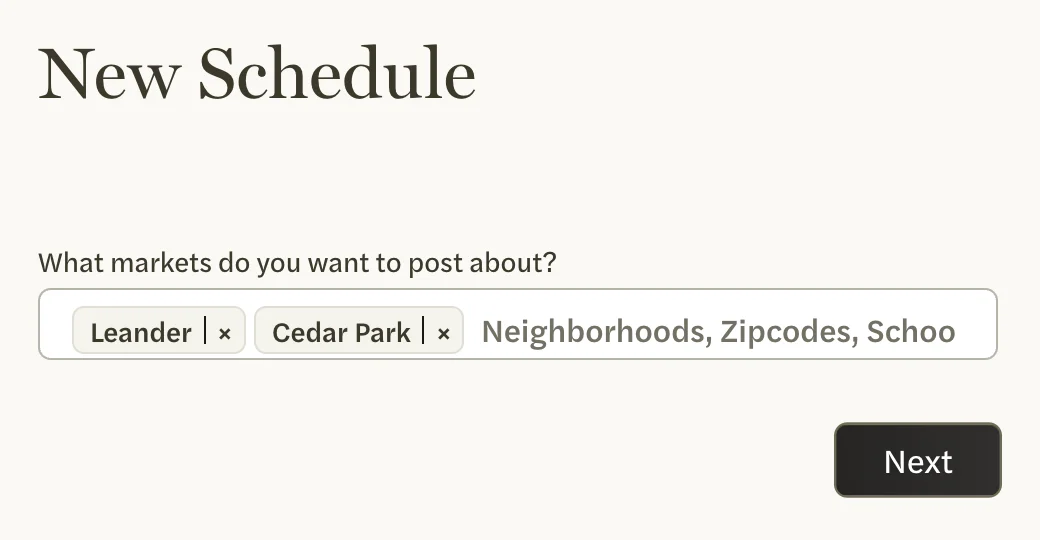
Under What markets do you want to post about?, type the name of a market and select it from the list. Add more the same way, up to 10. Each market becomes one image in every post, in the order you choose them.
Choose at least one market before you select Next; with none chosen, the next page doesn’t open.
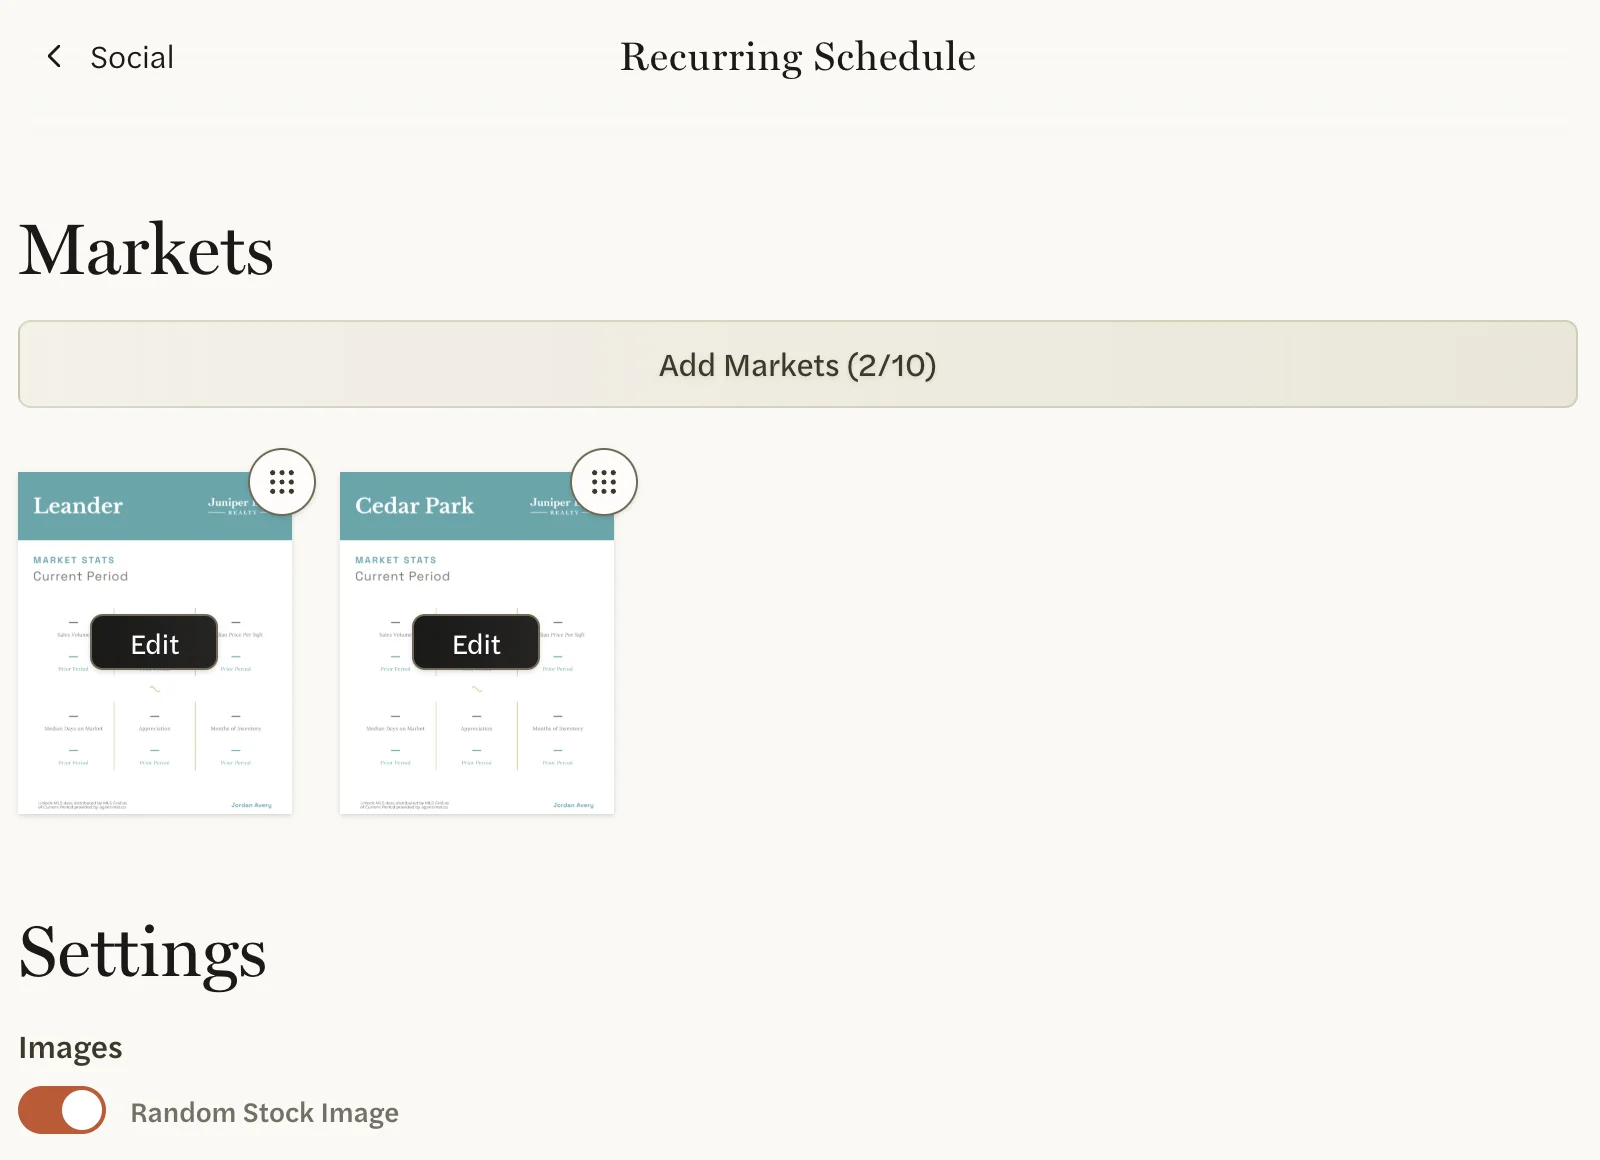
Select Next. The Recurring Schedule page opens, with your markets under Markets and the schedule’s settings under Settings.
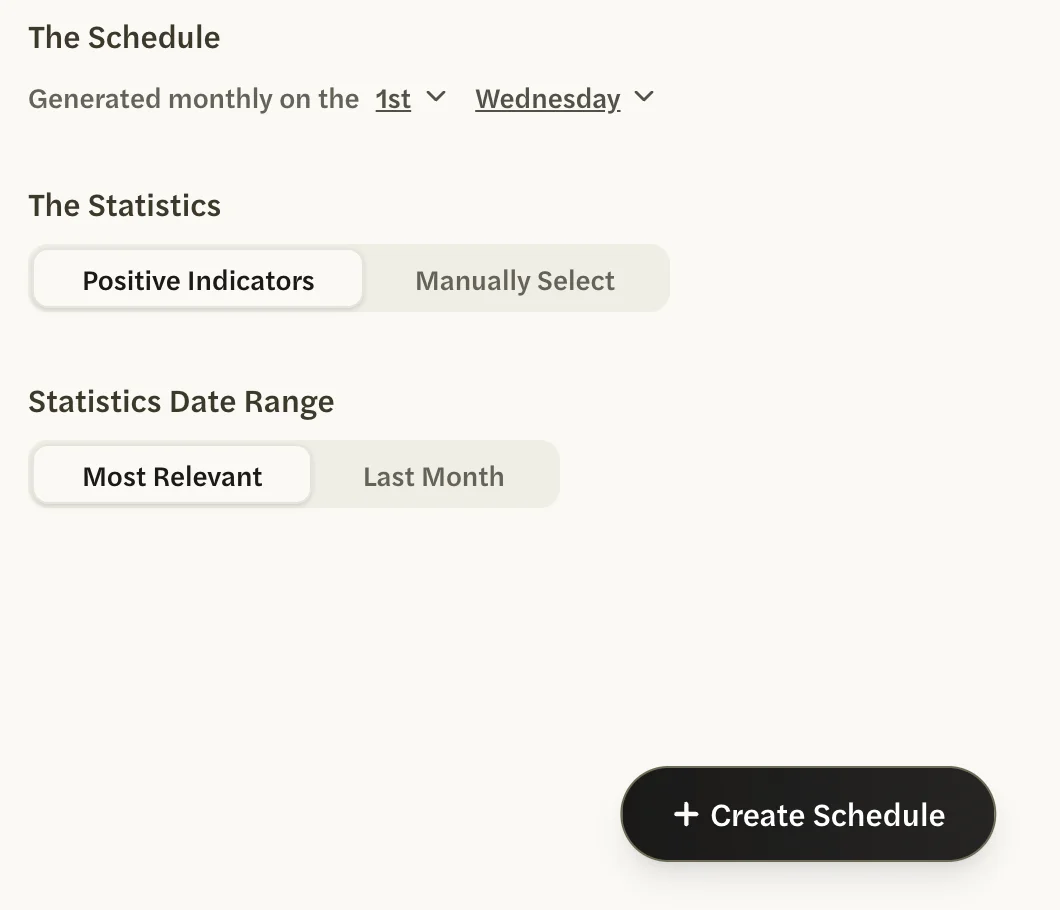
Under The Schedule, choose the week and the day of the week: Generated monthly on the 1st, 2nd, 3rd or 4th, then Sunday to Saturday. A new schedule starts on the 1st Wednesday.
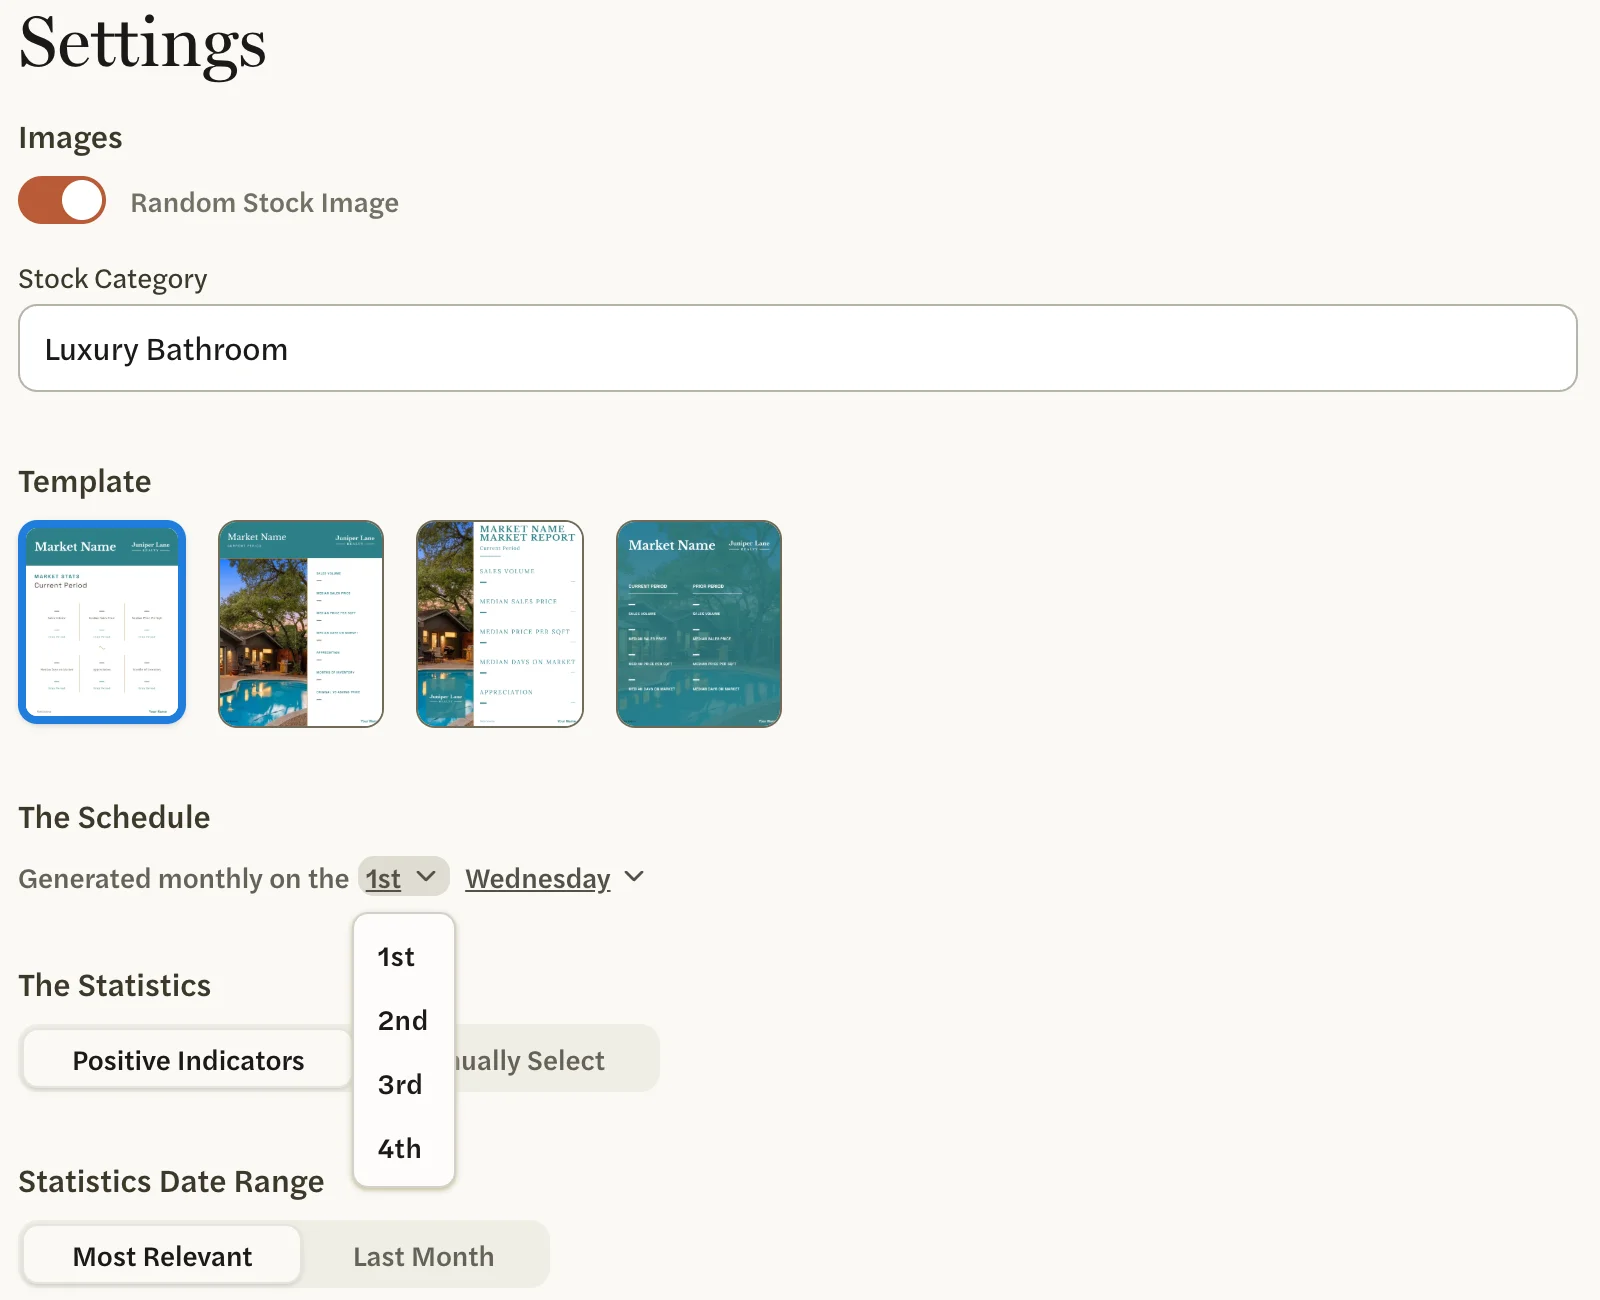
Choose the rest of the settings. Each change saves as you make it, and the images under Markets update to match. Changes in a market’s Edit market window, such as a new name or photo, save when you select Save.
- The photo, under Images. See Change the photo.
- The look, under Template. The four templates are shown as small pictures without names; a new schedule starts on the first, Two by Three. See Style your templates.
- The statistics and the period they cover, under The Statistics and Statistics Date Range. A new schedule starts on Positive Indicators and Most Relevant. See Choose markets and statistics for a post.
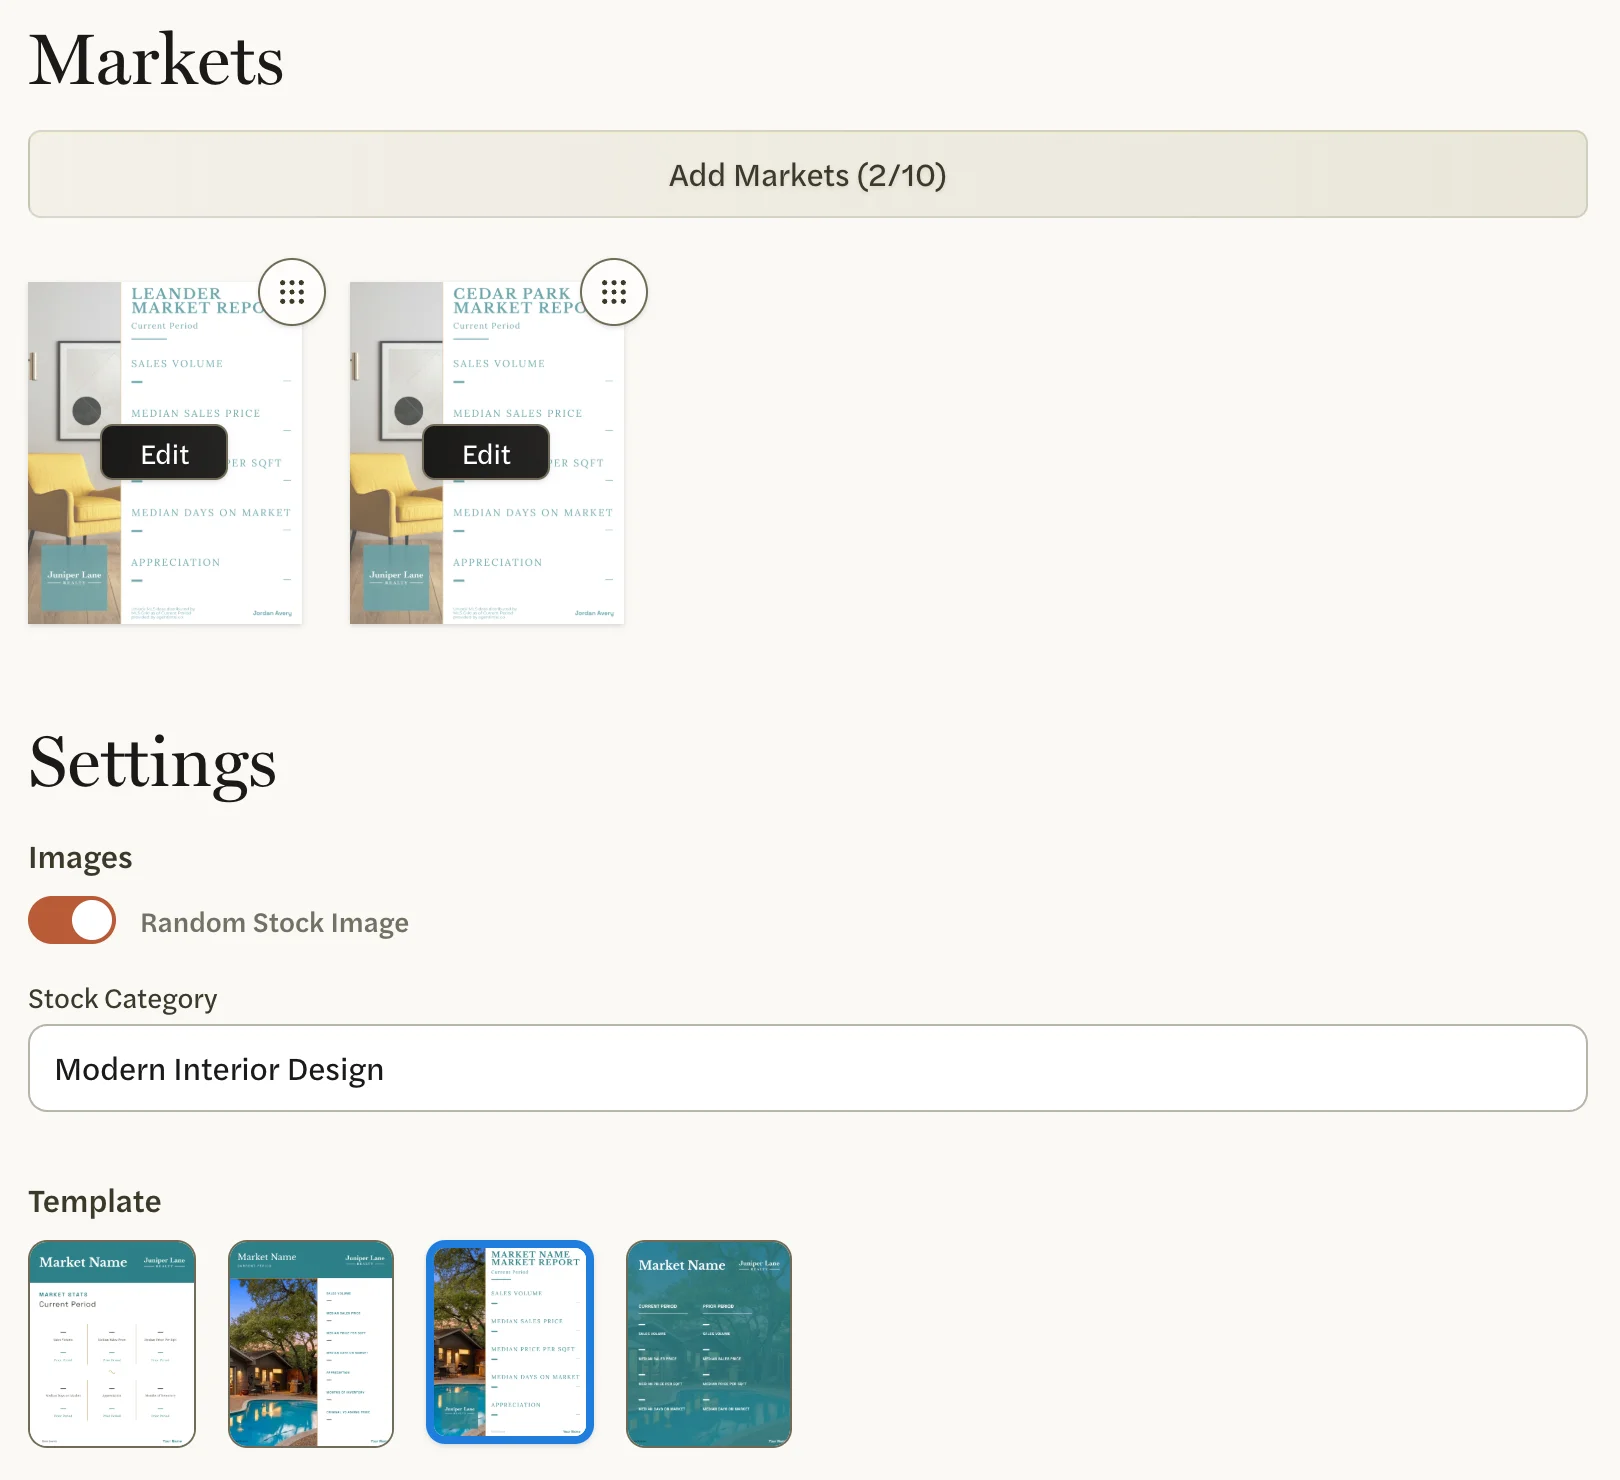
Select Create Schedule at the bottom of the page.
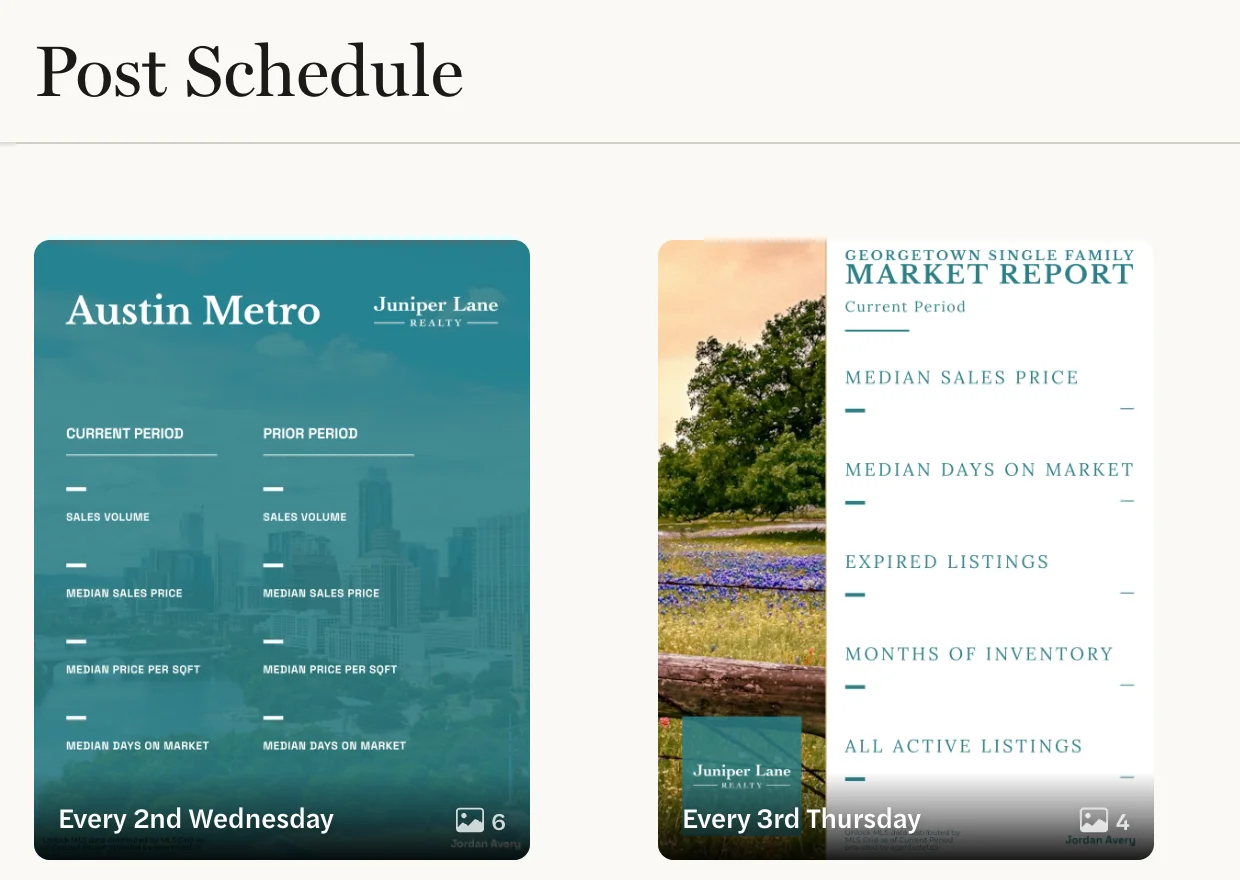
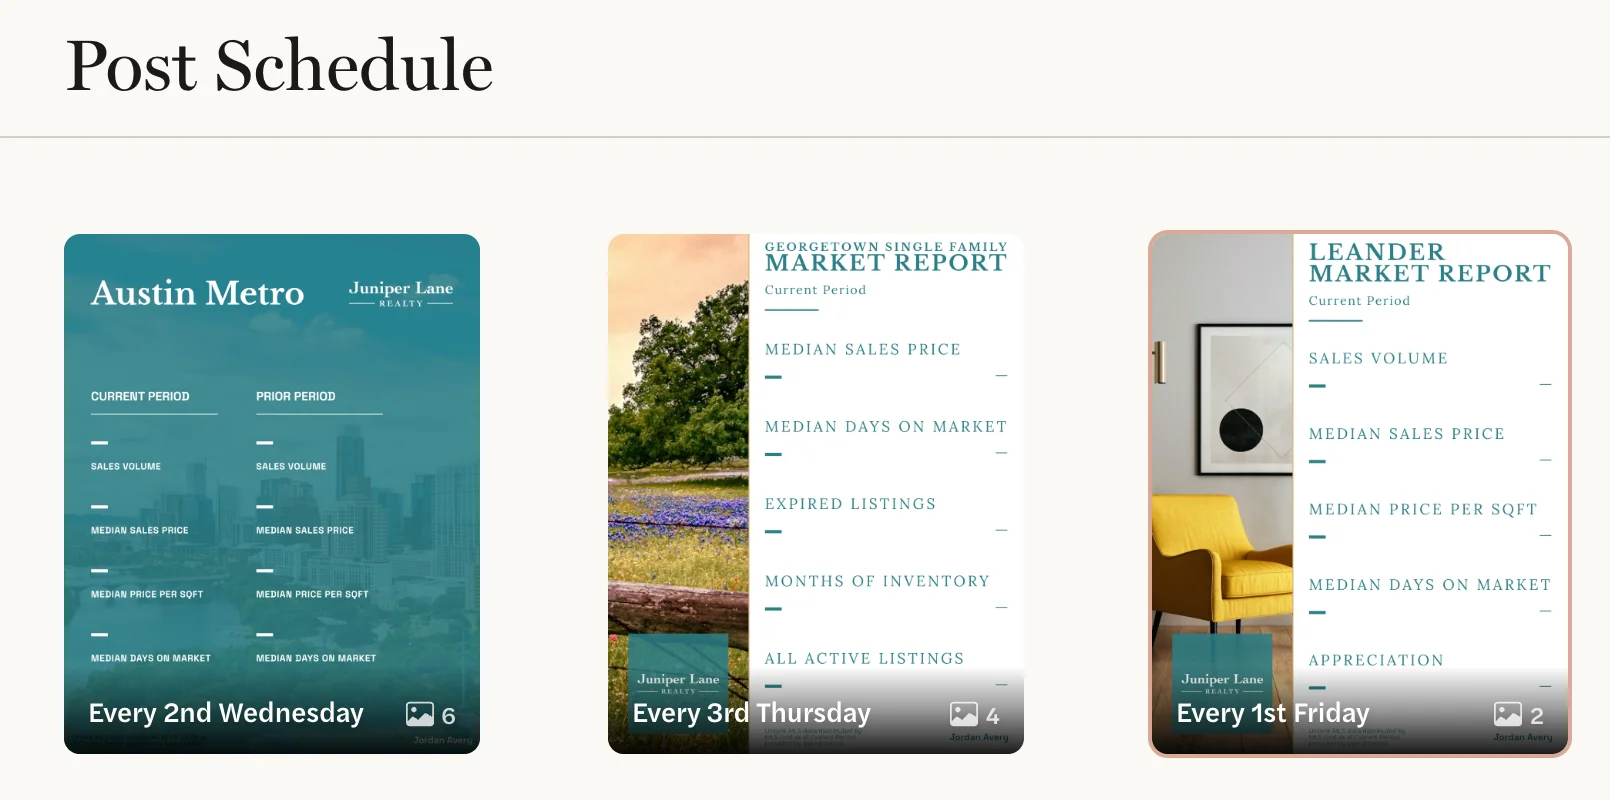
The Social page opens, and your schedule is a new tile under Post Schedule, labeled with its day, such as Every 3rd Thursday. If the schedule has two or more markets, the tile also shows the number of images in each post.
The schedule starts only when you select Create Schedule. If you leave the page before then, nothing is made and the schedule isn’t listed on the Social page. Start again with New Schedule.
When the posts are made
- The first post is on this month’s chosen day if it hasn’t passed yet, or else next month’s. If the day you choose is today, the first post is made straight away.
- Each post after that is made early on its day, US Central time. When it’s ready, it appears under Post History and we email you.
- Each post uses the latest numbers and the schedule’s settings and template as they are on that day.
A schedule repeats monthly on a weekday. There is no weekly schedule, no fixed date of the month and no choice of time.
See the next post before it’s made
On the Social page, select the schedule’s tile. Its Recurring Schedule page opens.
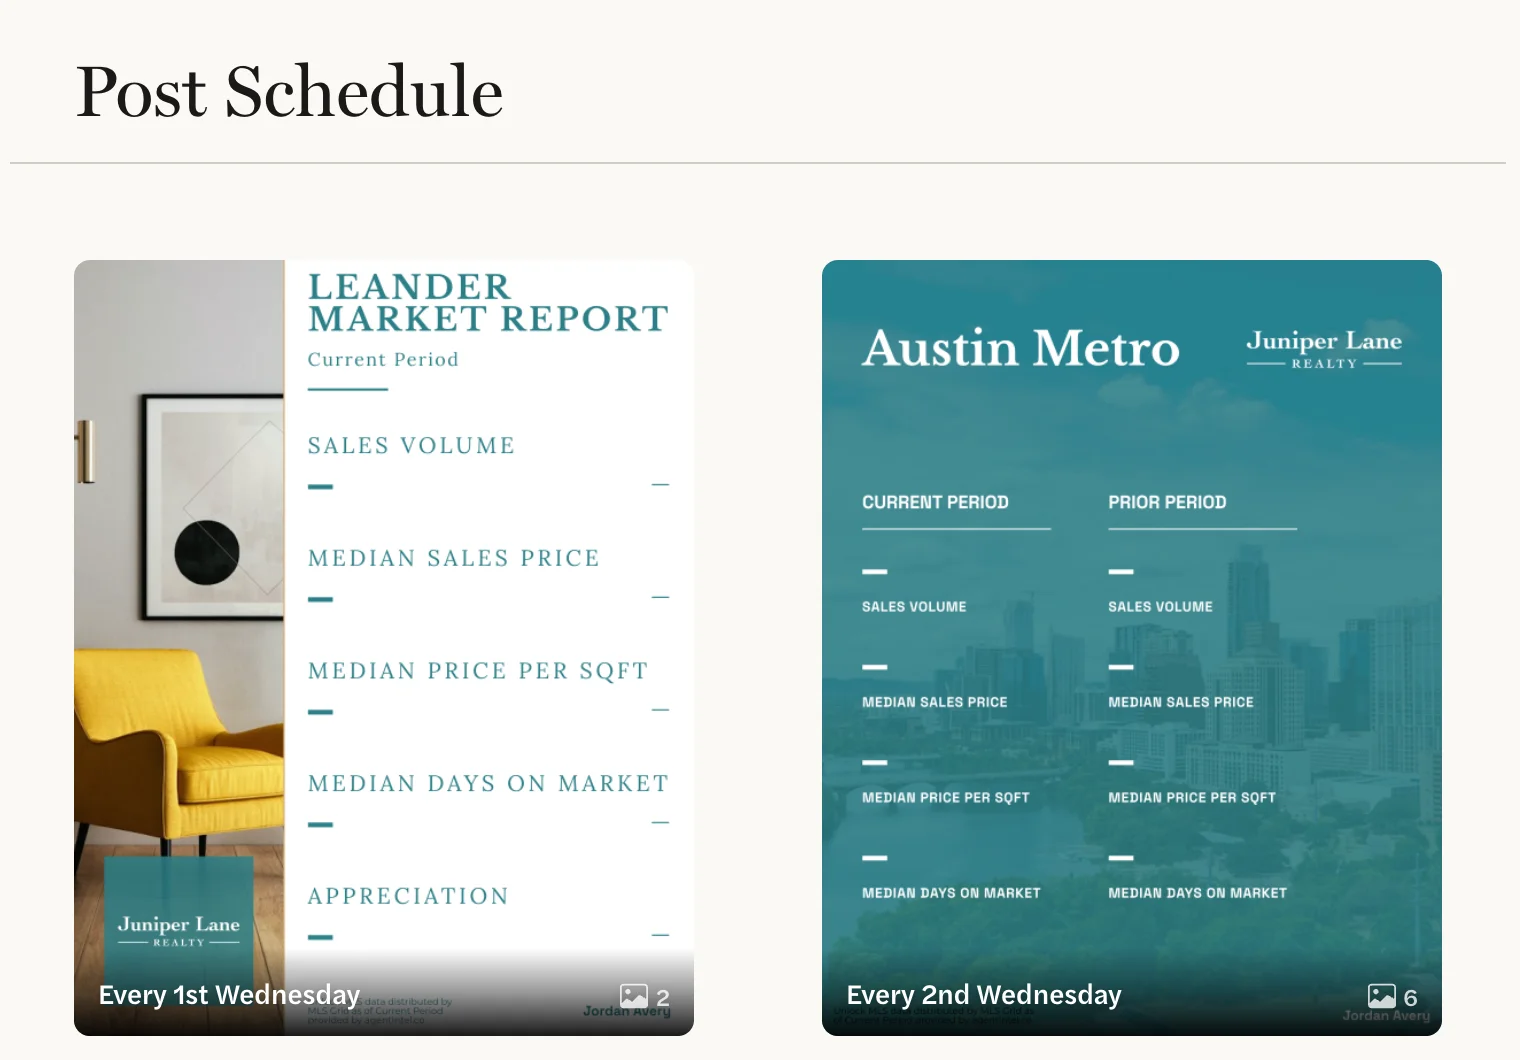
Select Preview at the top right (an eye icon on a narrow screen).
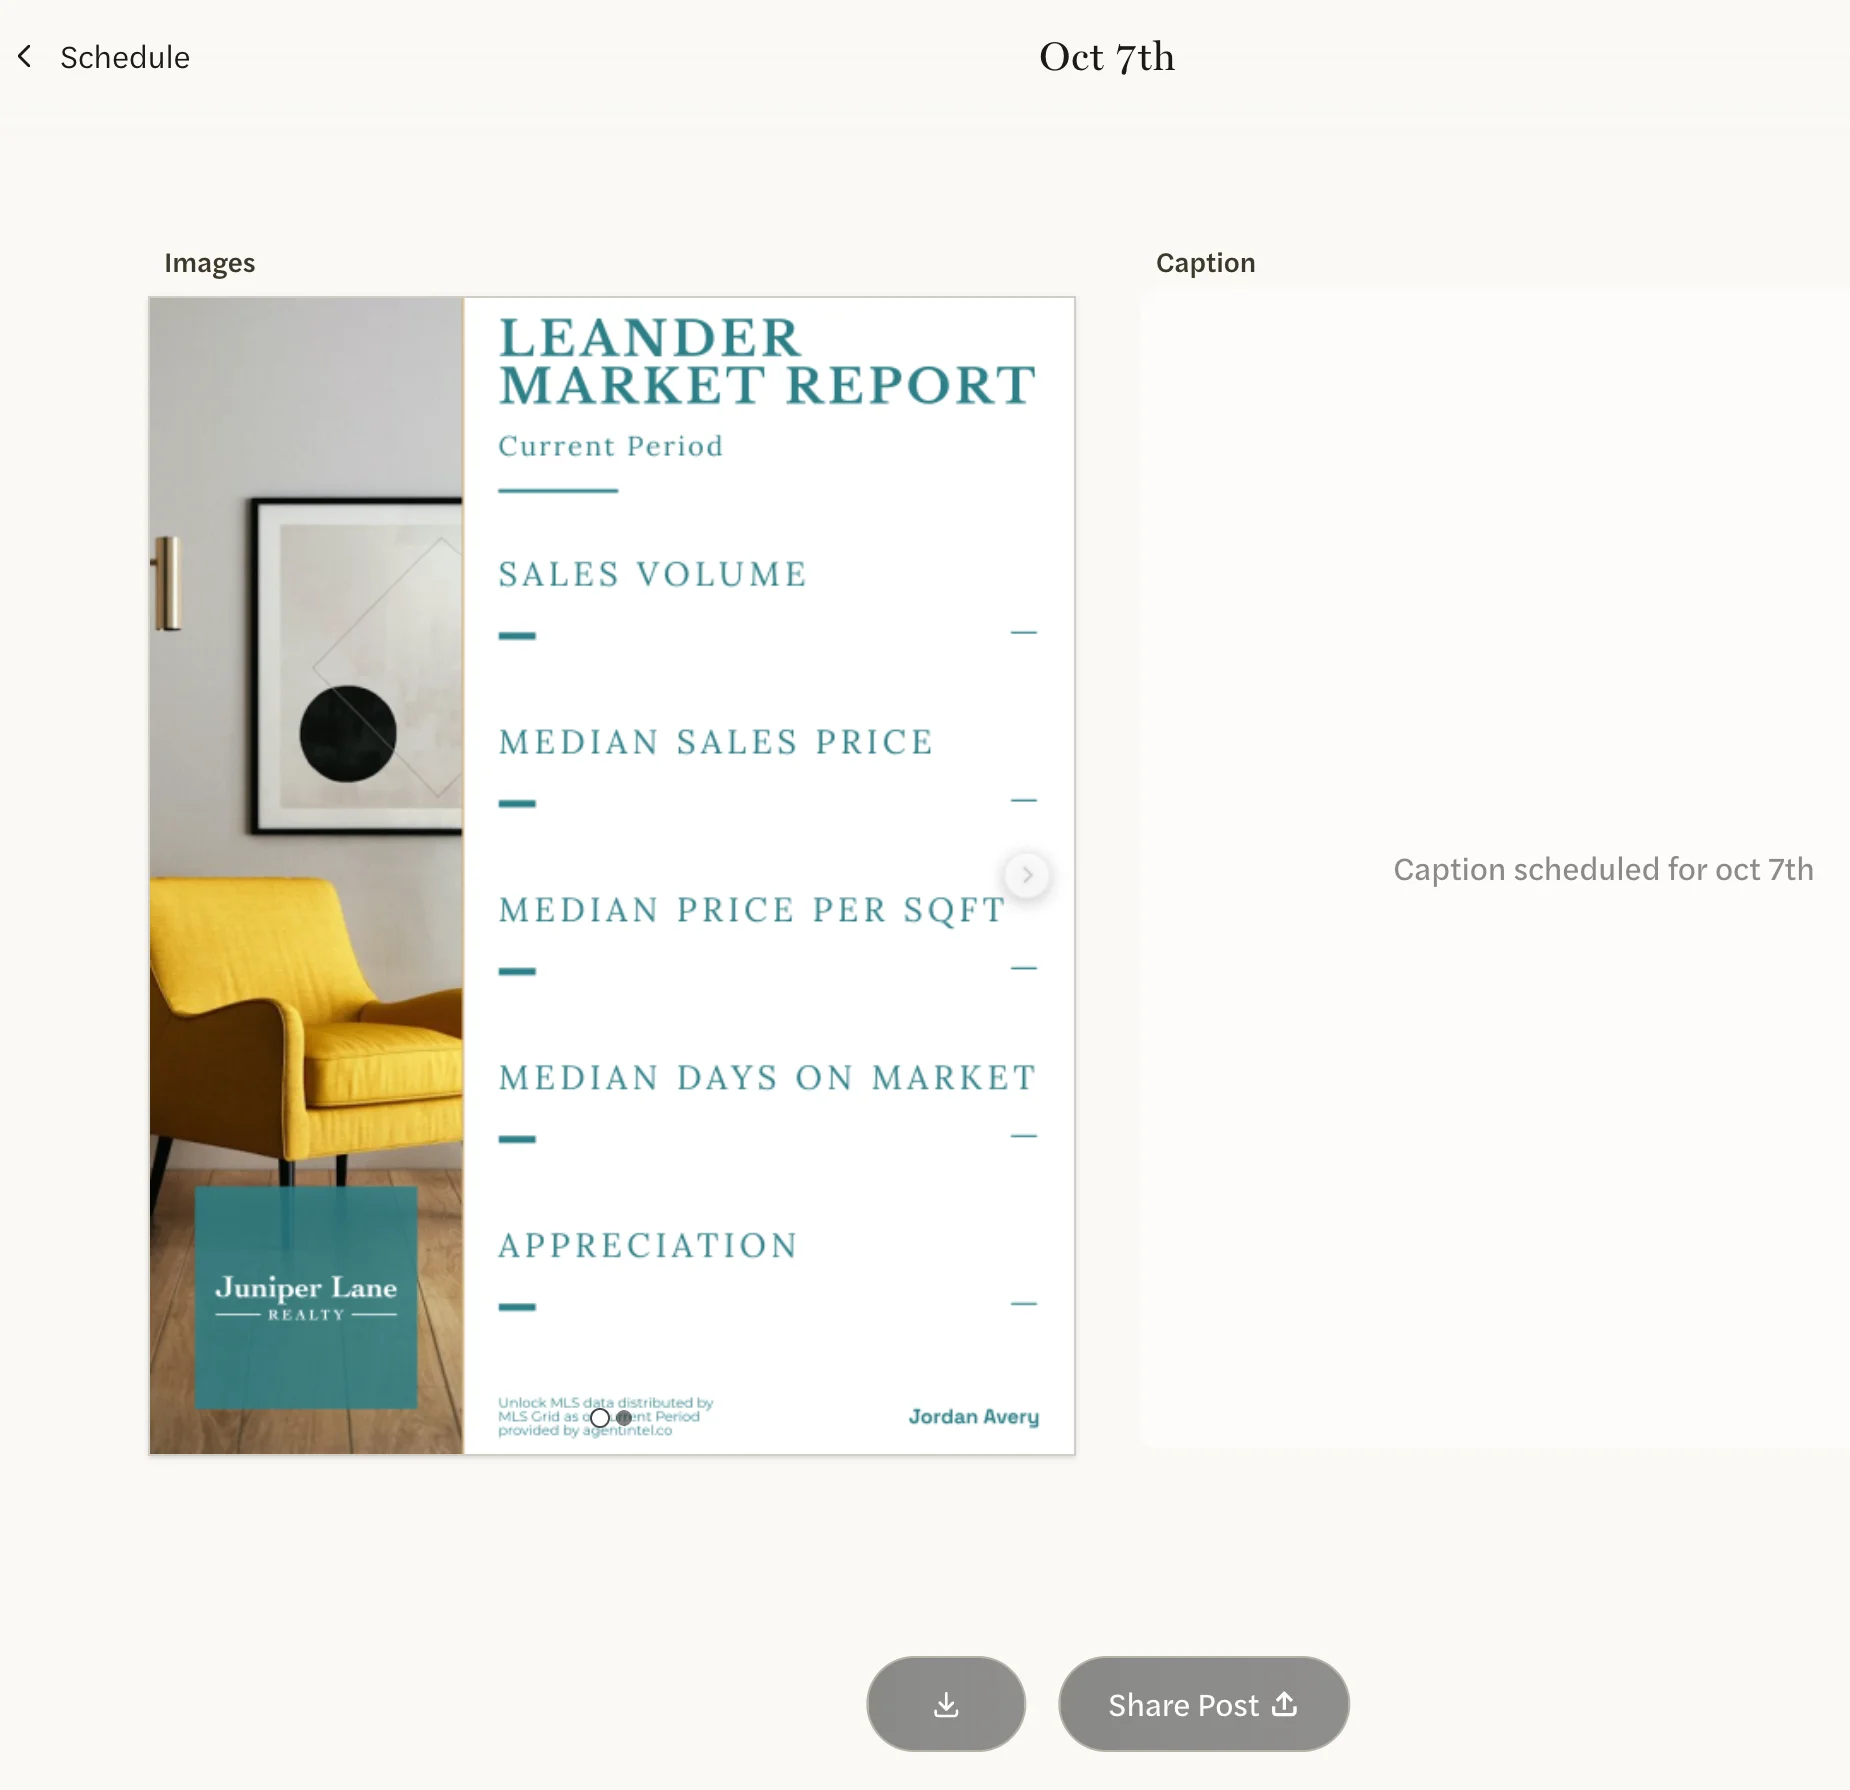
The next post’s page opens, titled with its date, such as “Oct 15th”. It shows each market’s image with dashes where the numbers will go, and the caption box reads “Caption scheduled for oct 15th”. The download and Share Post buttons work only once the post is made.
The preview is close to, but not exactly, what you’ll get. The numbers and the caption are filled in on the day. With Positive Indicators, the statistics are picked again on the day, so they may change. With Random Stock Image on, the photo in the preview is a sample, and the post gets its own.
Change a schedule
Don’t change the day under The Schedule on a day the schedule has already made a post. That post’s images and caption are cleared, and it is made again on the new day. If you need to change the day then, download the post first, or wait until the next day.
Keep at least one market in a schedule. With none, it can’t make posts, and your other changes won’t save until you add a market back with Add Markets.
On the Social page, select the schedule’s tile.
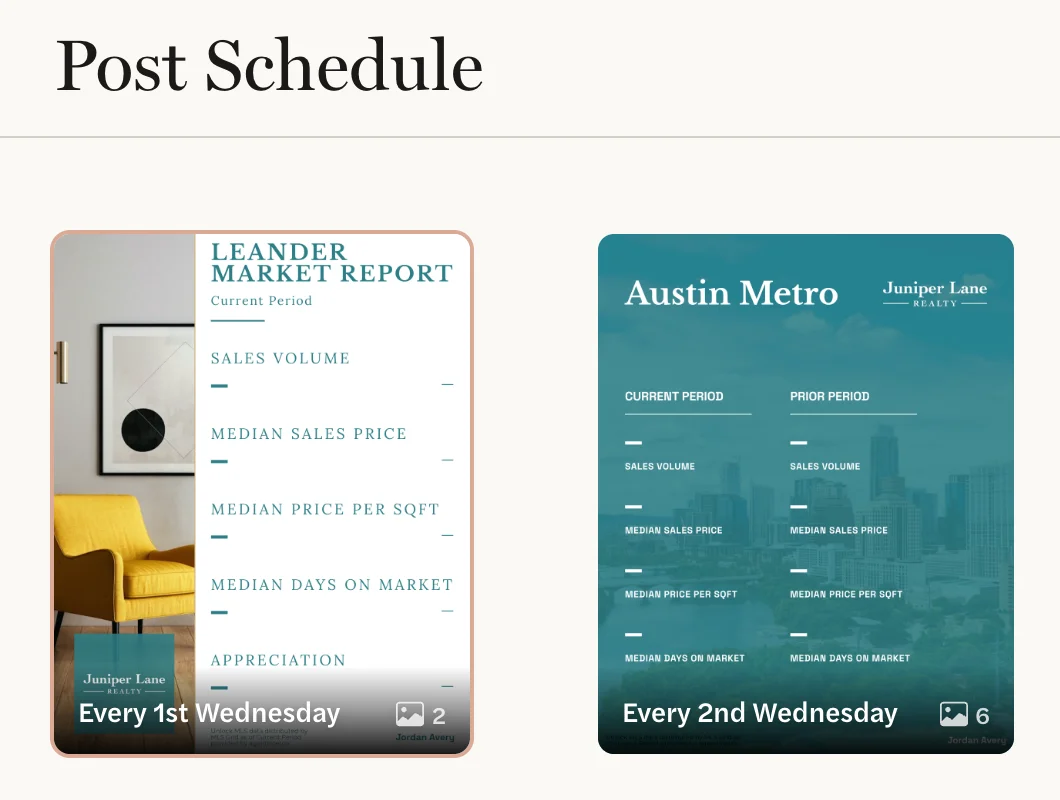
Change anything on the Recurring Schedule page: markets, photo, template, statistics or day. Each change saves as you make it, except in a market’s Edit market window, which saves when you select Save.
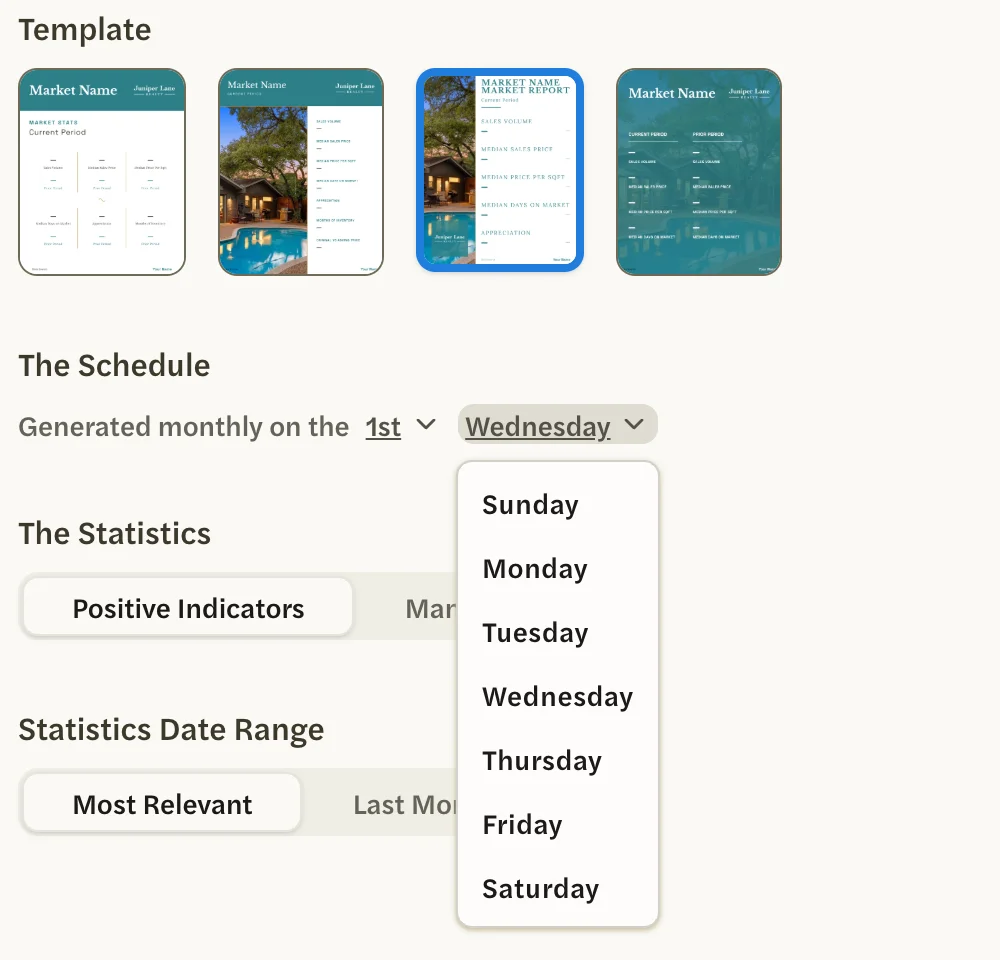
Changes apply from the next post. Posts already made keep their images and caption.
The schedules AgentIntel set up for you when you joined work the same way, and you can change or delete them like any other. See How social posts work.
Stop or delete a schedule
There is no pause. To stop a schedule’s posts, delete the schedule.
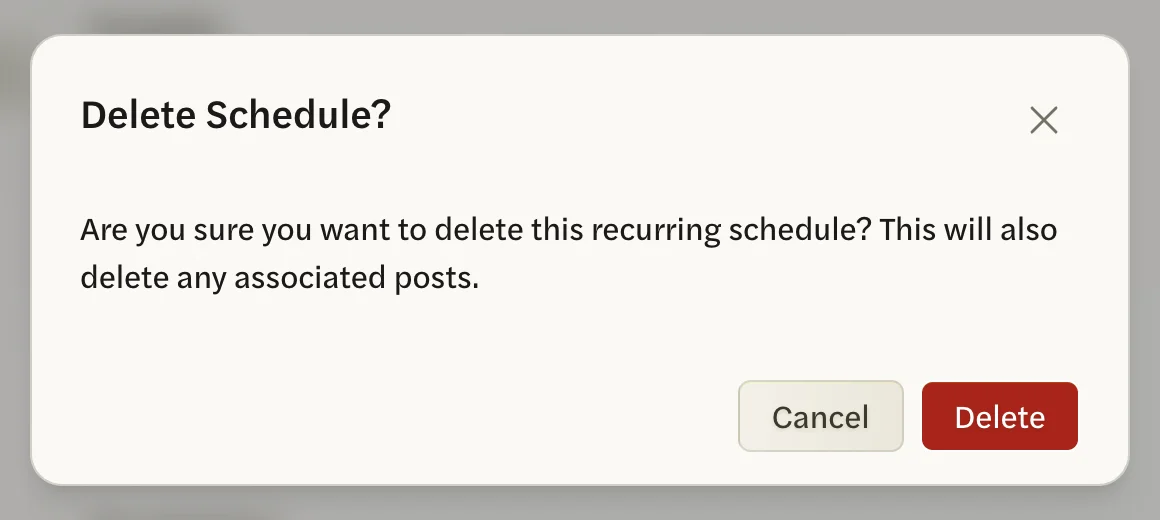
Deleting a schedule also deletes every post it has made, including the ones under Post History. Download any you want to keep first. A deleted schedule can’t be brought back.
On the Social page, select the schedule’s tile.
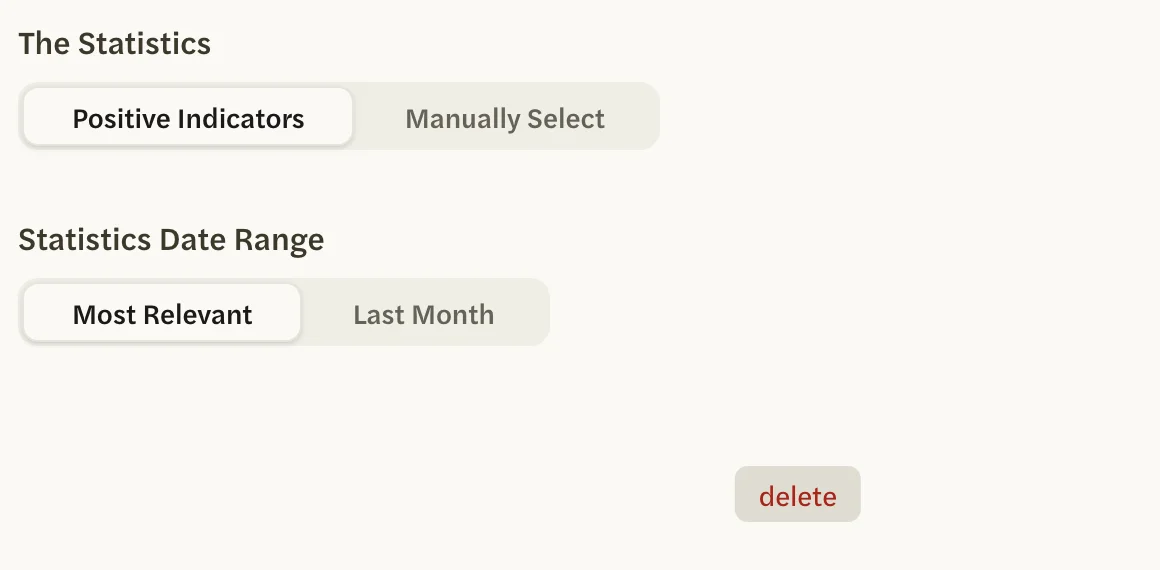
Select delete at the bottom of the page.
In Delete Schedule?, select Delete.
The Social page opens, without the schedule’s tile or its posts.
Good to know
- Posts are made while your subscription is active, including during a free trial. If your access ends, scheduled posts stop.
- Each schedule holds up to 10 markets. For more, set up a second schedule.
- You can have several schedules, on the same day or different days.
Something not working? See Troubleshooting social posts.