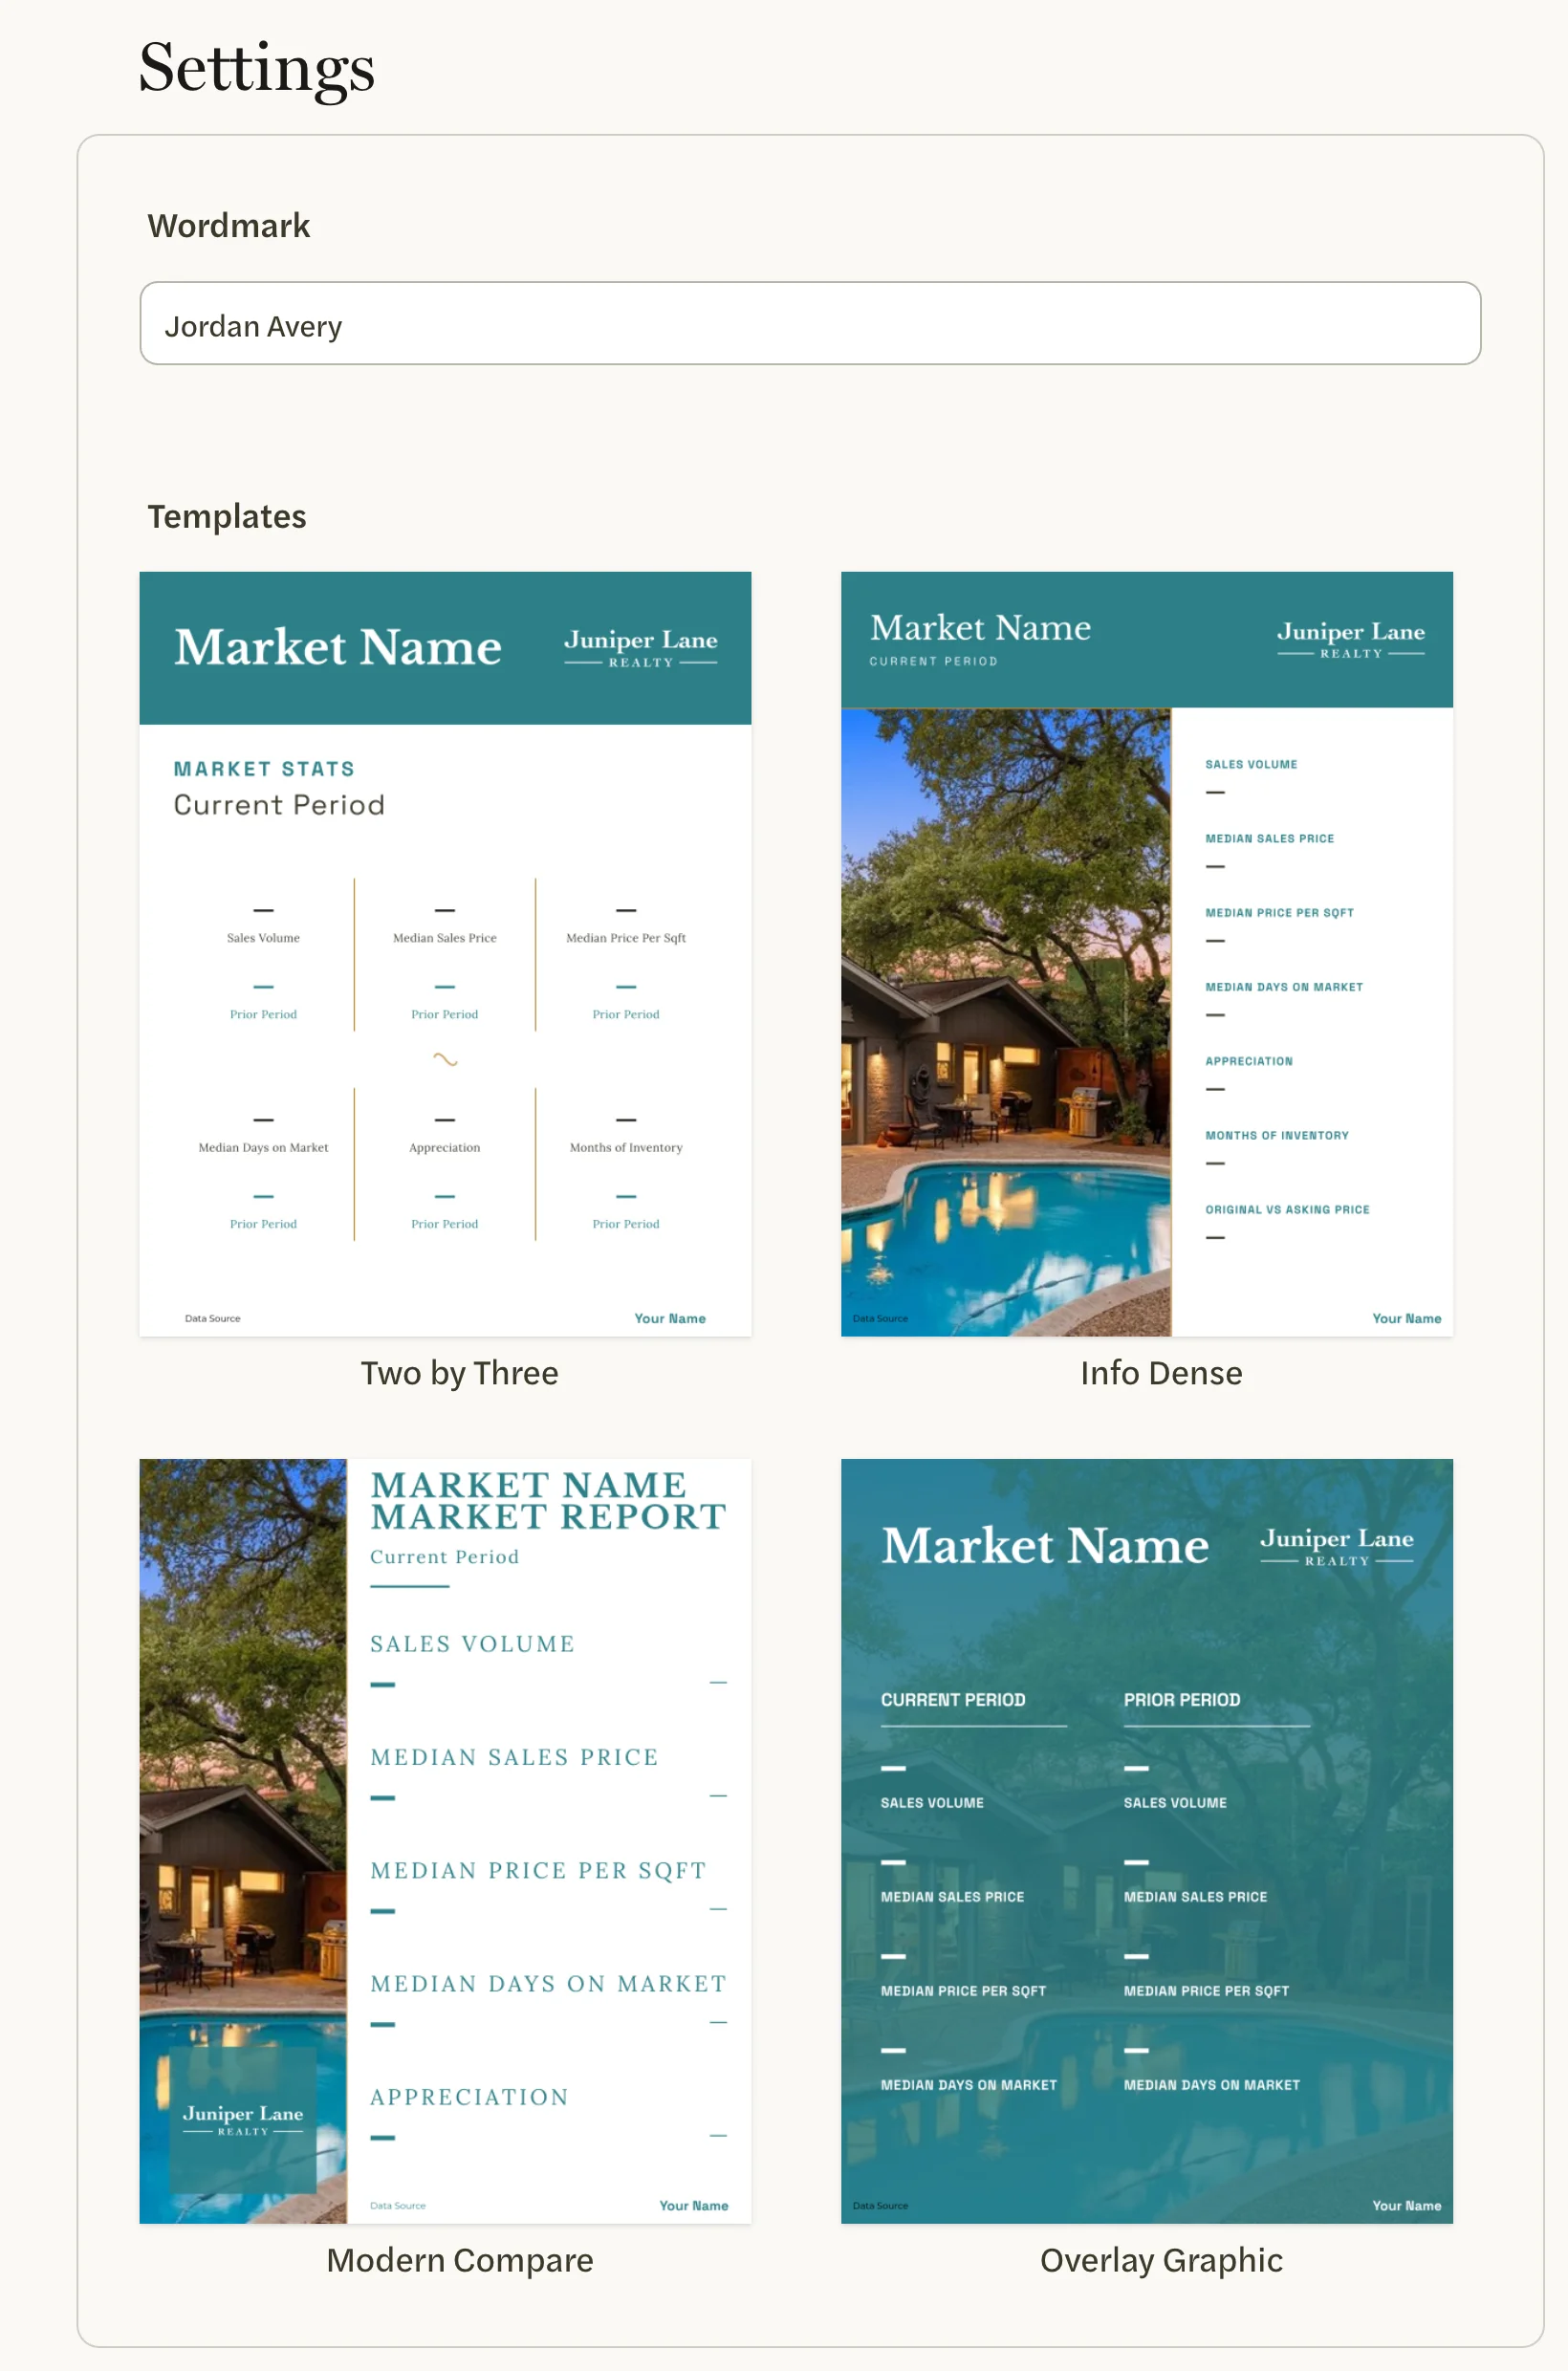
Your colors, fonts and logo live on your four templates: Two by Three, Info Dense, Modern Compare and Overlay Graphic. You style each one separately, and every post that uses a template takes its look when the post is made. Open them from customize on the Social page.
Every change saves the moment you make it. There is no Save button, no undo and no way back to the original look. Before you change a color, note its code from the color picker so you can put it back.
Open a template
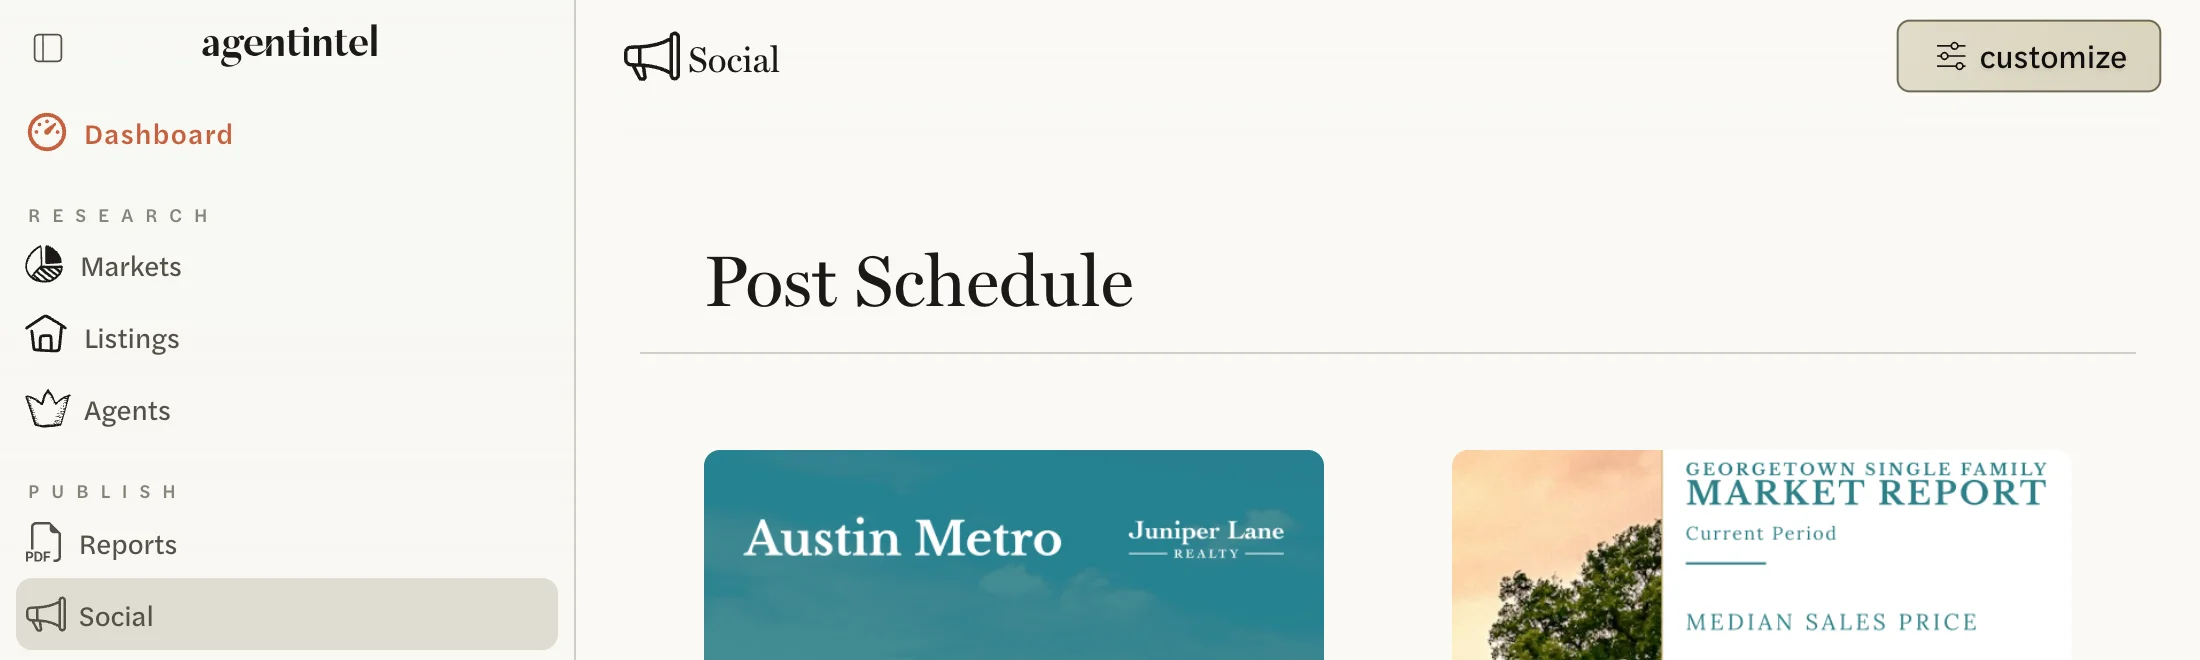
Select Social in the left menu, then customize at the top right (just an icon on a narrow screen).
The Settings page shows your Wordmark and your four Templates. Select the template you want to style.
The template’s page opens. A sample image is on the left, and the settings are on the right, under Colors & Imagery and Typography. The sample uses stand-in words, such as “Market Name”, “Current Period” and “Your Name”, and a sample photo.
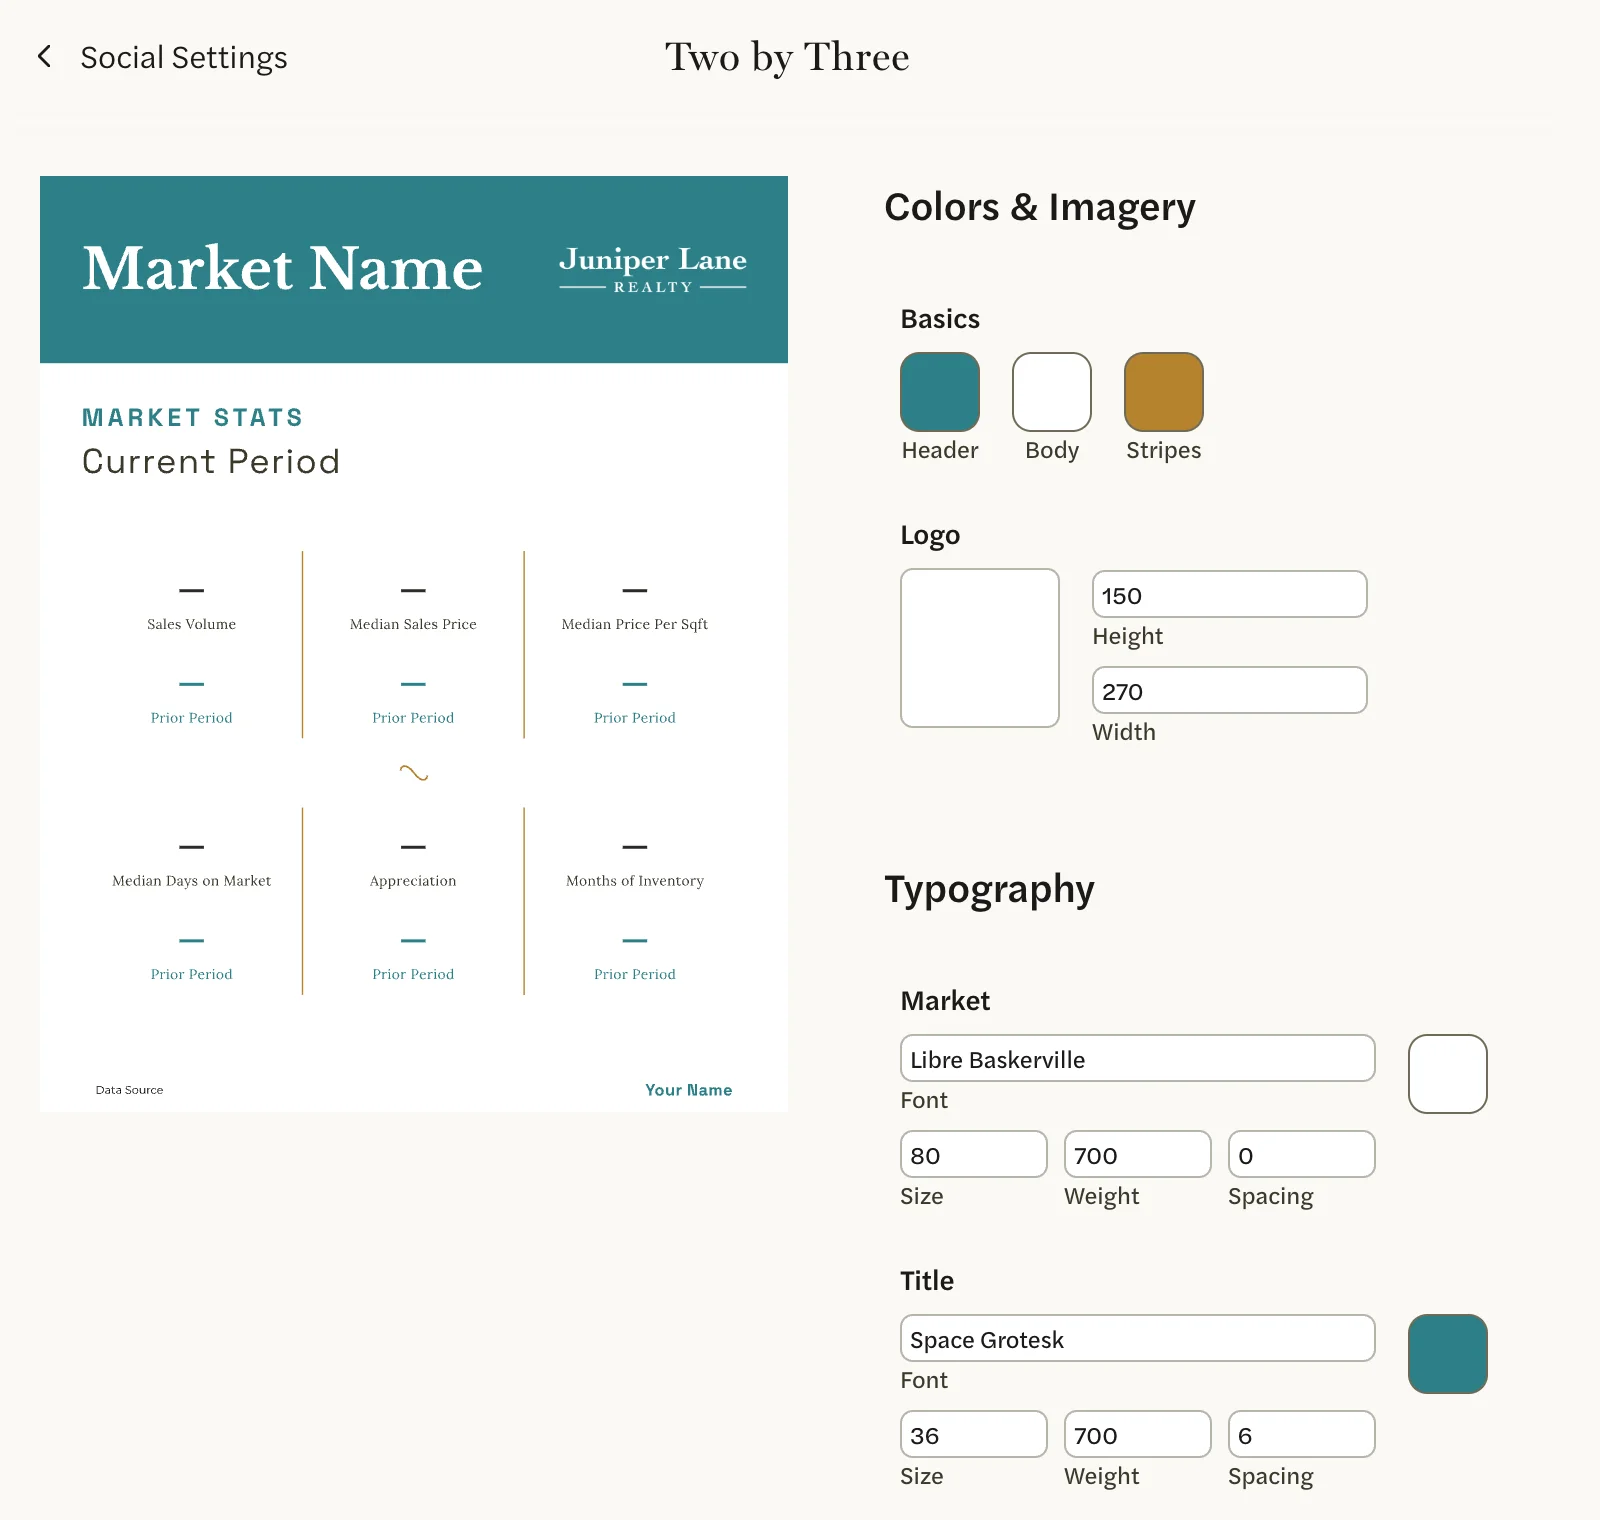
Each change redraws the sample. To go back to the Settings page, select Social Settings at the top left.
Change a color
Select a color square, such as Header under Basics. A color picker opens.
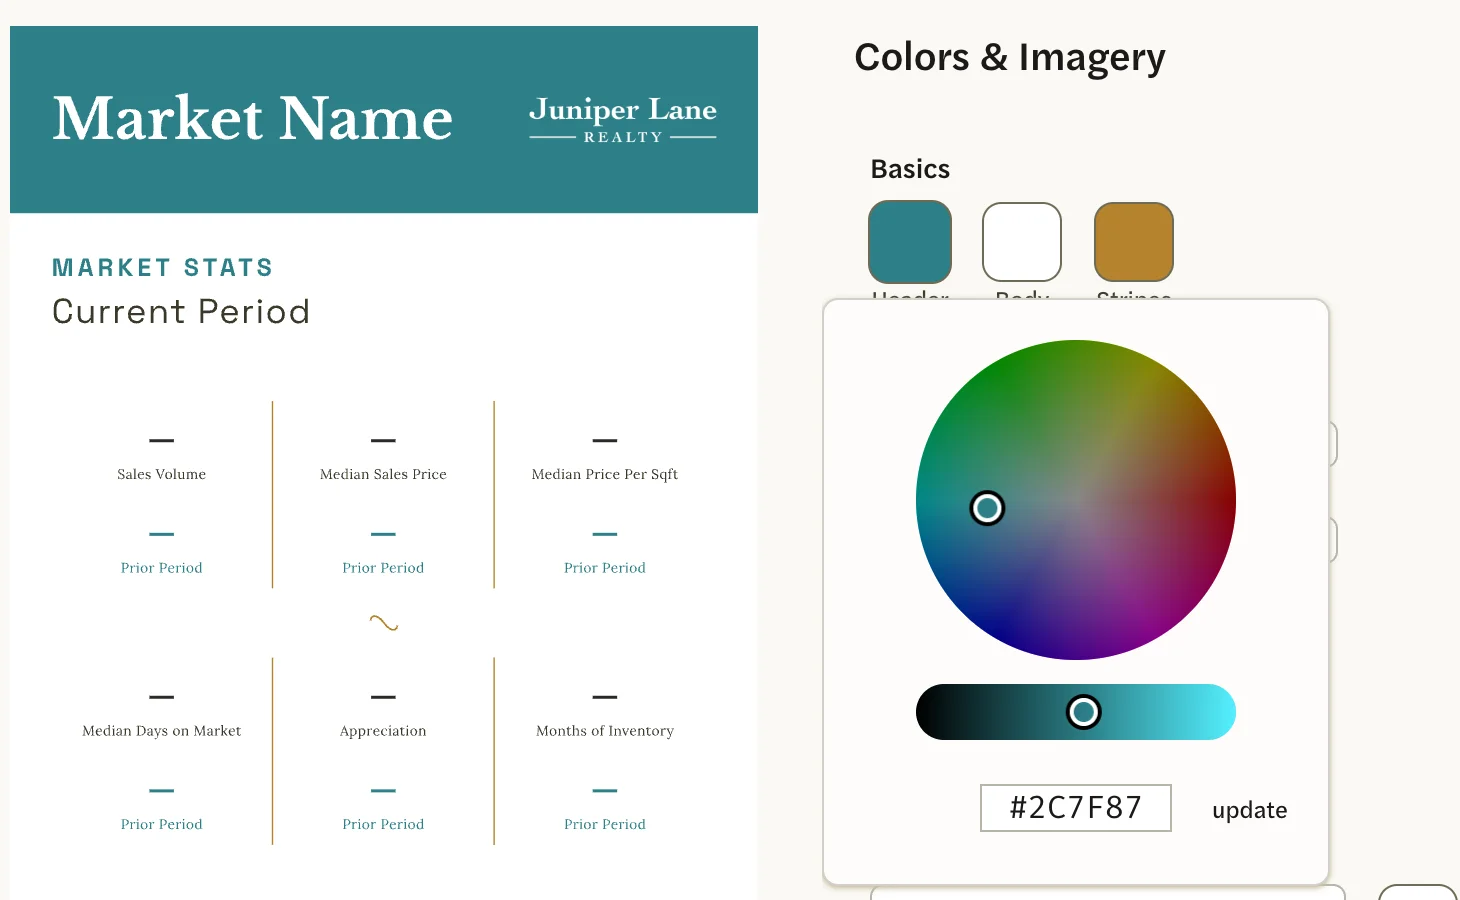
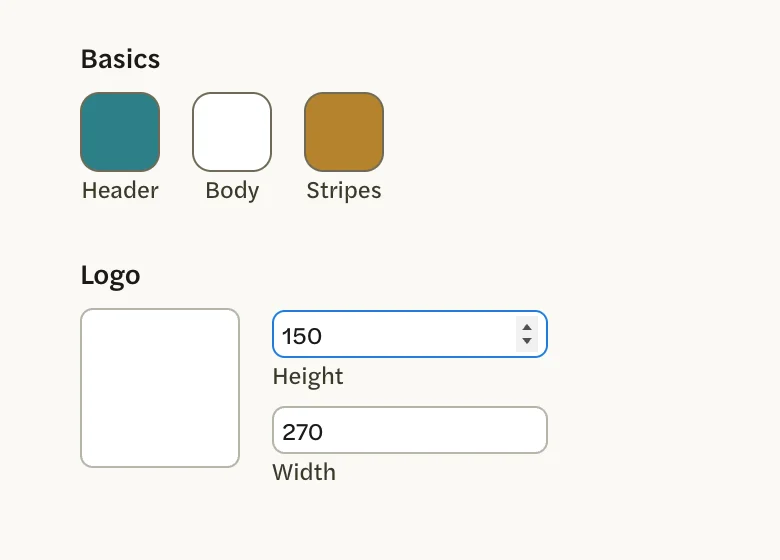
Pick a color on the wheel and the slider below it, or type a six-digit code, such as #2C7F87, in the box.
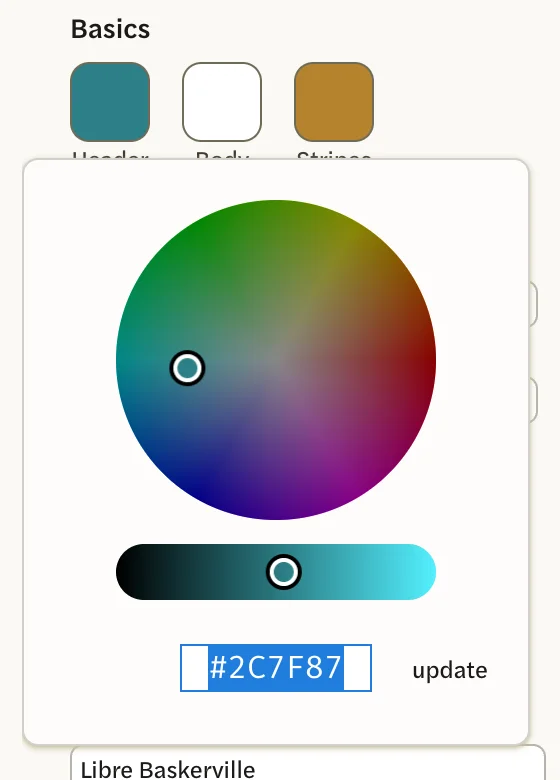
Select update.
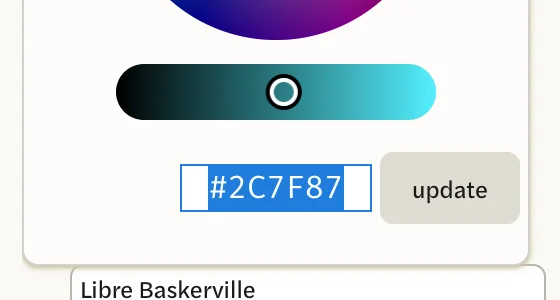
The squares under Basics color these parts of each template:
- Two by Three: Header is the band across the top, Body is everything below it, and Stripes are the lines between the statistics and the small wave in the middle.
- Info Dense: Header and Body as above, and Border is the thin line along the top and right edge of the photo.
- Modern Compare: Font colors all the text, including the small line naming the data source, Background is behind the text, and Border is the line between the photo and the text.
- Overlay Graphic: Font colors all the text and the lines under the dates, Overlay is the color laid over the photo, and Opacity is how strongly it covers the photo, from 0 (no color, the photo as it is) to 1 (solid color, no photo).
On Two by Three and Info Dense, each piece of text also has its own color square under Typography.
Keep your text easy to read: light text on a dark or colored background, dark text on a light one.
Choose your logo
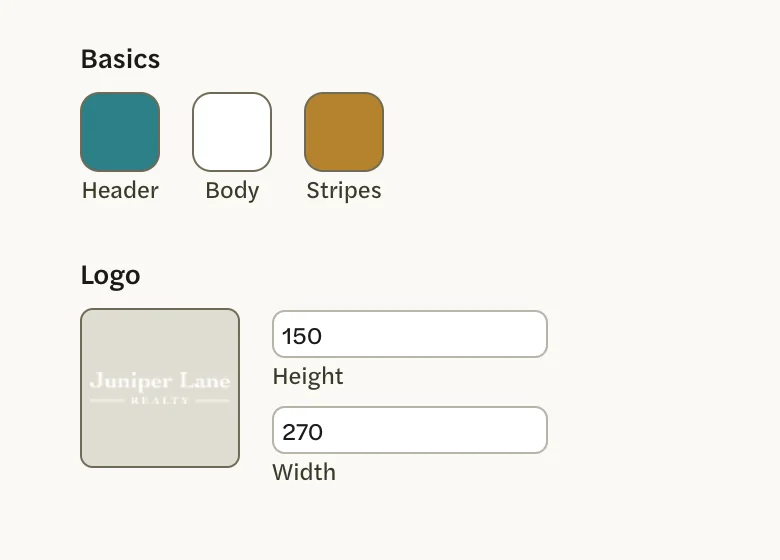
Under Logo, select the logo square. The Logo Picker opens, showing every version of your logos.
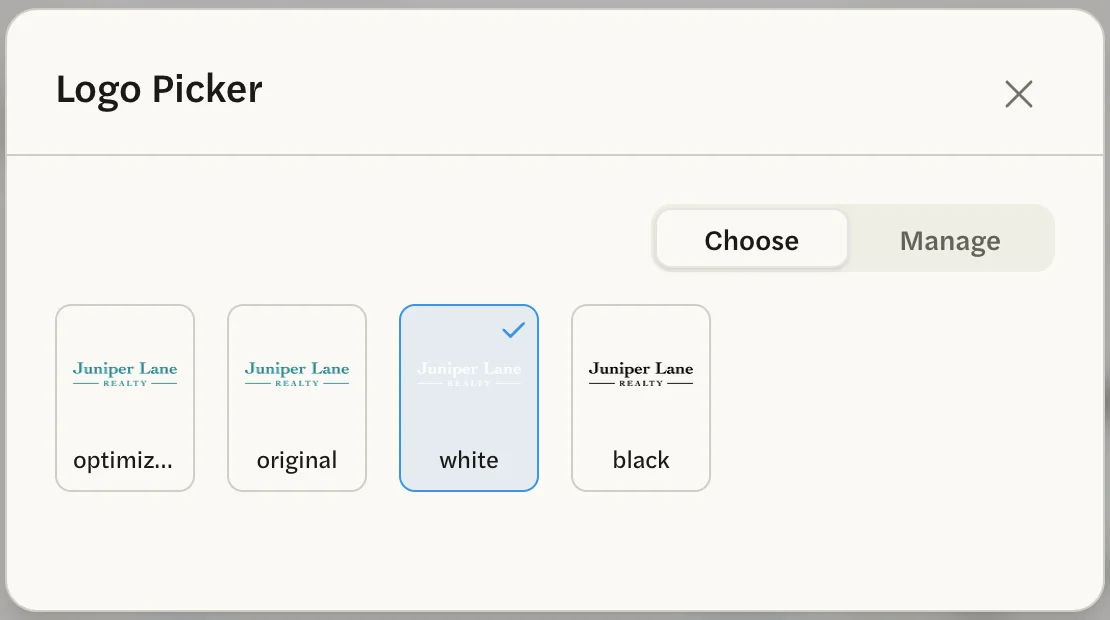
Select a version. The picker closes, and your choice is saved.
On a dark or colored background, choose white: your logo in its own color can disappear against a background of the same color. The white version is hard to see on the logo square itself, so check the sample image.
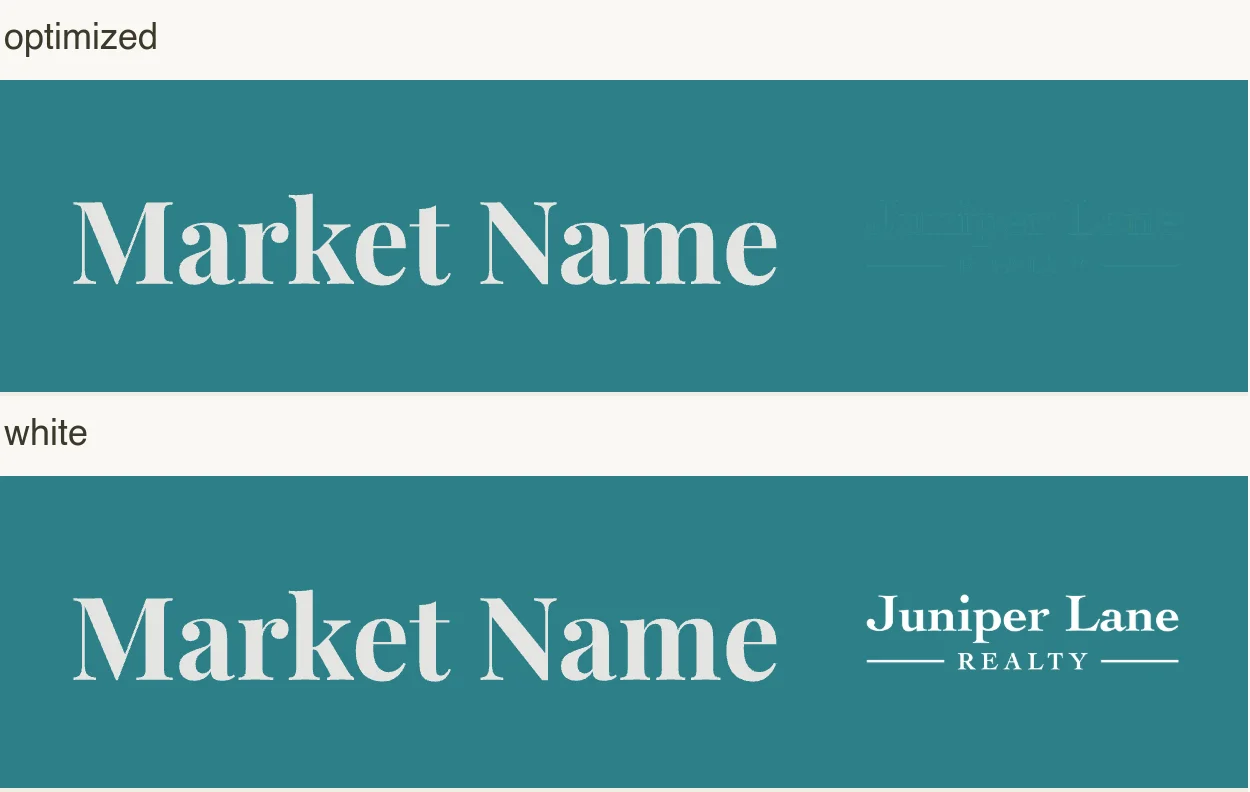
To resize the logo, change Height and Width. The logo fits inside a box that many pixels high and wide and keeps its shape, so whichever edge of the box it reaches first sets its size. For a wide logo, that is usually the width, even when Width is the larger number.
On Modern Compare, the logo sits on a colored box at the bottom of the photo strip. Padding is the space between the logo and the edge of the box (less padding makes the logo bigger), Opacity is how solid the box is, from 0 (clear) to 1 (solid), and the color square beside them sets the box’s color.
Each template keeps its own logo choice, and choosing a logo for your reports doesn’t change your templates. To add or remove a logo, see Add and choose a logo.
Change the fonts
Under Typography, each piece of text on the template has its own settings:
- Font: select the box and choose from the list. Type to search it.
- Size: the largest the text can be, in pixels on the 1080-pixel-wide image. Longer text, such as a long market name, is shrunk to fit its space.
- Weight: how bold the text is, from 100 (thin) to 900 (heaviest). If a font doesn’t come in that weight, the closest one is used.
- Spacing: extra space between the letters.
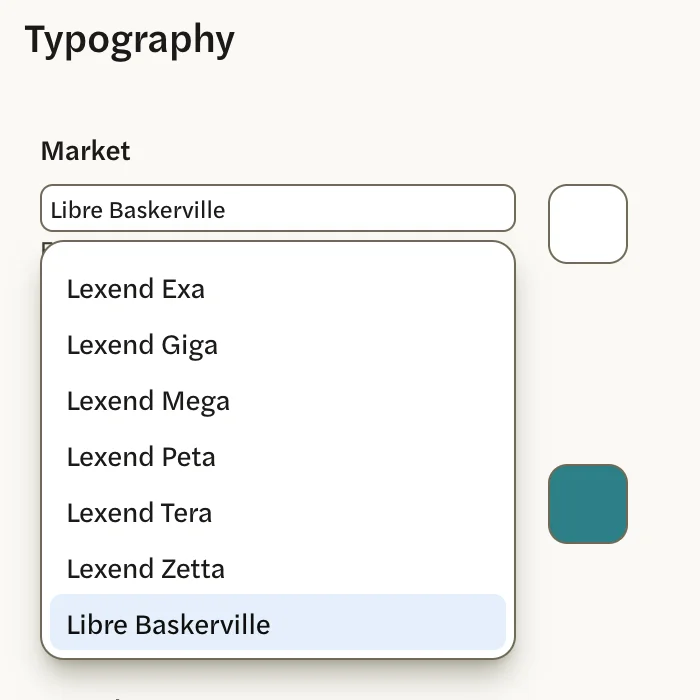
The pieces of text are Market (the market’s name), Title (“MARKET STATS” on Two by Three, “MARKET REPORT” on Modern Compare), Period (the dates the numbers cover), Statistic Name, Statistic Value, Statistic Percent or Statistic Change (the change since the earlier period), Statistic Prior Period (the small line under each change on Two by Three, such as “from September”) and Wordmark. Each template lists only the ones it uses.
The small line naming the data source can’t be changed or removed. On Modern Compare it takes the Font color; on the other templates it is black.
Change your wordmark
The wordmark is the name printed at the bottom of every image, on all four templates. It starts as your name; you could use your social media handle instead.
Select Social in the left menu, then customize.
Type in the Wordmark box. It saves as you type.
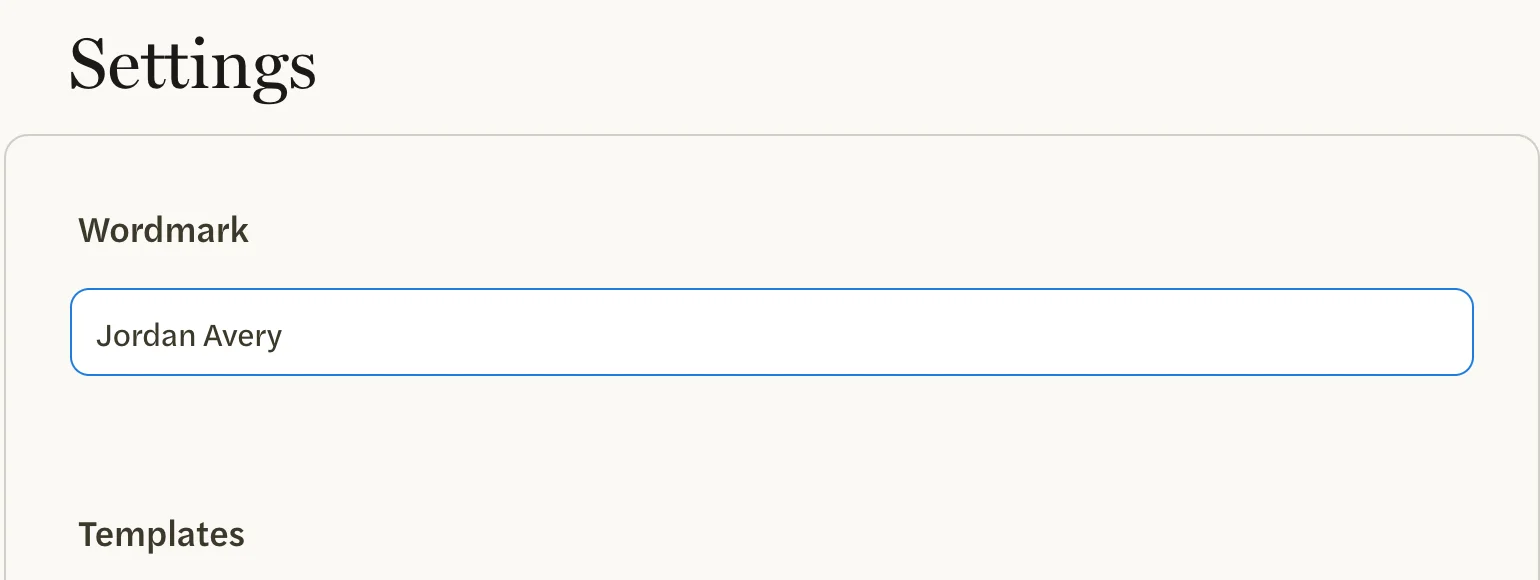
Its font and size are set on each template, under Typography, then Wordmark. On Two by Three and Info Dense, its color square is there too. On Modern Compare and Overlay Graphic, it takes the Font color under Basics.
When your changes show up
- Every post and schedule that uses the template takes the new look in the next post made. The images on a schedule’s page, and its tile on the Social page, show the new look straight away.
- Posts already made keep their look. To use the new look, make a new post.
- To see the template with your own markets, open a schedule or a post’s Design Your Post page and choose the template under Template. The images there use your market names and your wordmark.
If you are on a team, your templates may have started as a copy of your team’s layouts. Your changes affect only your own templates. See Team branding for reports and social.