Every report carries your branding: your name and contact lines, your headshot, your brokerage’s name, address and logo, and two colors. You set them once on the Headshot & Settings page, and every report you make after that uses them.
Open your report settings
Sign in at app.agentintel.co and select Reports in the left menu.
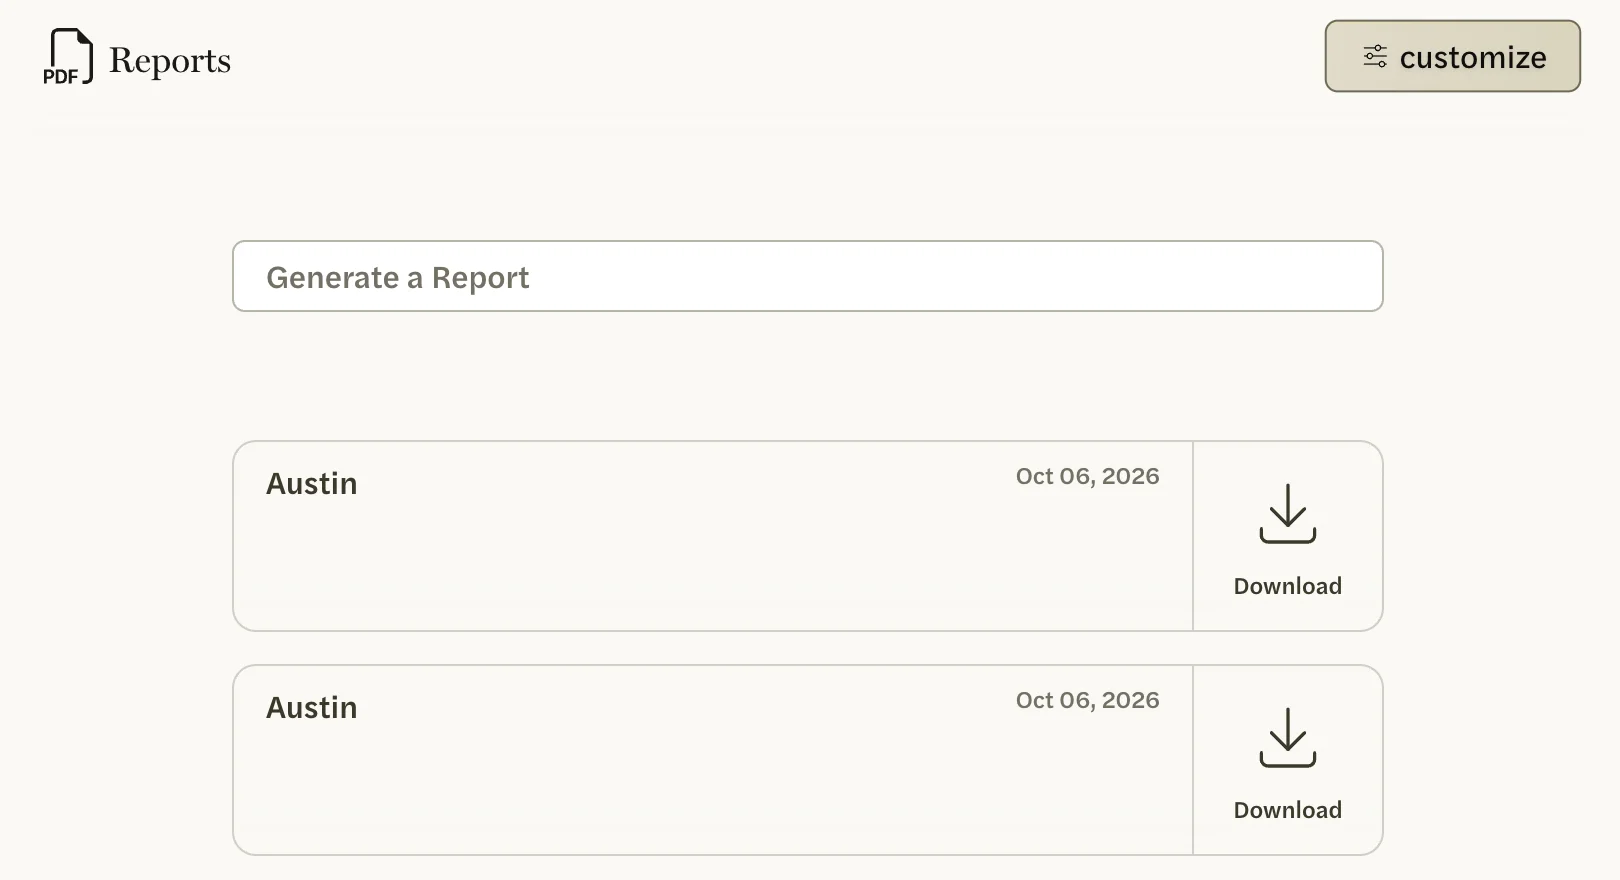
Select customize at the top right. On a phone or a narrow window, the button shows only its icon.
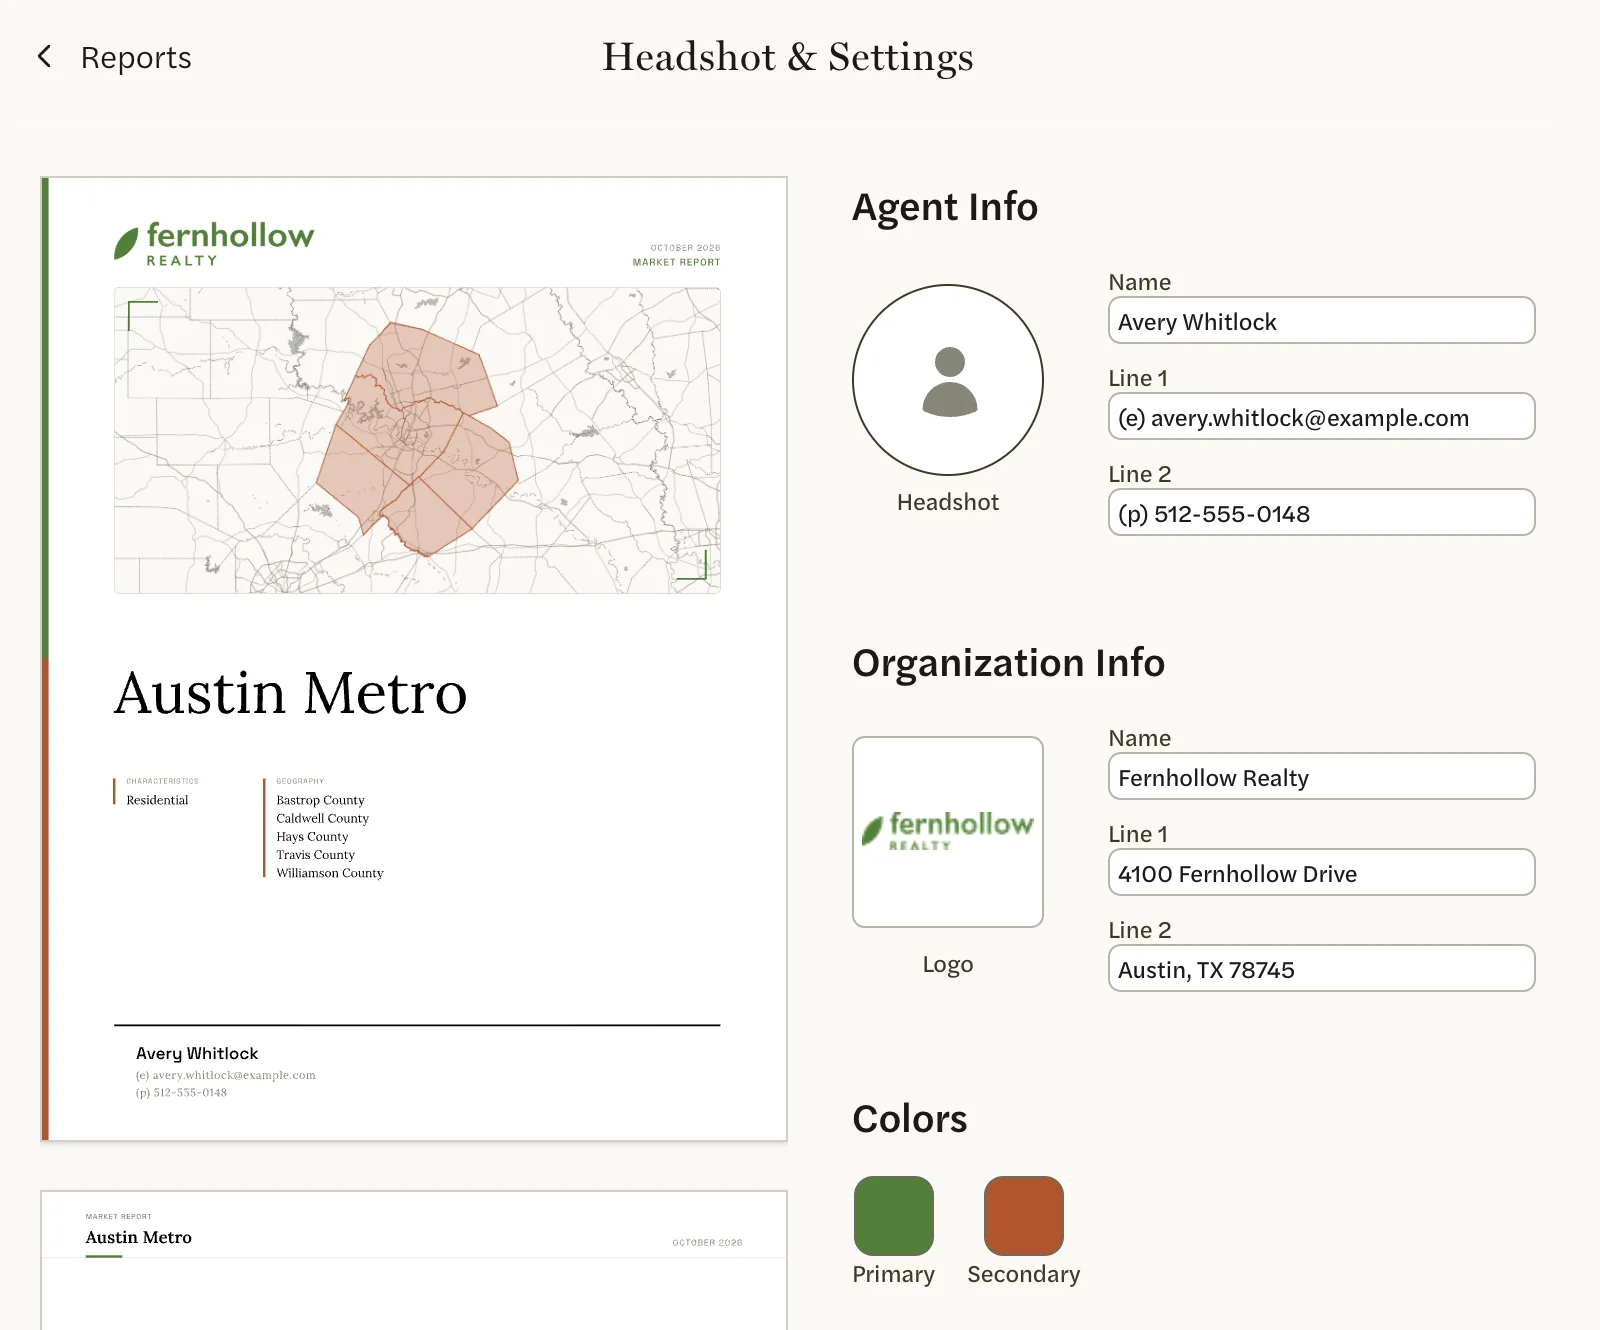
The Headshot & Settings page opens. On the left is a preview of a full report with your current settings; on the right are the settings. There is no Save button: each change saves by itself, and the preview redraws a moment later.
Change your name and contact lines
Under Agent Info, edit Name, Line 1 and Line 2. Each line is plain text, so it can hold a phone number, an email address, a website or anything else you want clients to see.
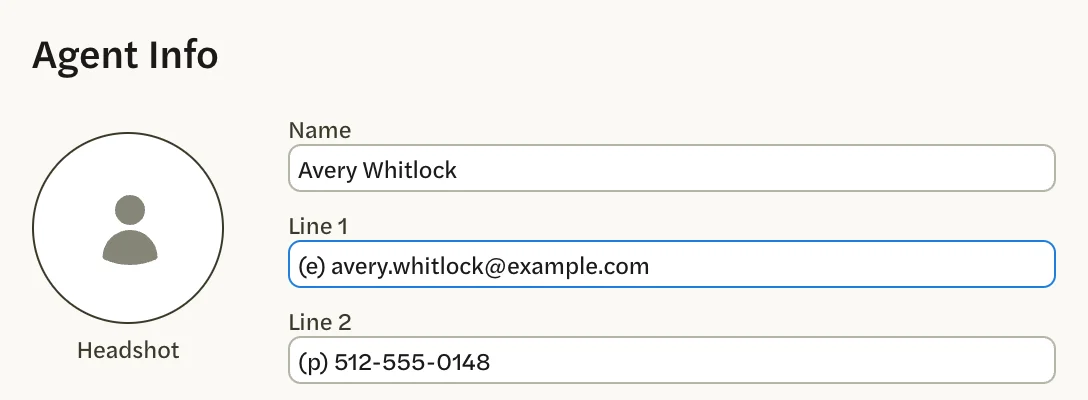
These lines print at the bottom of the cover and at the bottom left of every other page.
These lines belong to your reports only. Changing your name or email in your account settings doesn’t change them, and changing them here doesn’t change your account.
Change your brokerage name and address
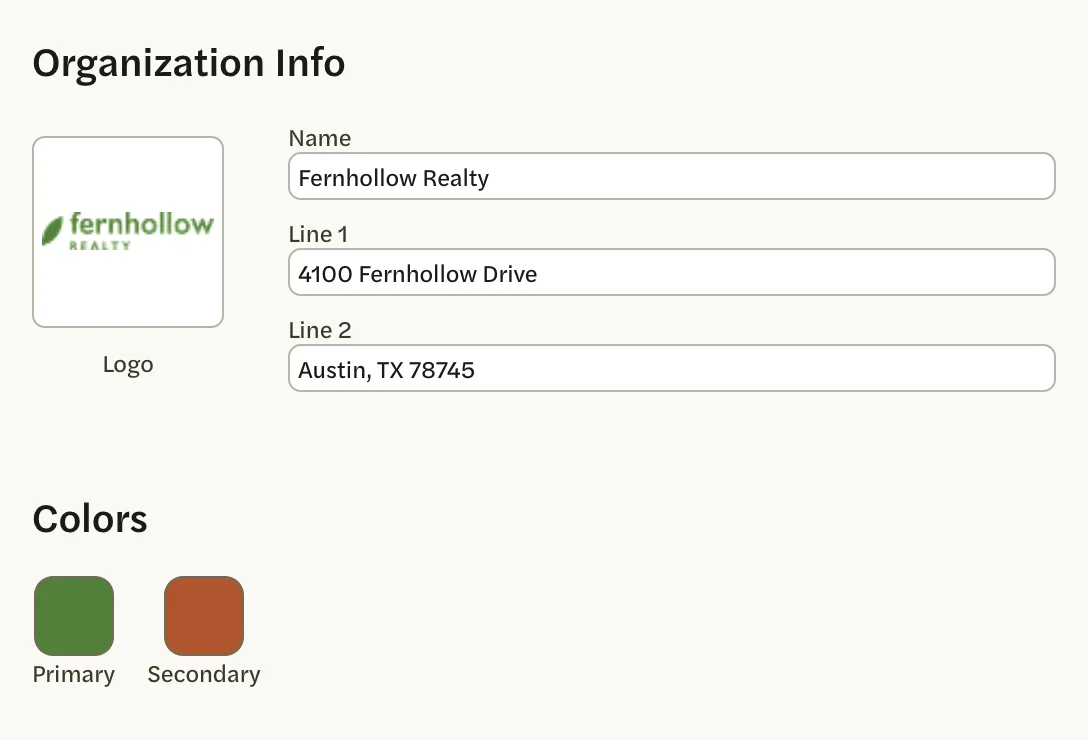
Under Organization Info, edit Name, Line 1 and Line 2. They print at the bottom right of every page except the cover, beside your logo.

To add or change the logo, see Add and choose a logo.
Add or change your headshot
Under Agent Info, select the round Headshot circle.
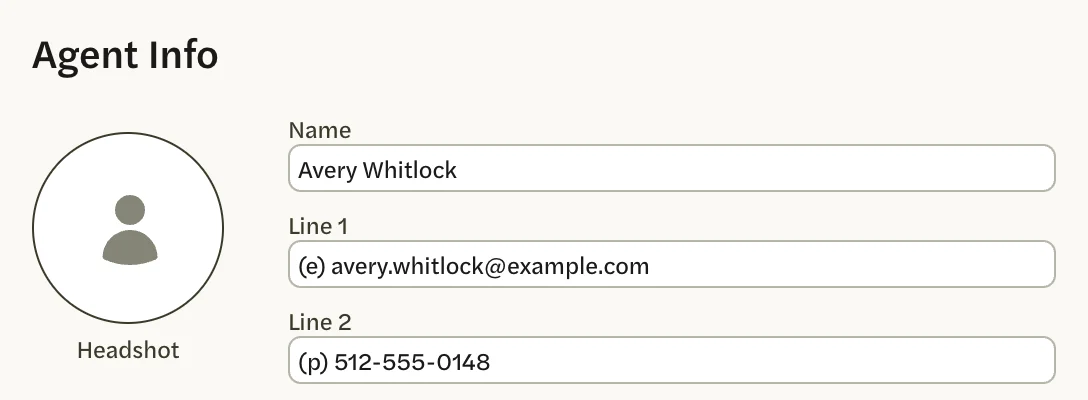
Choose a photo. The Edit headshot window opens.
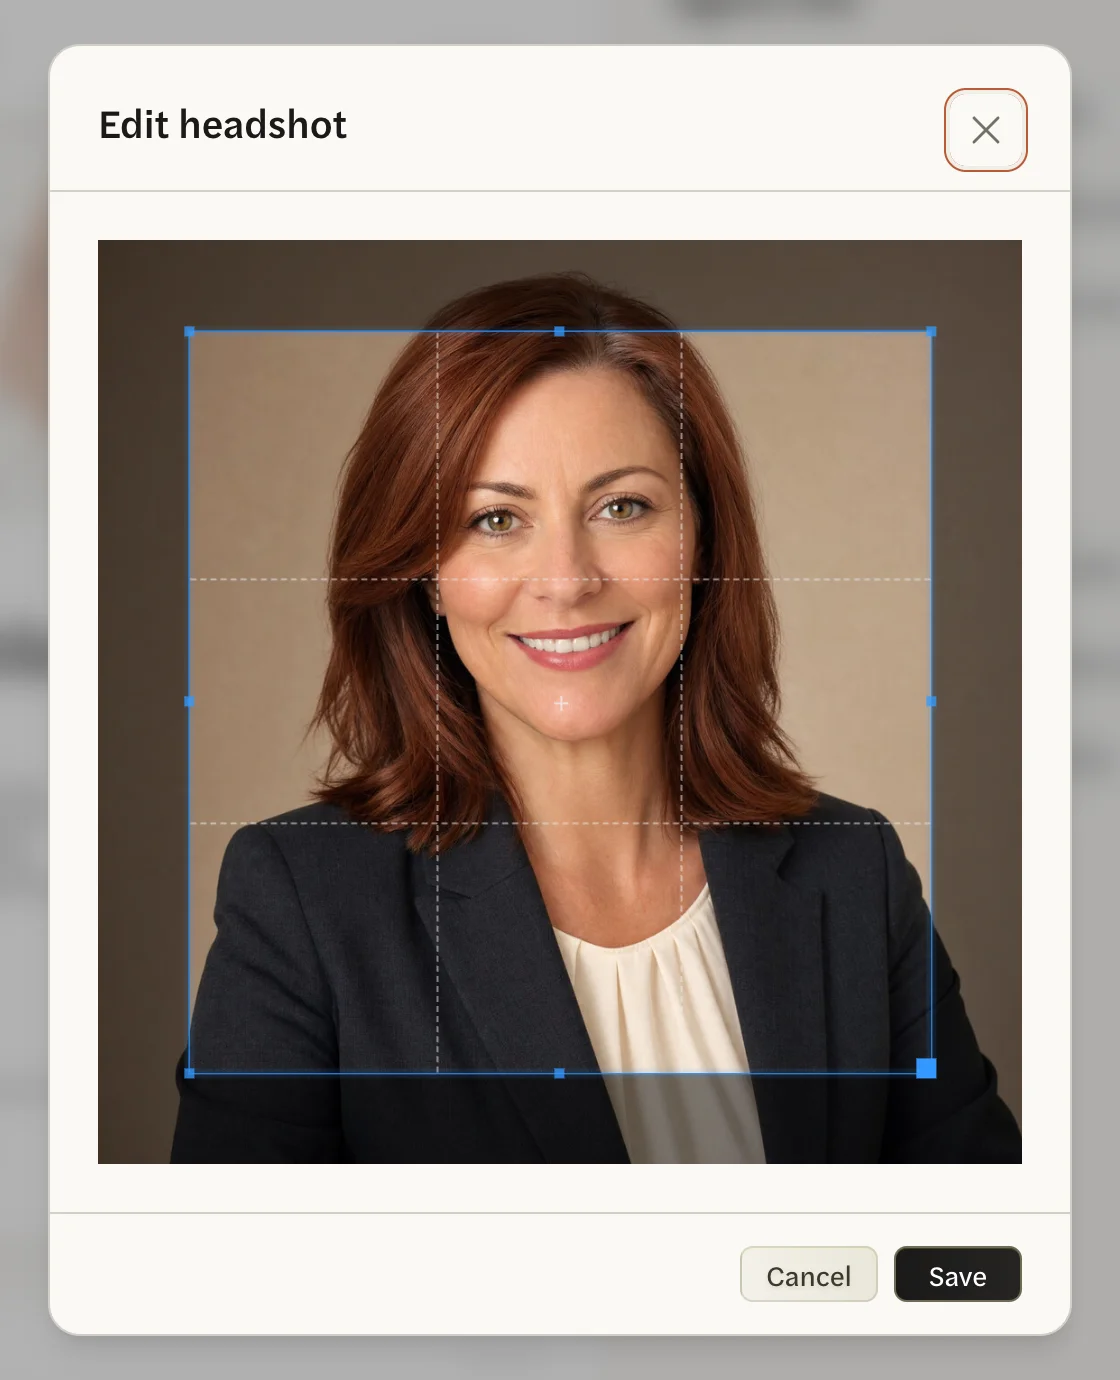
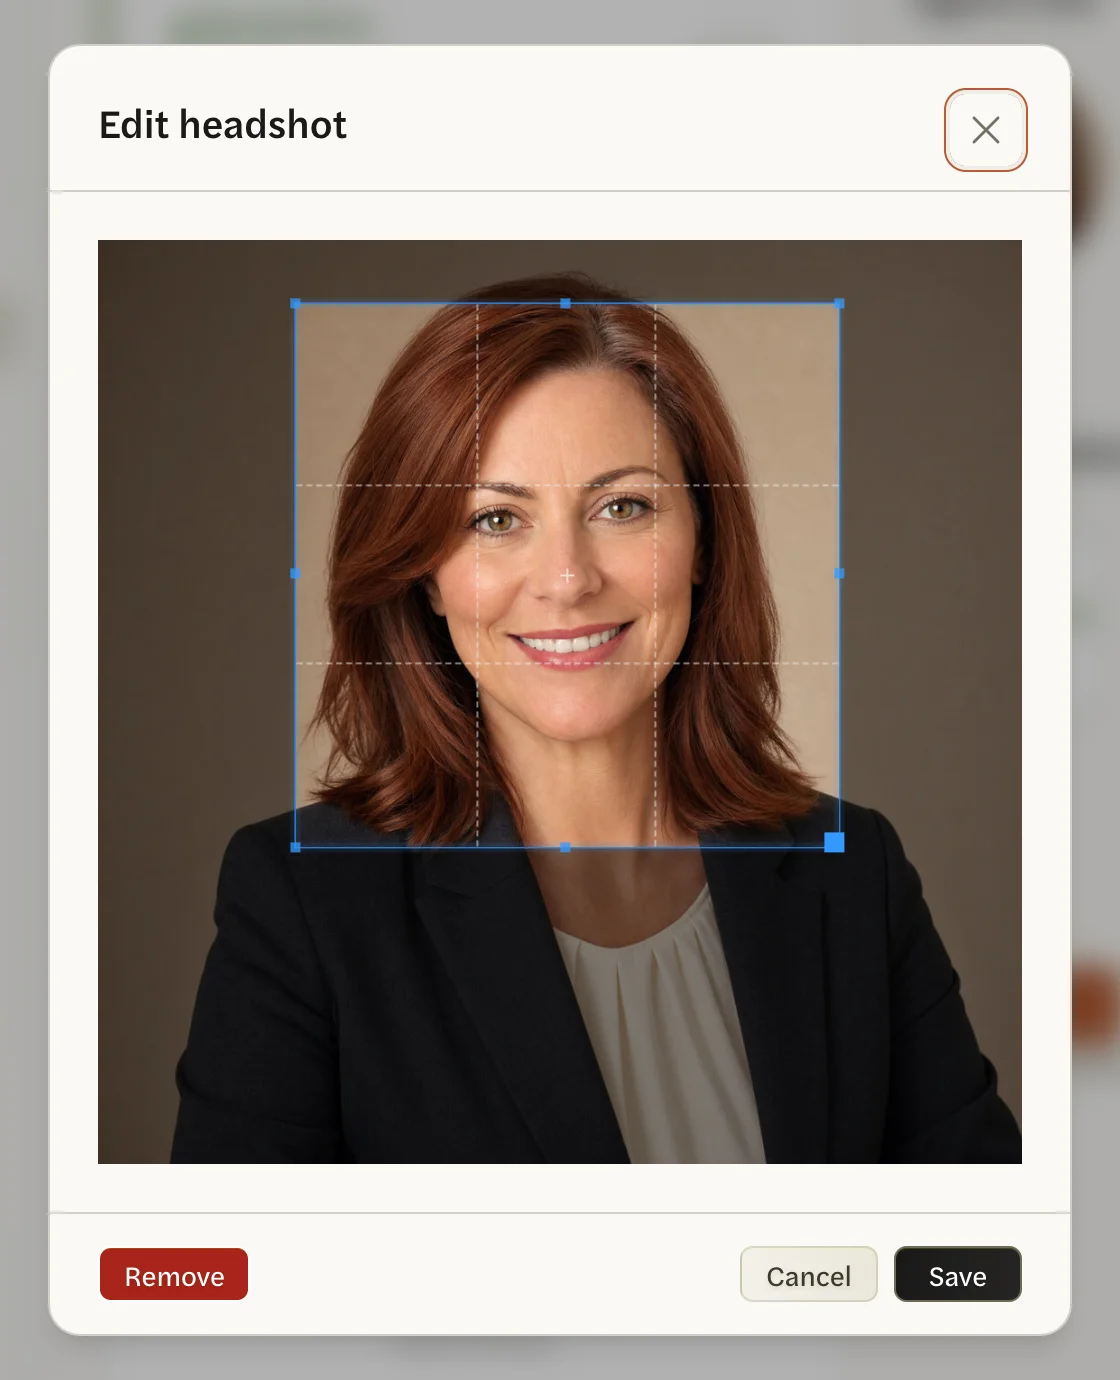
Drag the square to frame your face, and drag a corner of it to make it bigger or smaller.
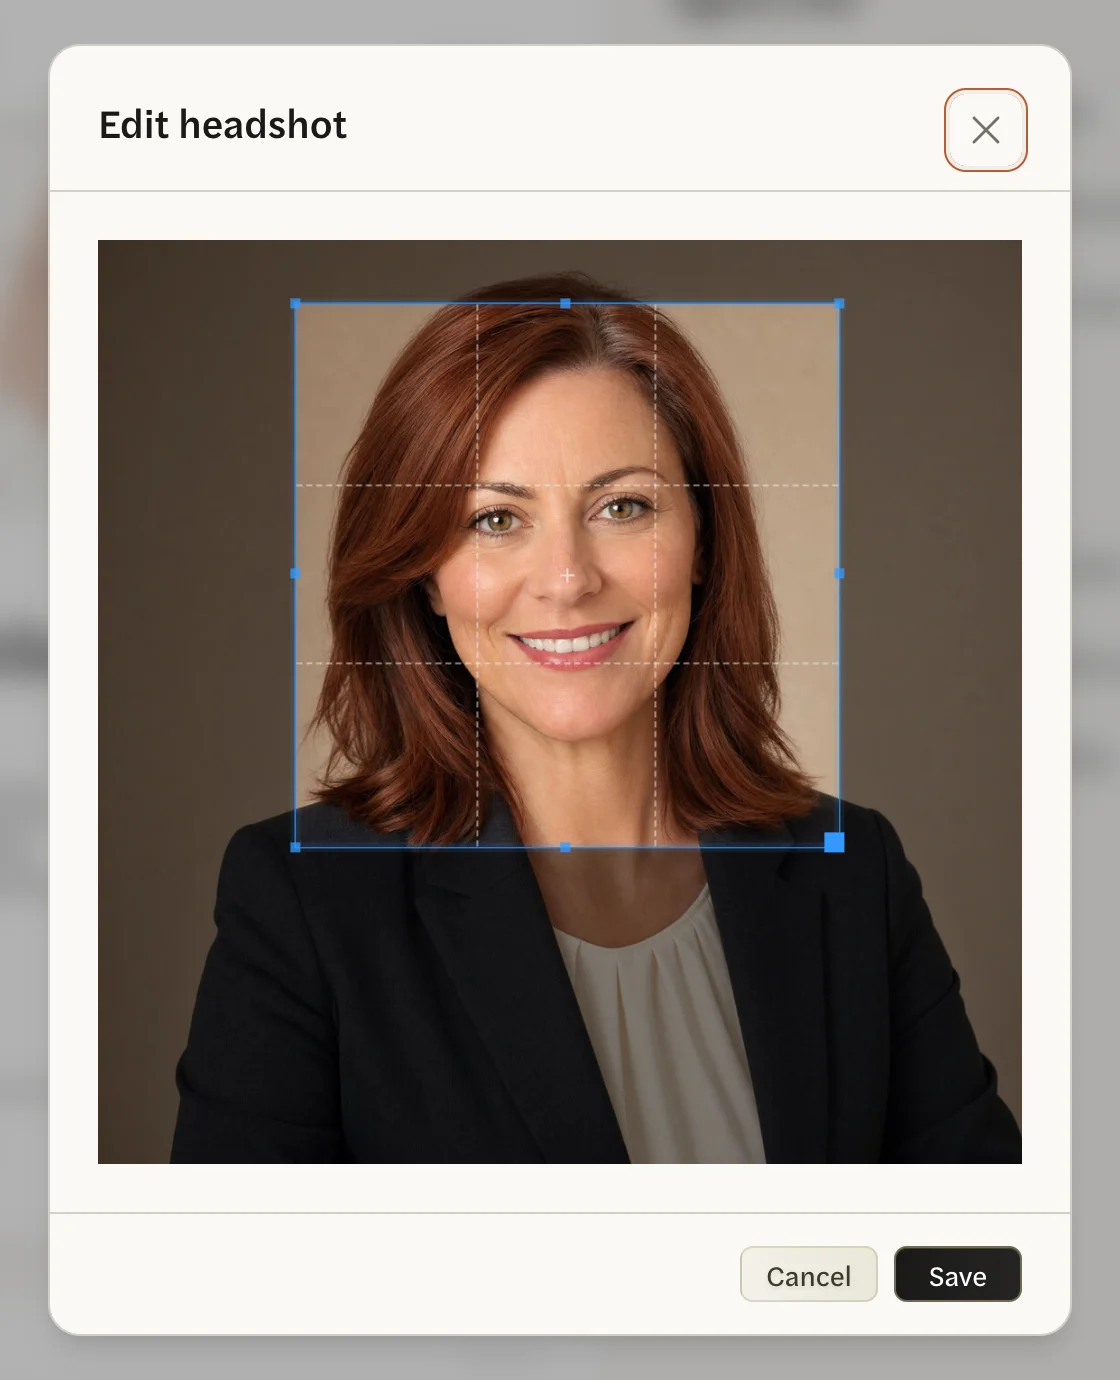
Select Save.
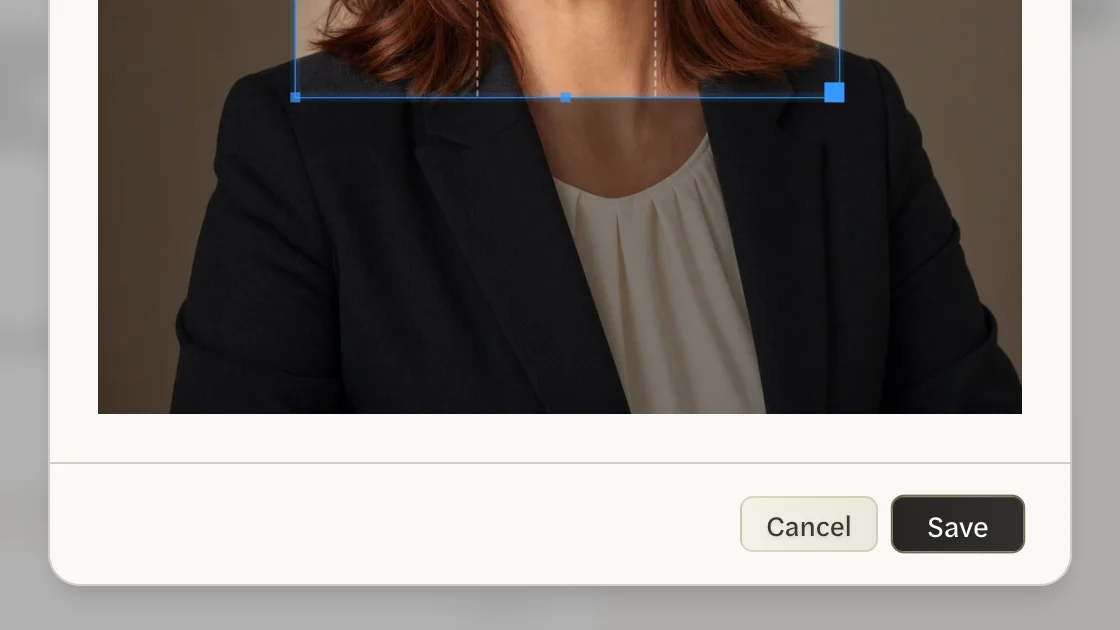
Your photo appears in the circle, and the preview shows it in a circle at the bottom of the cover and beside your name on every other page. The circle’s outline is your Primary color.

To reframe your photo later, select the circle again: the same window opens on your current photo. To use a different photo, drag the new file onto that window and select Save, or select Remove and add the new one.
Without a headshot, your report prints your name and contact lines with no photo.
Change your colors
Under Colors, select the Primary square.
Type your color’s full six-digit code, such as #2C7F87, in the box under the color wheel, or pick the color on the wheel.
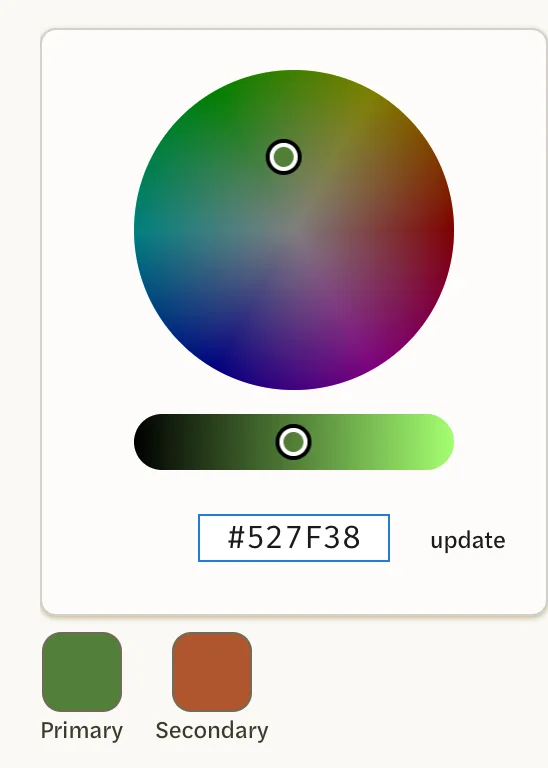
Select update.
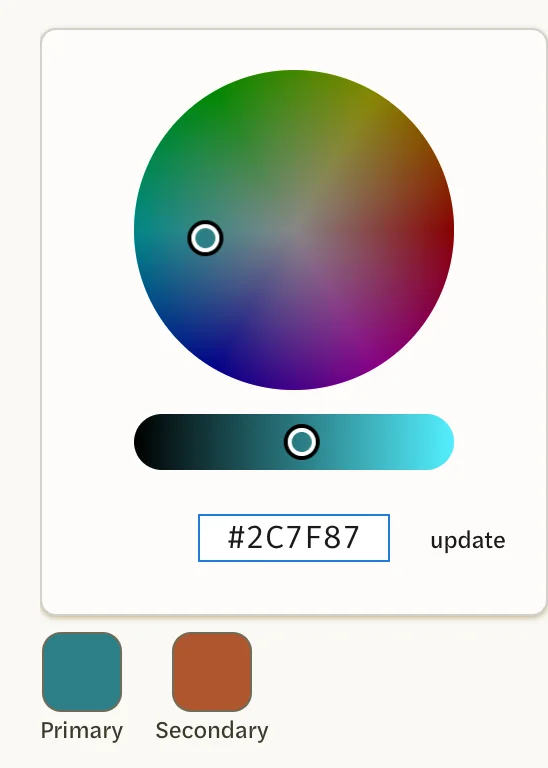
Do the same for Secondary.
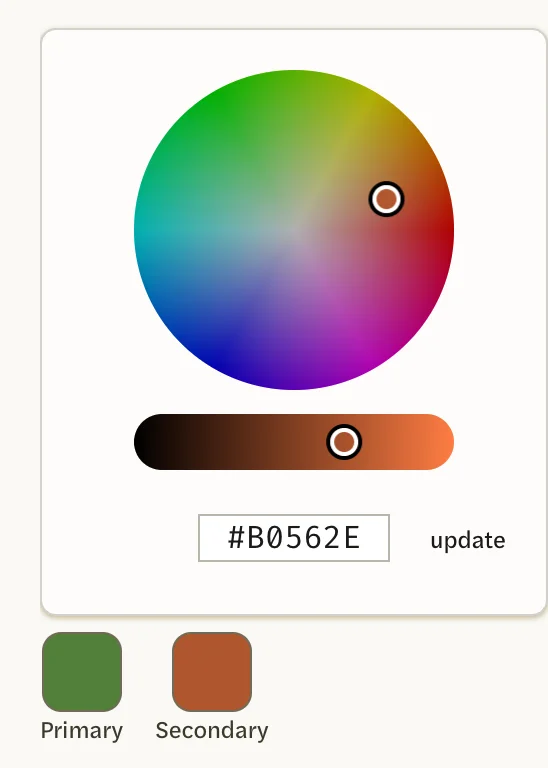
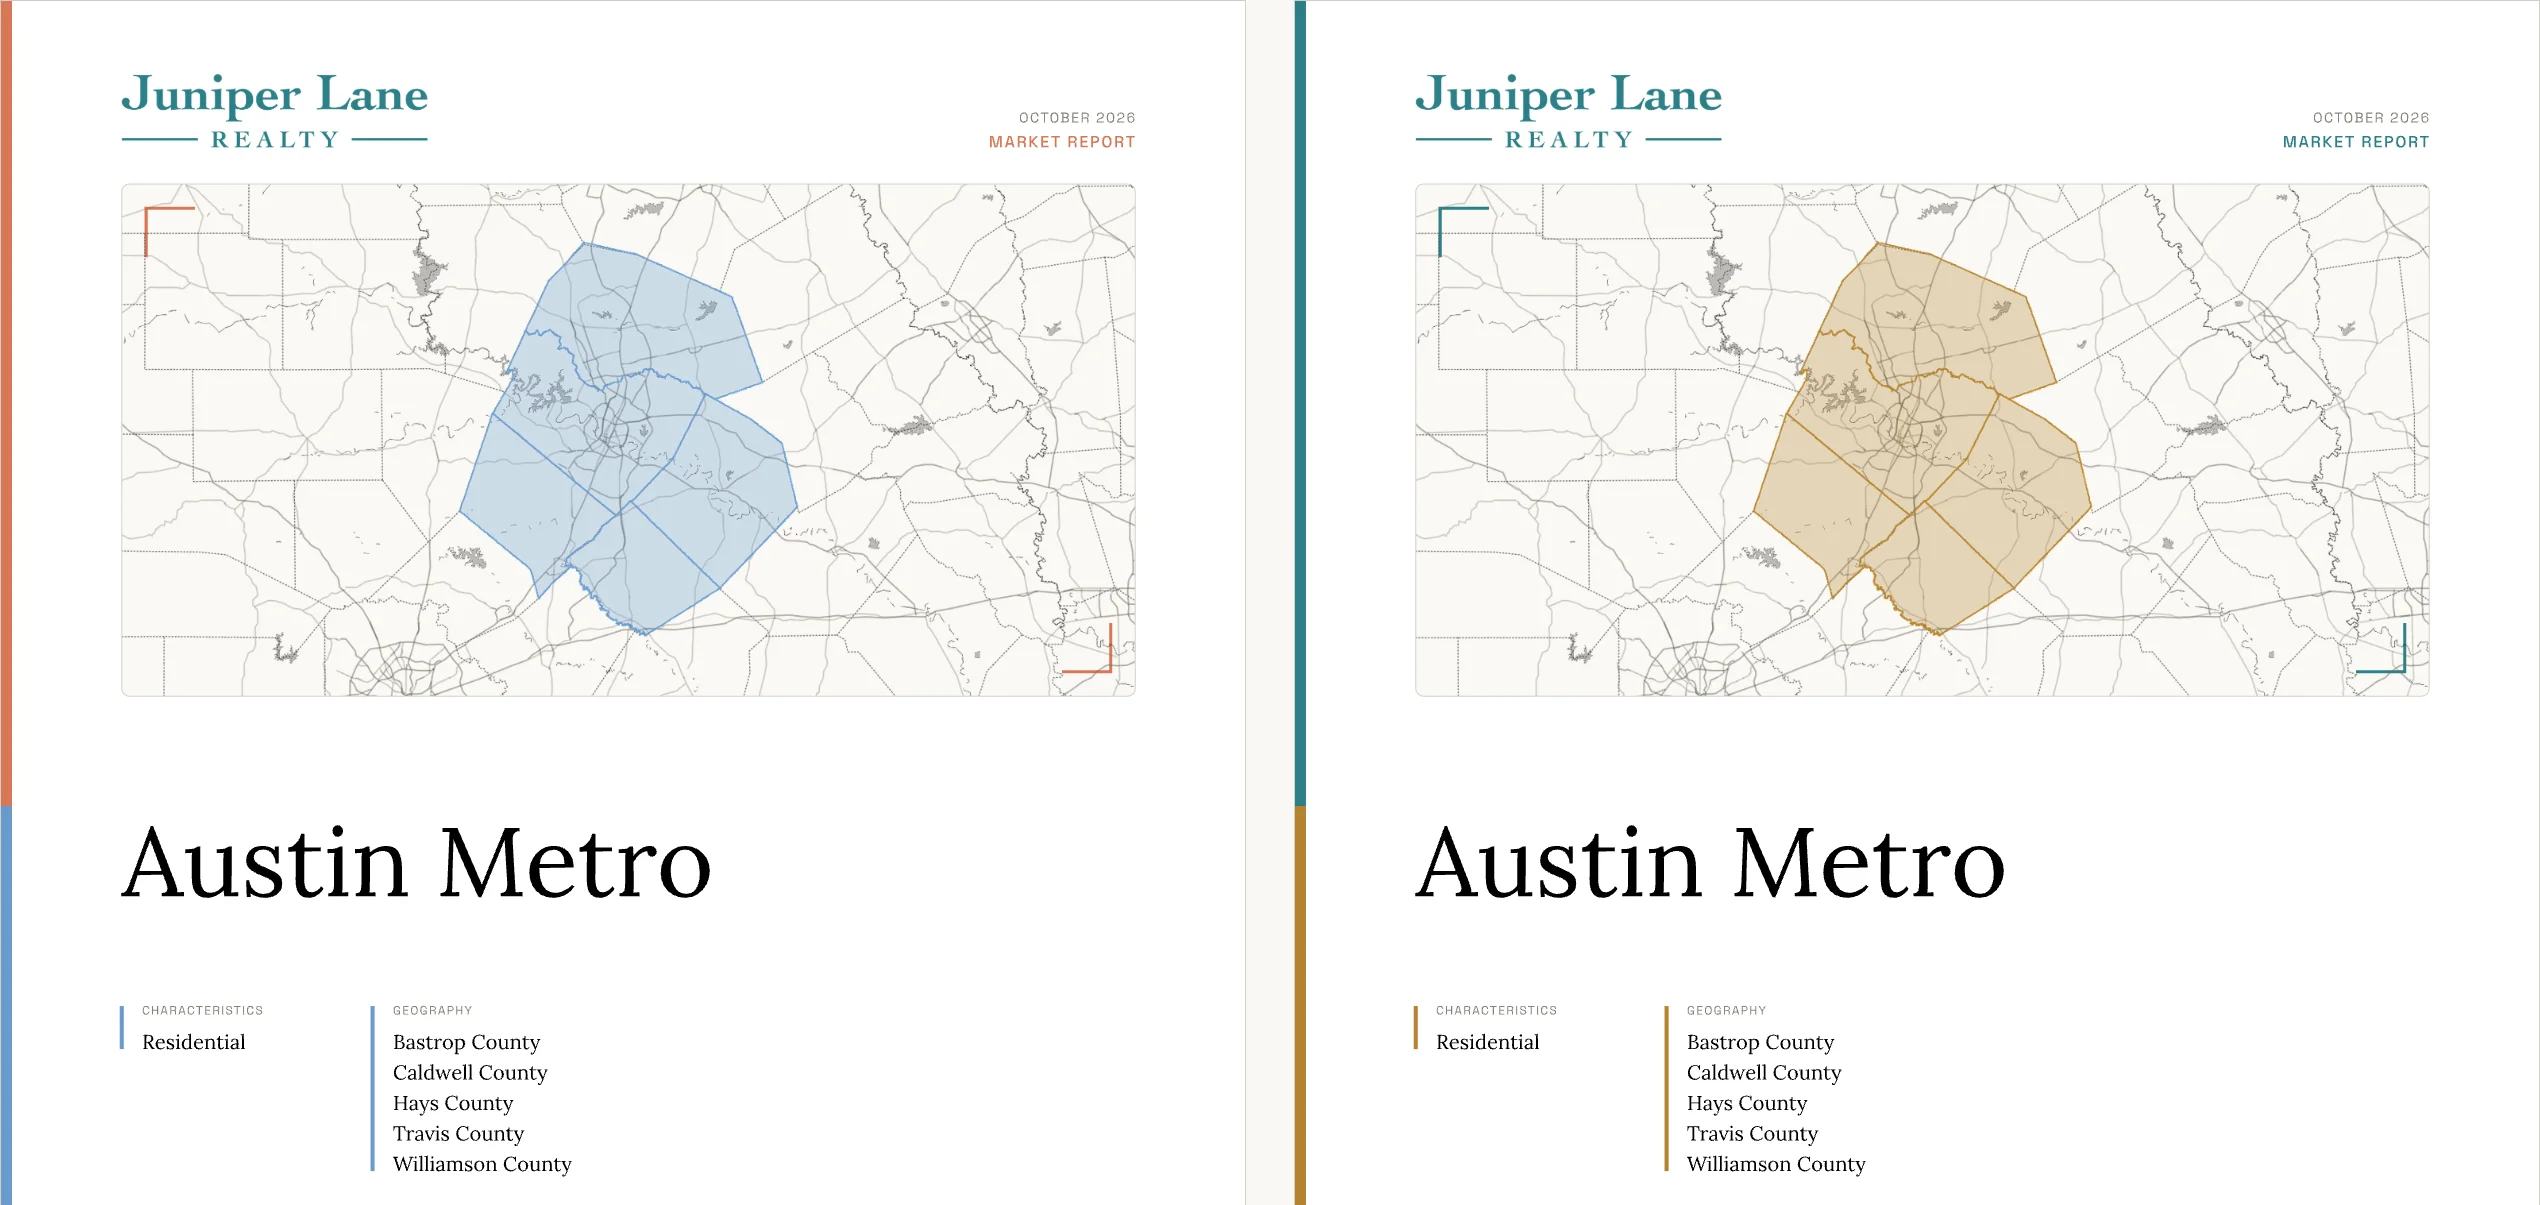
Primary colors the charts and bars, the MARKET REPORT label on the cover, the top of the stripe down the cover’s left edge, the corner marks on the cover map and the short accent lines at the top and bottom of the other pages. Secondary colors the area on the cover map, the bottom of the cover stripe and the lines beside the cover’s lists of characteristics and geography.
Your first report
The first time you open a new report, a Customize Report screen shows these same settings beside a preview of a report, as the Headshot & Settings page does. Changes you make there save as you type, so they are kept whichever button you select.
- Save & Generate makes the report, and the screen doesn’t appear again.
- Skip makes the report too, but the screen appears again with your next report, until you select Save & Generate.
What happens after you change a setting
- Reports you make from now on use the new settings.
- Reports you have already made don’t change. A report keeps the branding it had when it was made. To update one, make a new report.
- To style your social posts, see Style your templates.
If any of these settings were already filled in when you first opened the page, see Where your branding came from.