Your branding is what prints on every report: your name and contact lines, your brokerage’s name, address and logo, and two colors. Set it once from customize on the Reports page, and every report you make afterwards carries it.
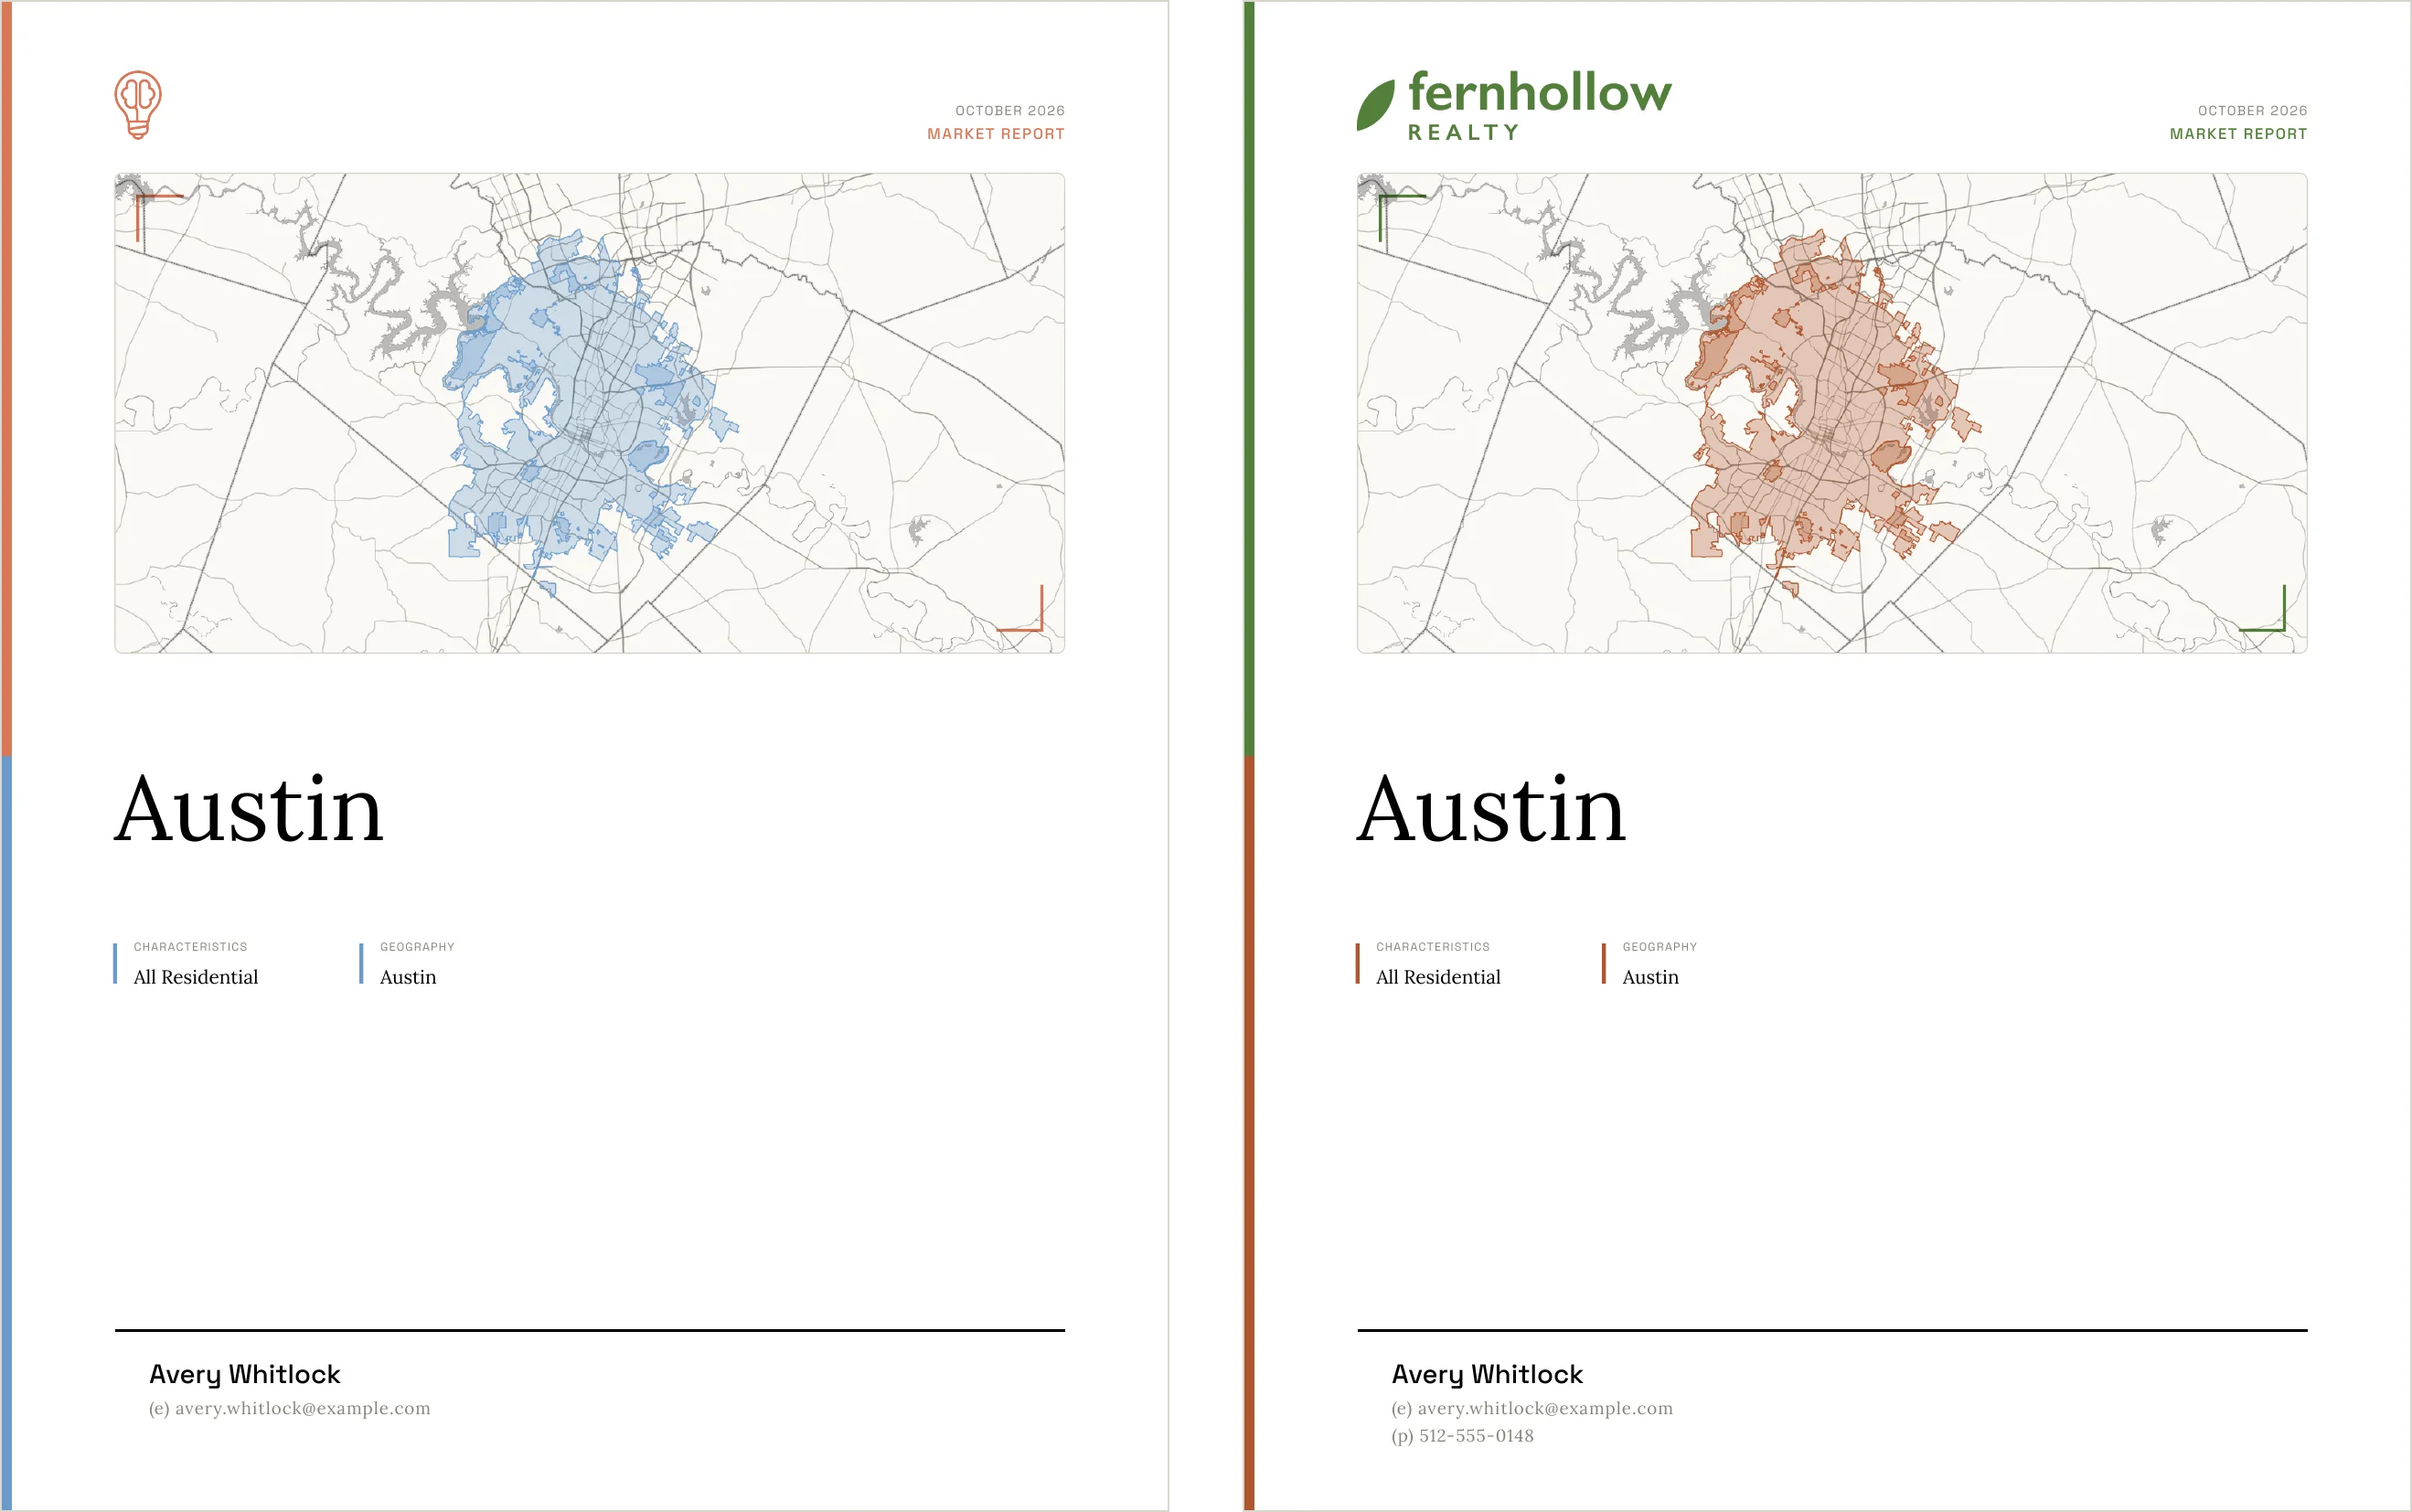
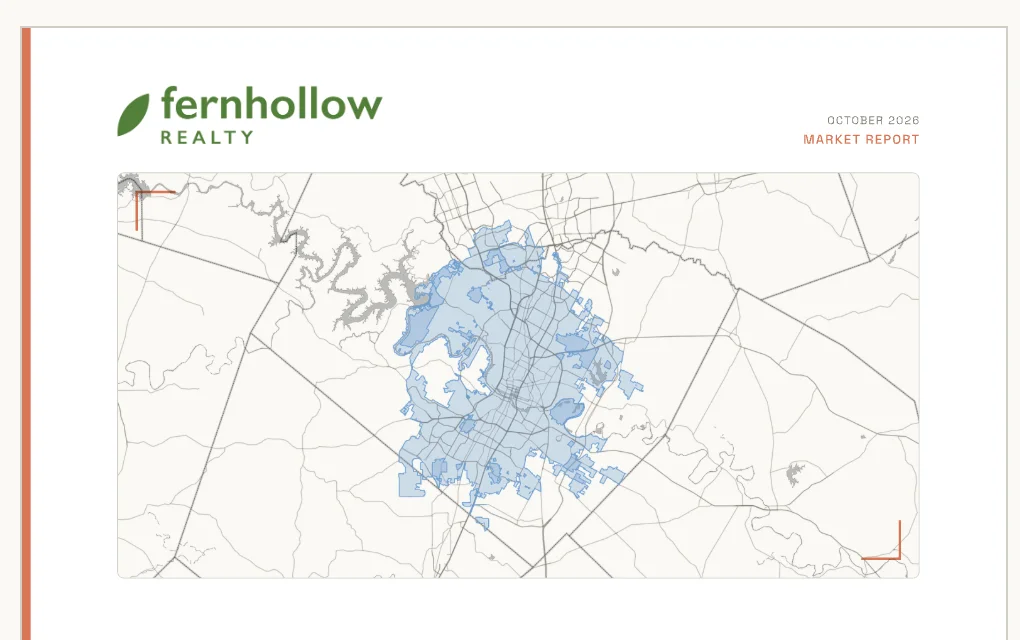
The cover on the left is a first report with nothing filled in for its logo or colors; the one on the right is the same market after the steps below. AgentIntel may already have filled in some of yours when you joined, so check what’s there as you go: Where your branding came from explains each piece.
Set up your branding
Select Reports in the left menu, then customize at the top right. On a phone or a narrow window, the button shows only its icon. The Headshot & Settings page opens, with a preview of a report on the left. There is no Save button: each change saves by itself, and the preview redraws.
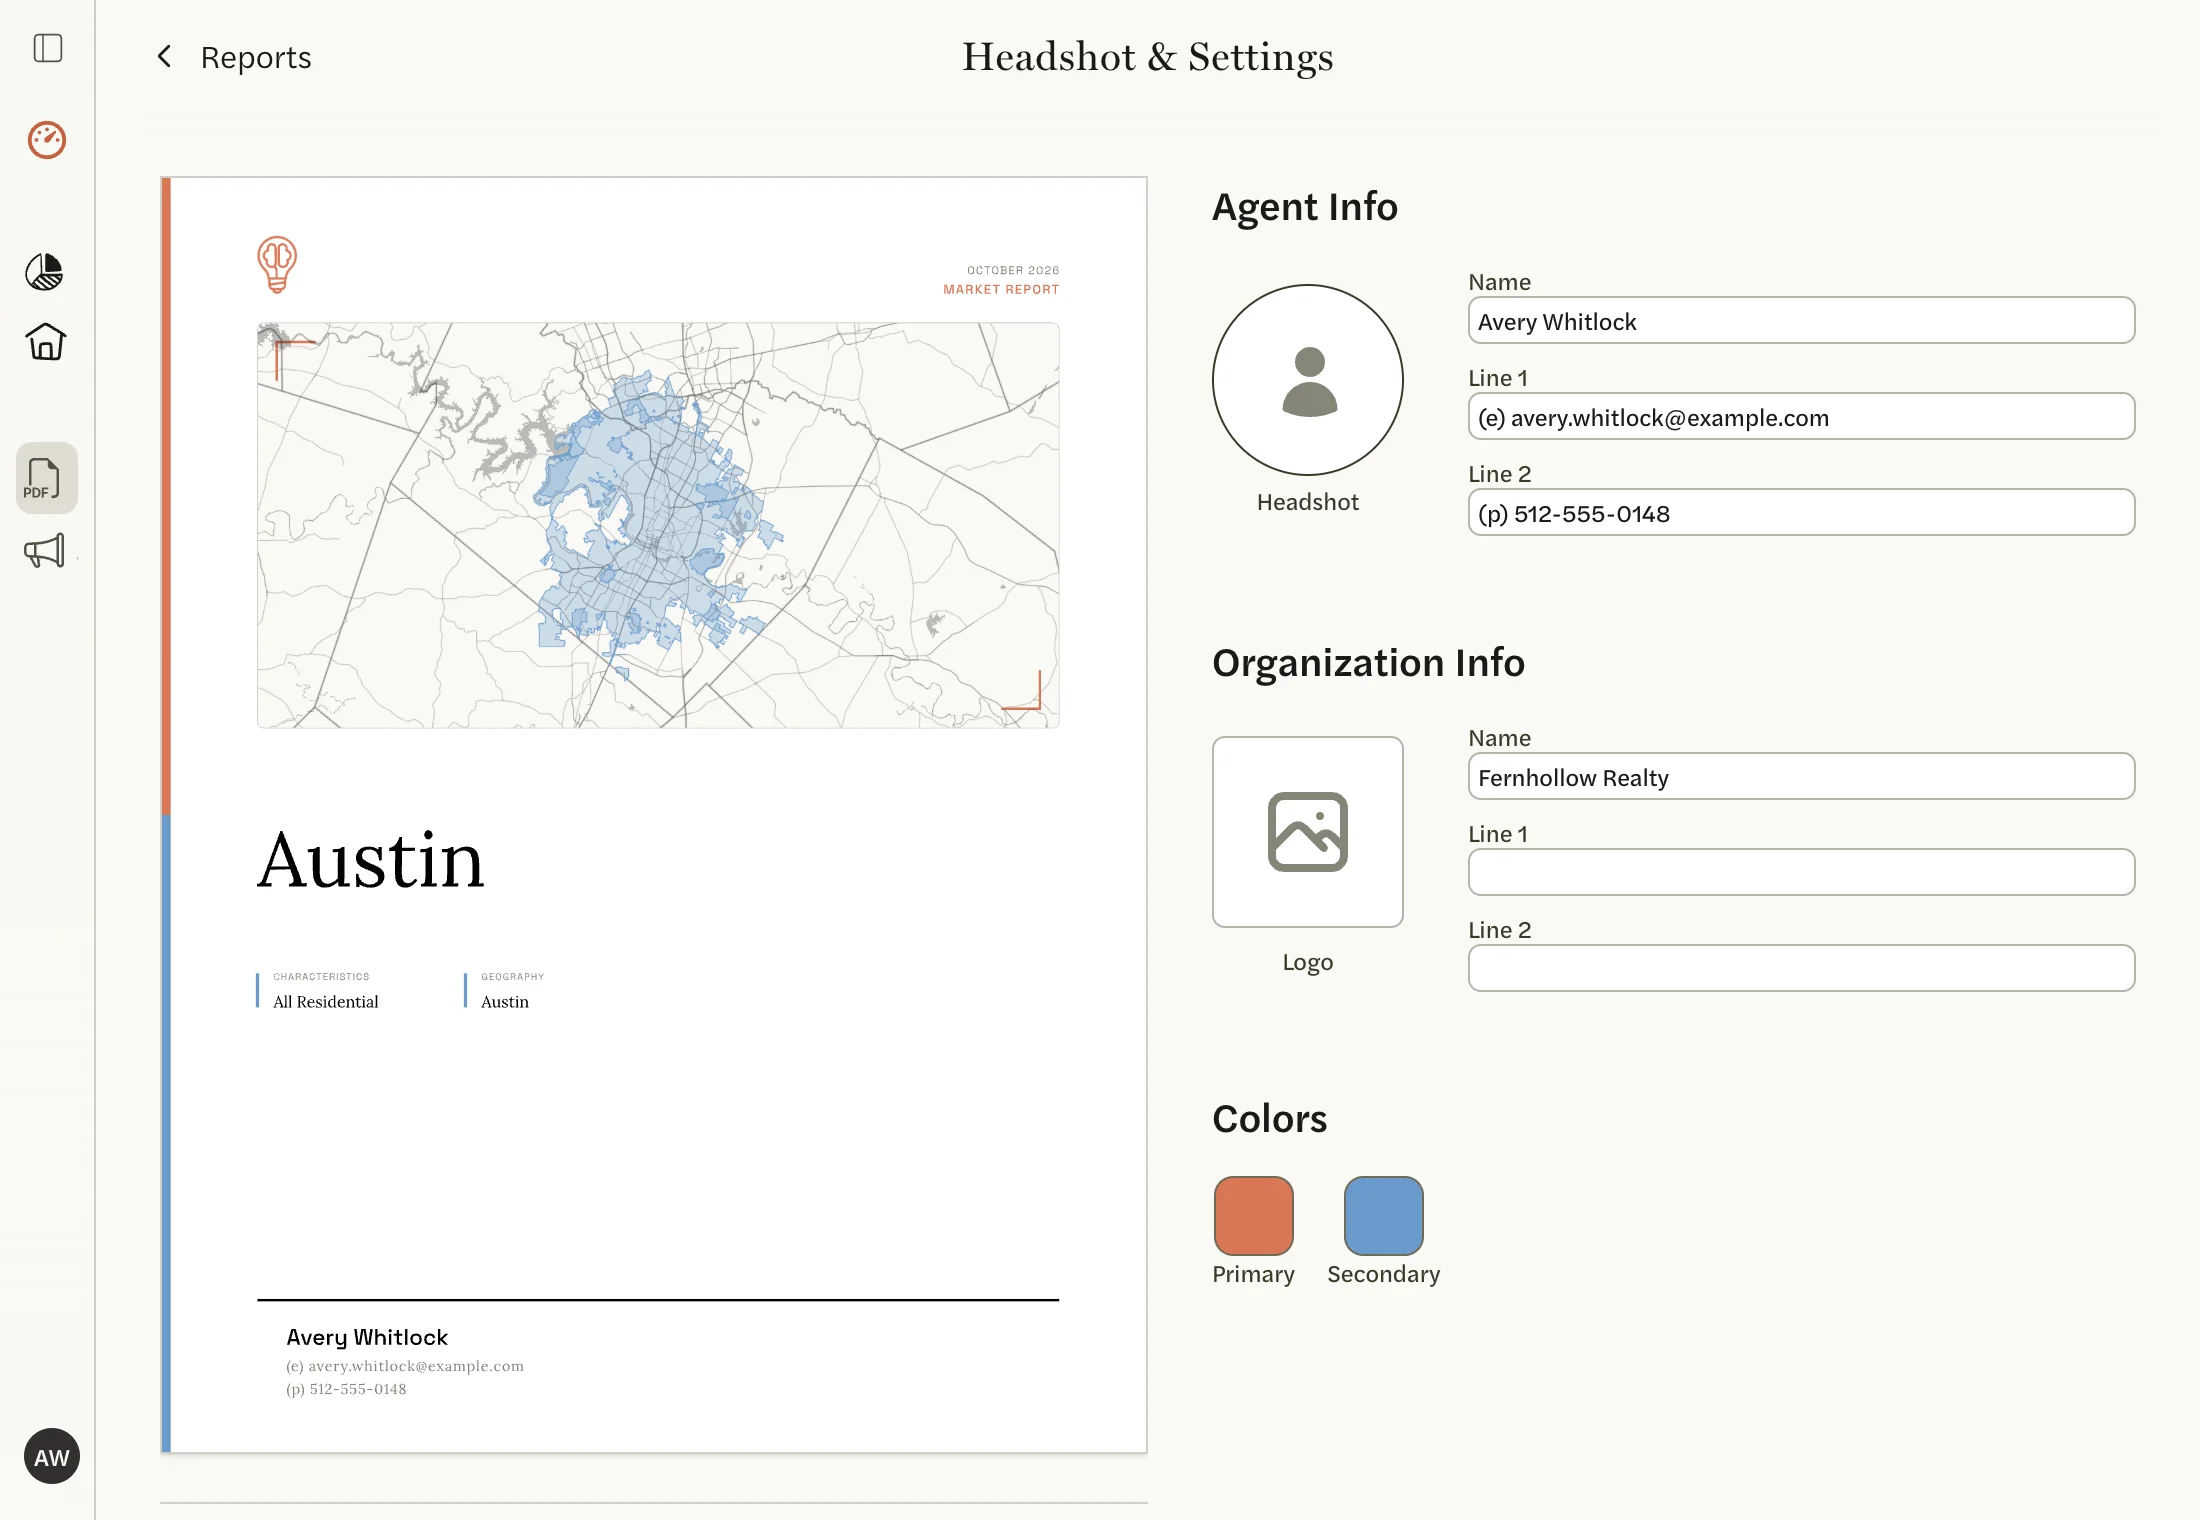
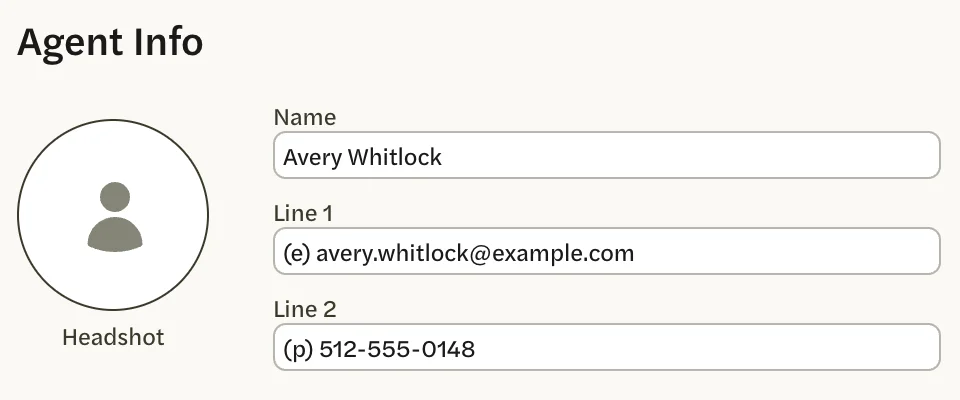
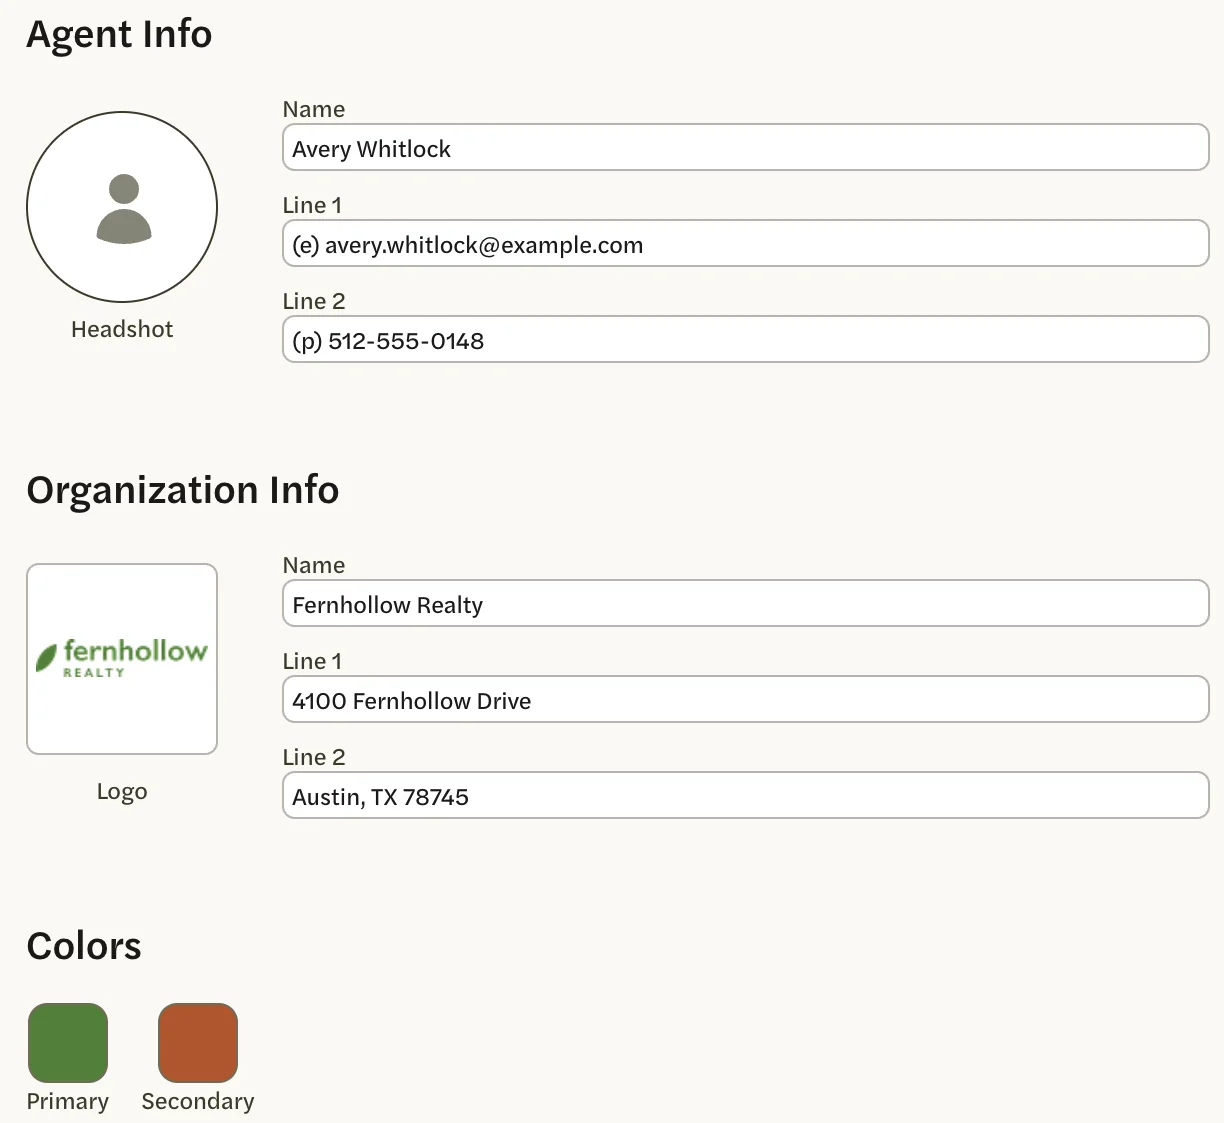
Under Agent Info, check Name, Line 1 and Line 2. Use the two lines for how clients reach you, such as your phone number and email address; each one is plain text.
Under Organization Info, enter your brokerage’s name in Name, and its street address and city in Line 1 and Line 2.
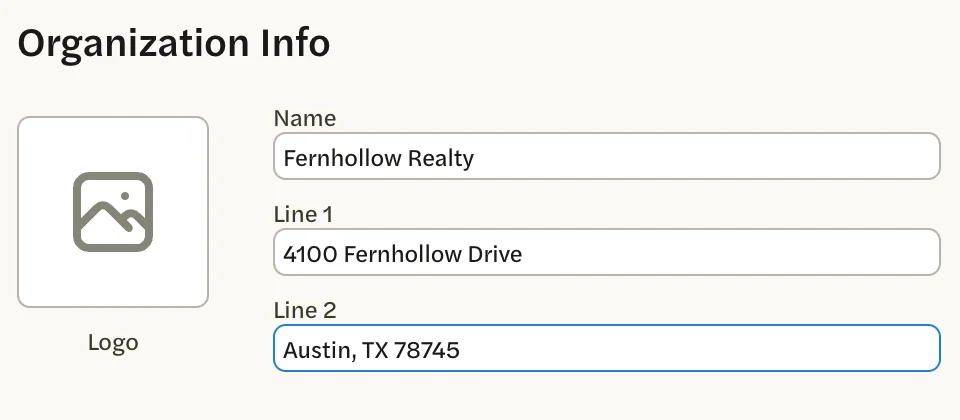
Select the Logo square. In the Logo Picker, select Manage if it isn’t already selected, then Click or Drag & Drop images anywhere, and choose your logo file.
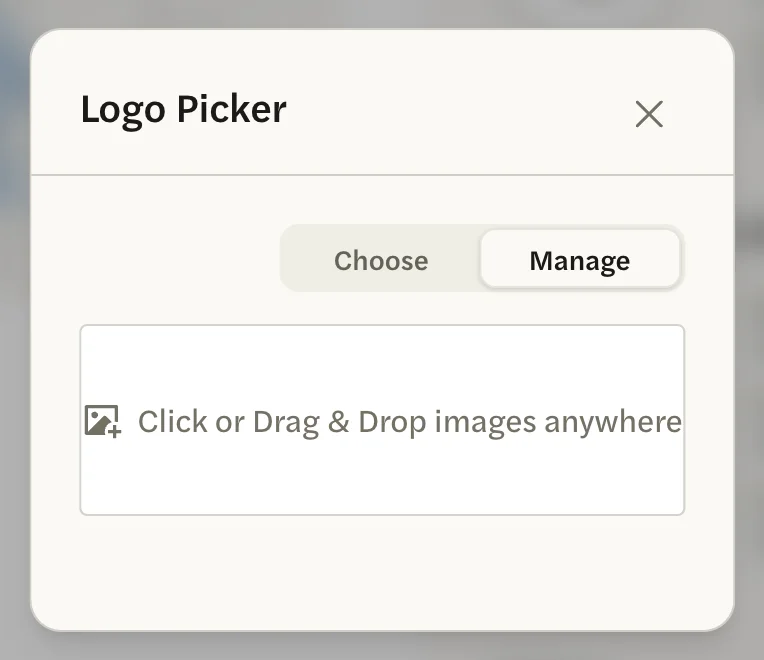
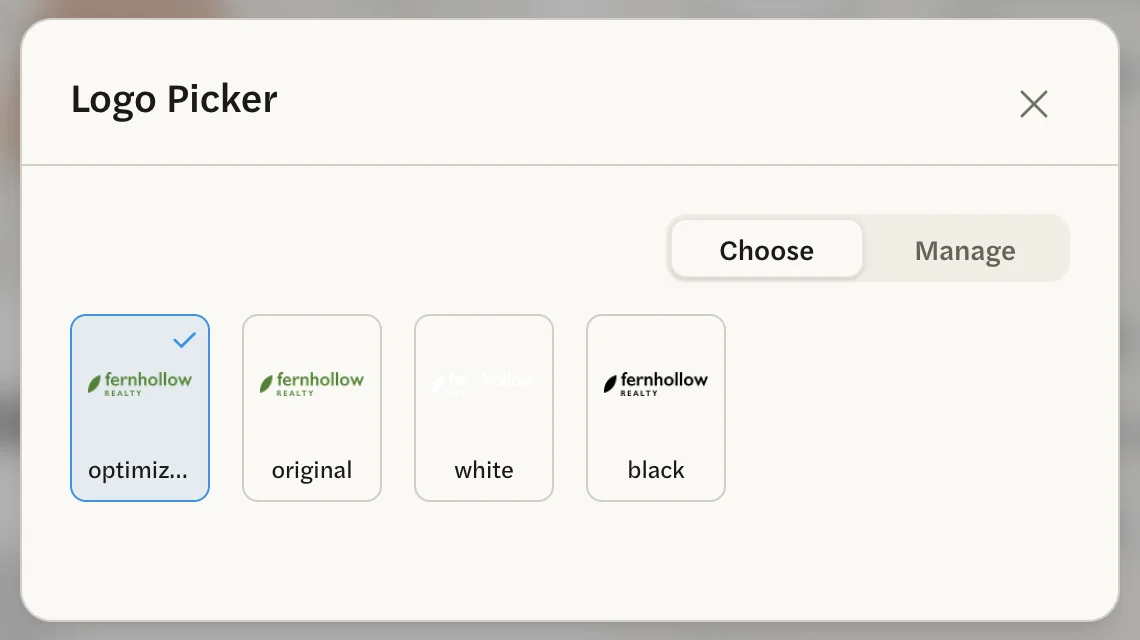
When the upload finishes, the picker shows the versions of your logo. Select the one you want on your reports, such as optimized, even if a version already shows a tick: your choice is saved only when you select it. Add and choose a logo explains each version. The picker closes, and the preview shows your logo.
Under Colors, select the Primary square. A color code needs the # and all six characters after it, such as #527F38; a shorter code isn’t saved. Type your code in the box under the color wheel, or pick the color on the wheel, then select update.
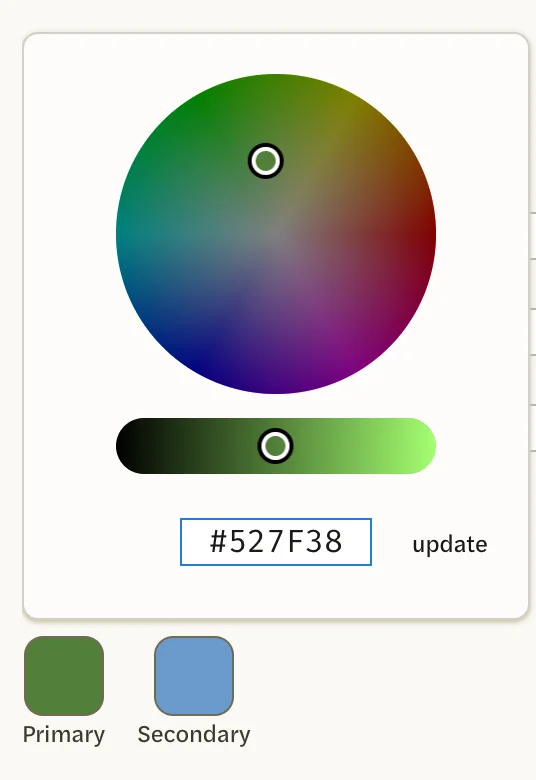
Do the same for Secondary. Primary colors the charts and most accents; Secondary colors the area on the cover map and the lower part of the stripe down the cover’s left edge. The full list is in Change your colors.
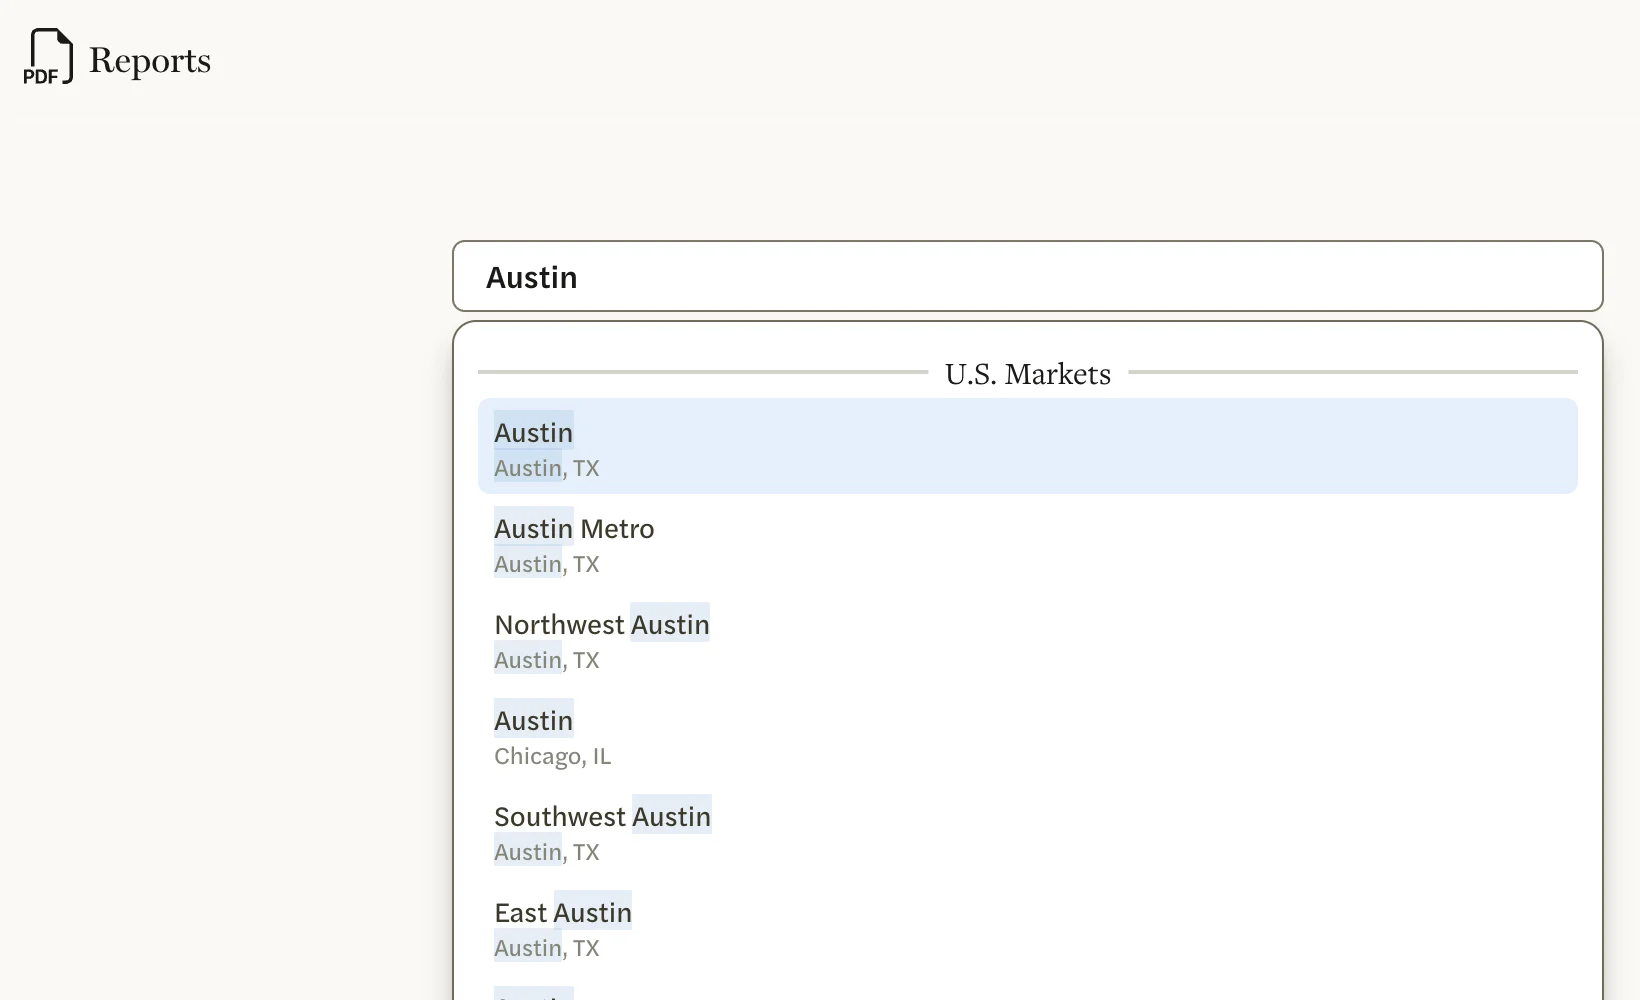
Make a new report to see your branding: on the Reports page, pick a market in the Generate a Report box. See Make your first report.
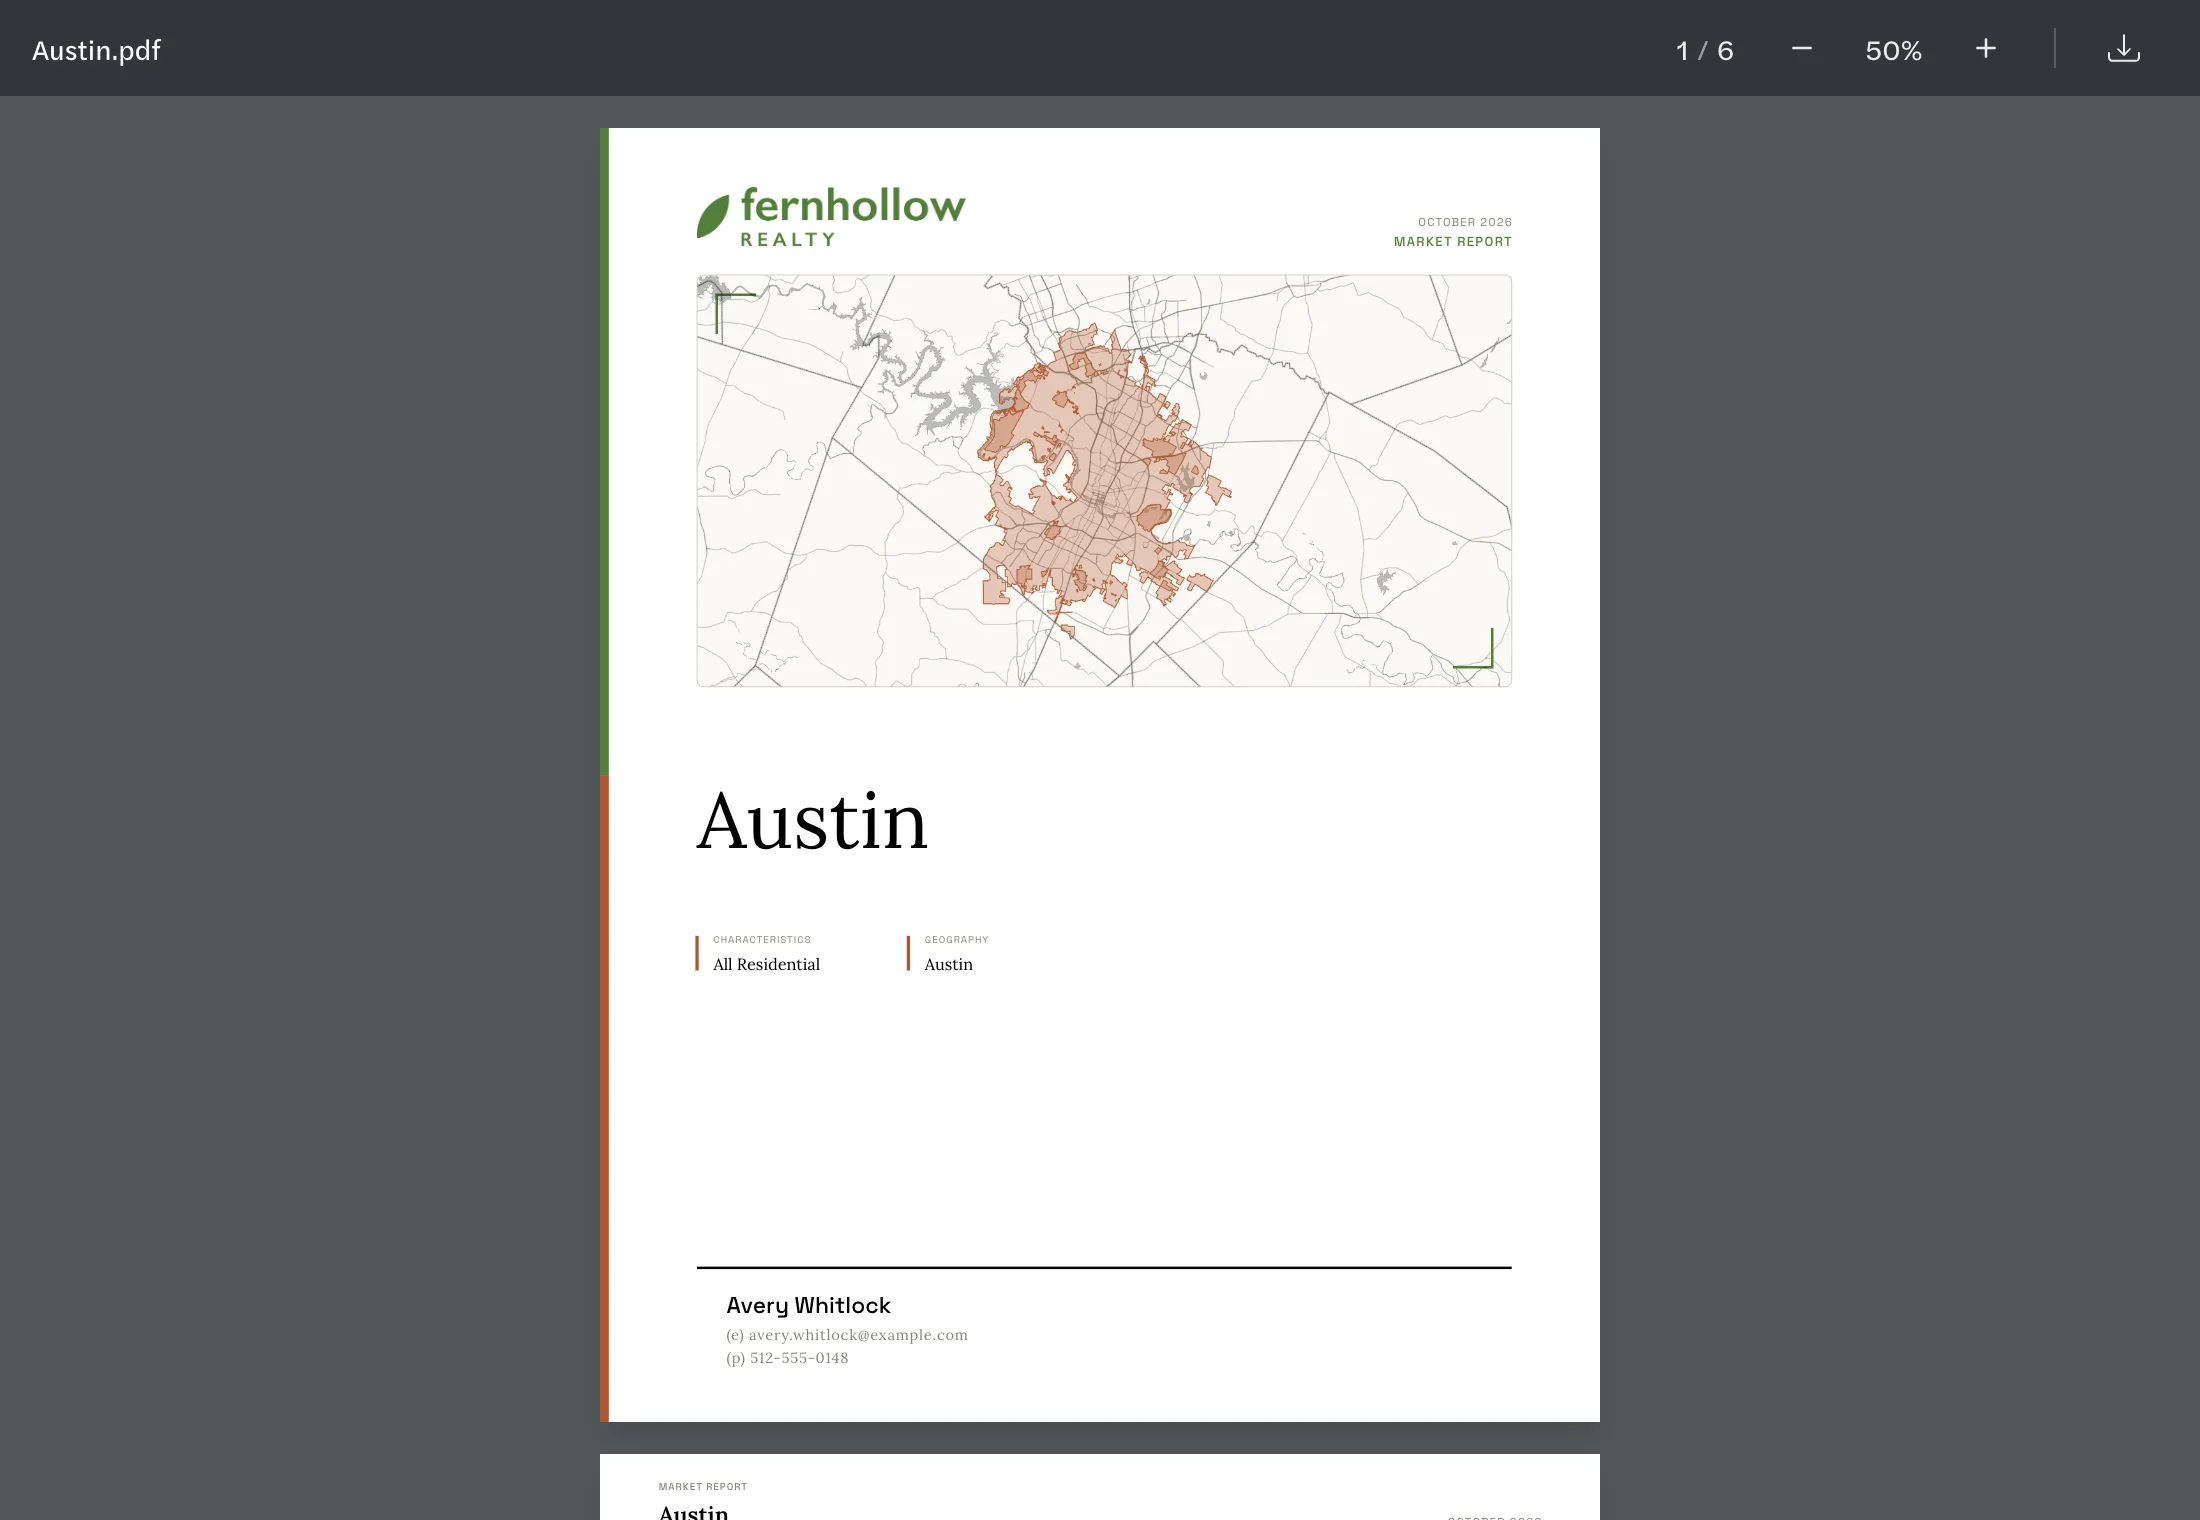
Your new report carries your branding. To add a photo of yourself, select the round Headshot circle under Agent Info; see Add or change your headshot.
If your first report’s Customize Report screen is open, it has these same settings: you can do steps 2 to 7 there, then select Save & Generate.
On a team, you may have been given your team’s logo, colors and brokerage lines when you were invited. You can still change your own copy here. See Team branding for reports and social.
What happens next
- Reports you make from now on use your branding.
- Reports you have already made don’t change. A report keeps the branding it was made with. To update one, make a new report on the same market; the earlier report stays on your Reports page, because reports can’t be deleted.
- Your social posts are styled separately. See Style your templates.
Change it later
Select customize on the Reports page at any time and change any setting; reports you make after that use the change. To replace your logo, add the new one and select a version of it, then remove the old one: see Add and choose a logo. There is no option to print no logo.