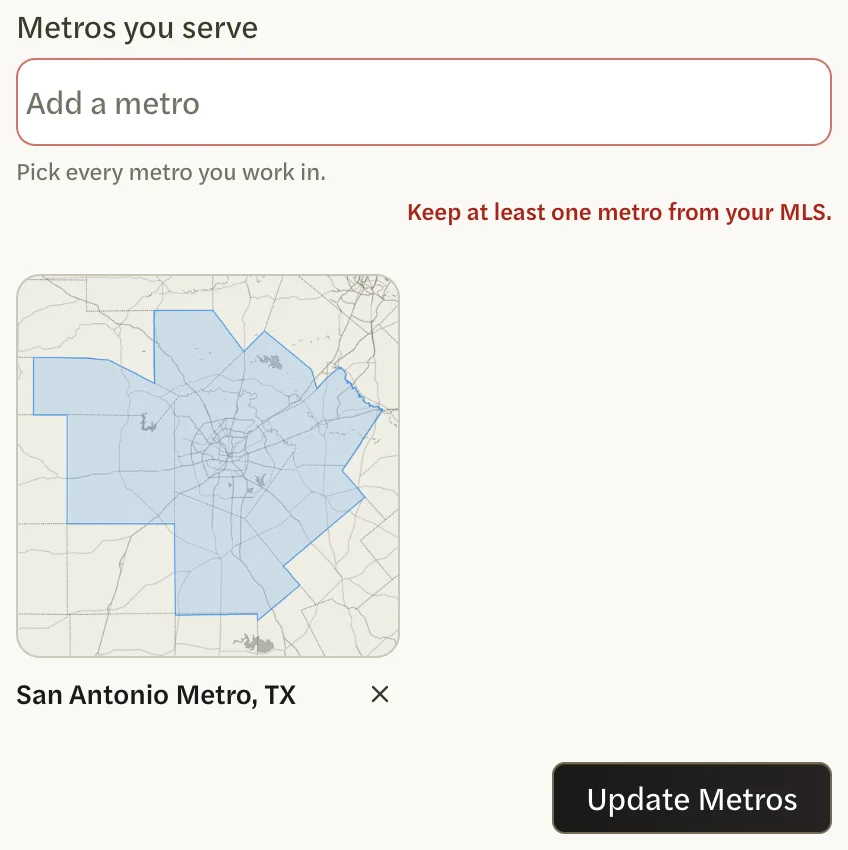
Your metros are the metro areas you work in. They decide which national markets the Markets page lists, and address suggestions lean toward them. You change them in Settings, on the Metros tab.
Choose your metros
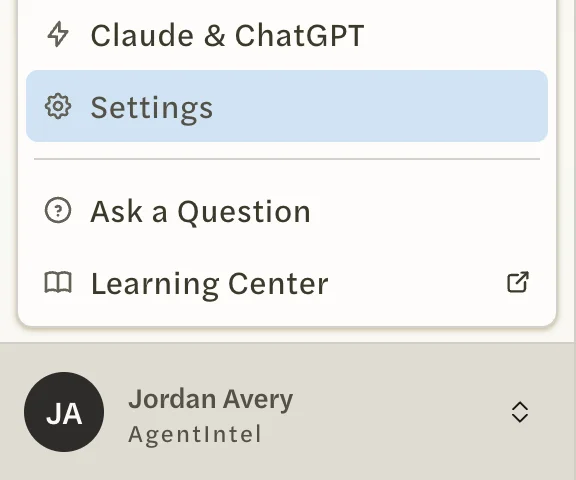
Select your name at the bottom of the left menu, then Settings.
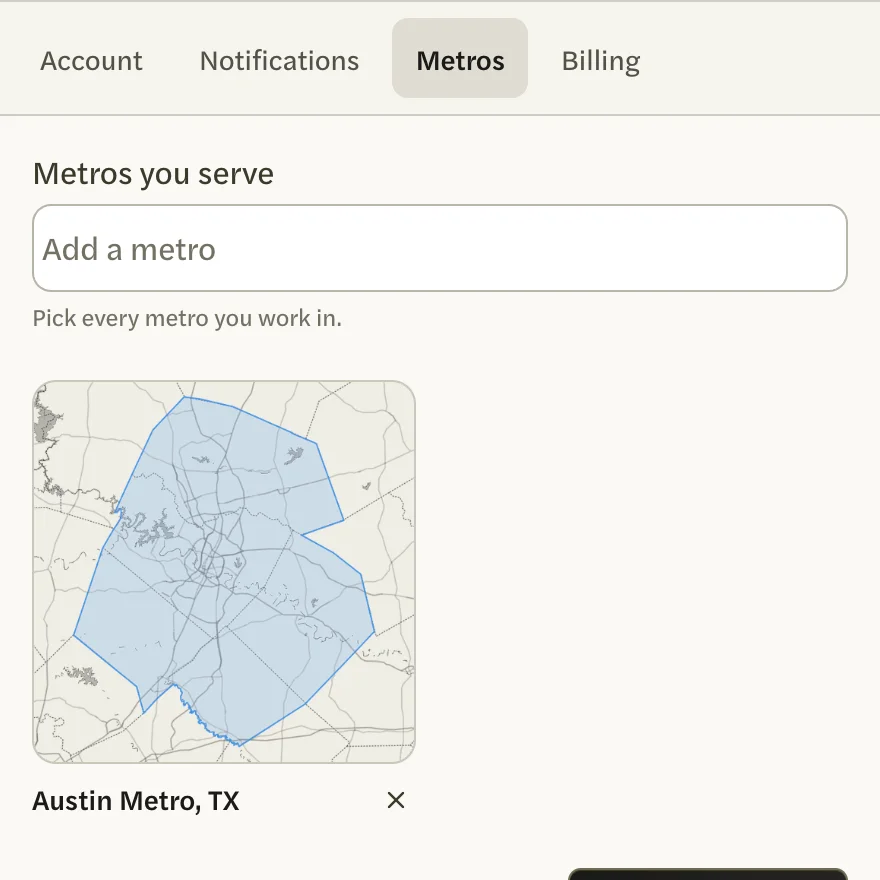
Open the Metros tab. Each metro you have chosen shows as a small map under Metros you serve.
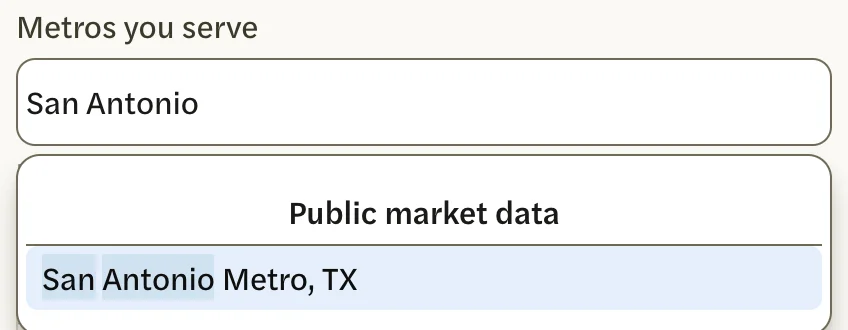
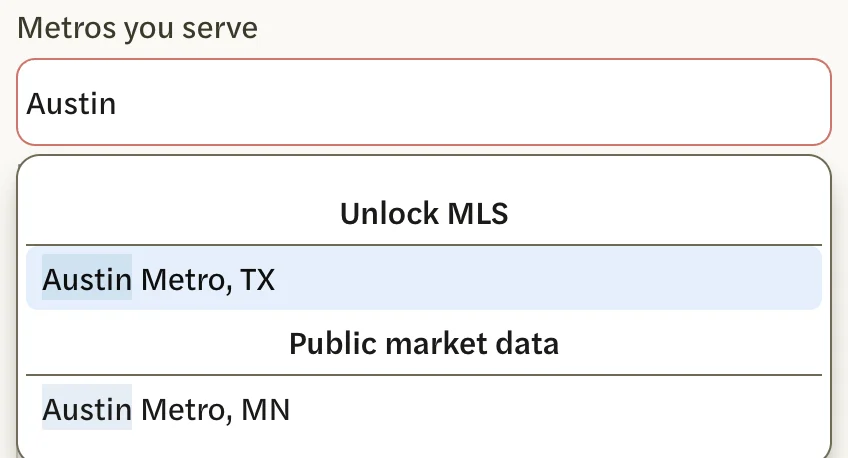
To add a metro, select Add a metro, type its name and choose it from the list. Its map joins the others.
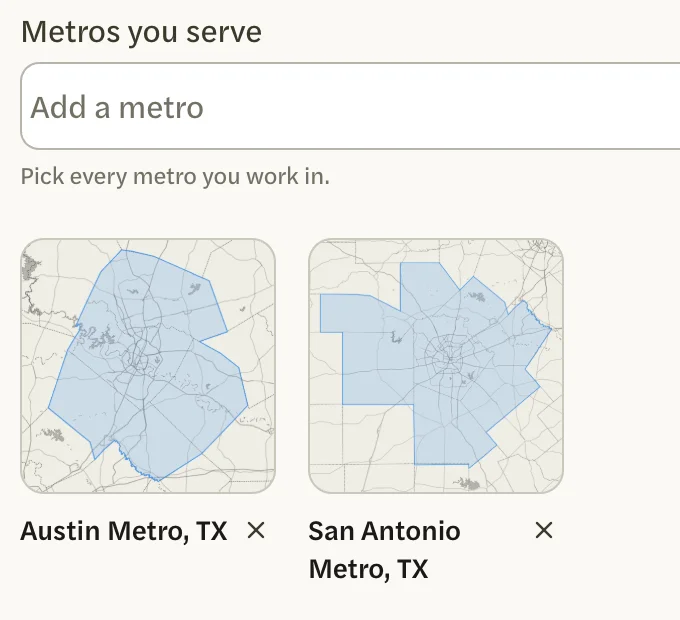
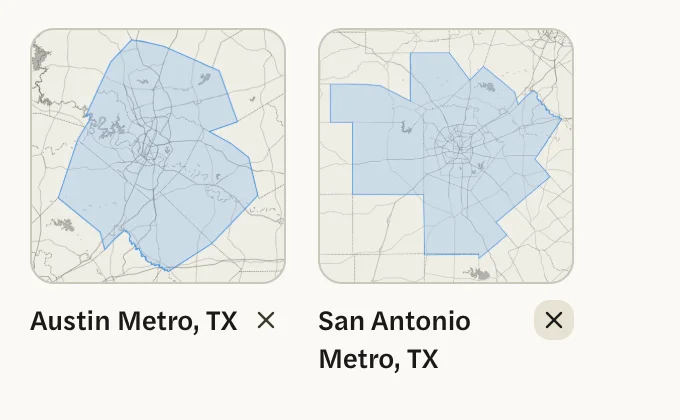
To remove a metro, select the X beside its name.
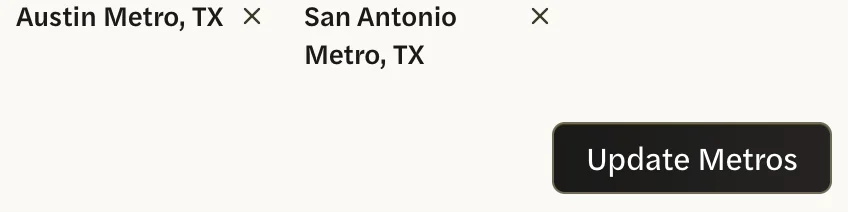
Select Update Metros.
The Markets page reflects your new metros the next time you open it.
The Metros tab is part of the agent side of AgentIntel. On a team, the account owner, agents and anyone with Both have it; someone with the Admin role doesn’t. See Roles on a team.
In the list, the metros your MLS covers are grouped under your MLS’s name, and every other metro under Public market data. The list holds the metros AgentIntel has national data for.
What your metros change
-
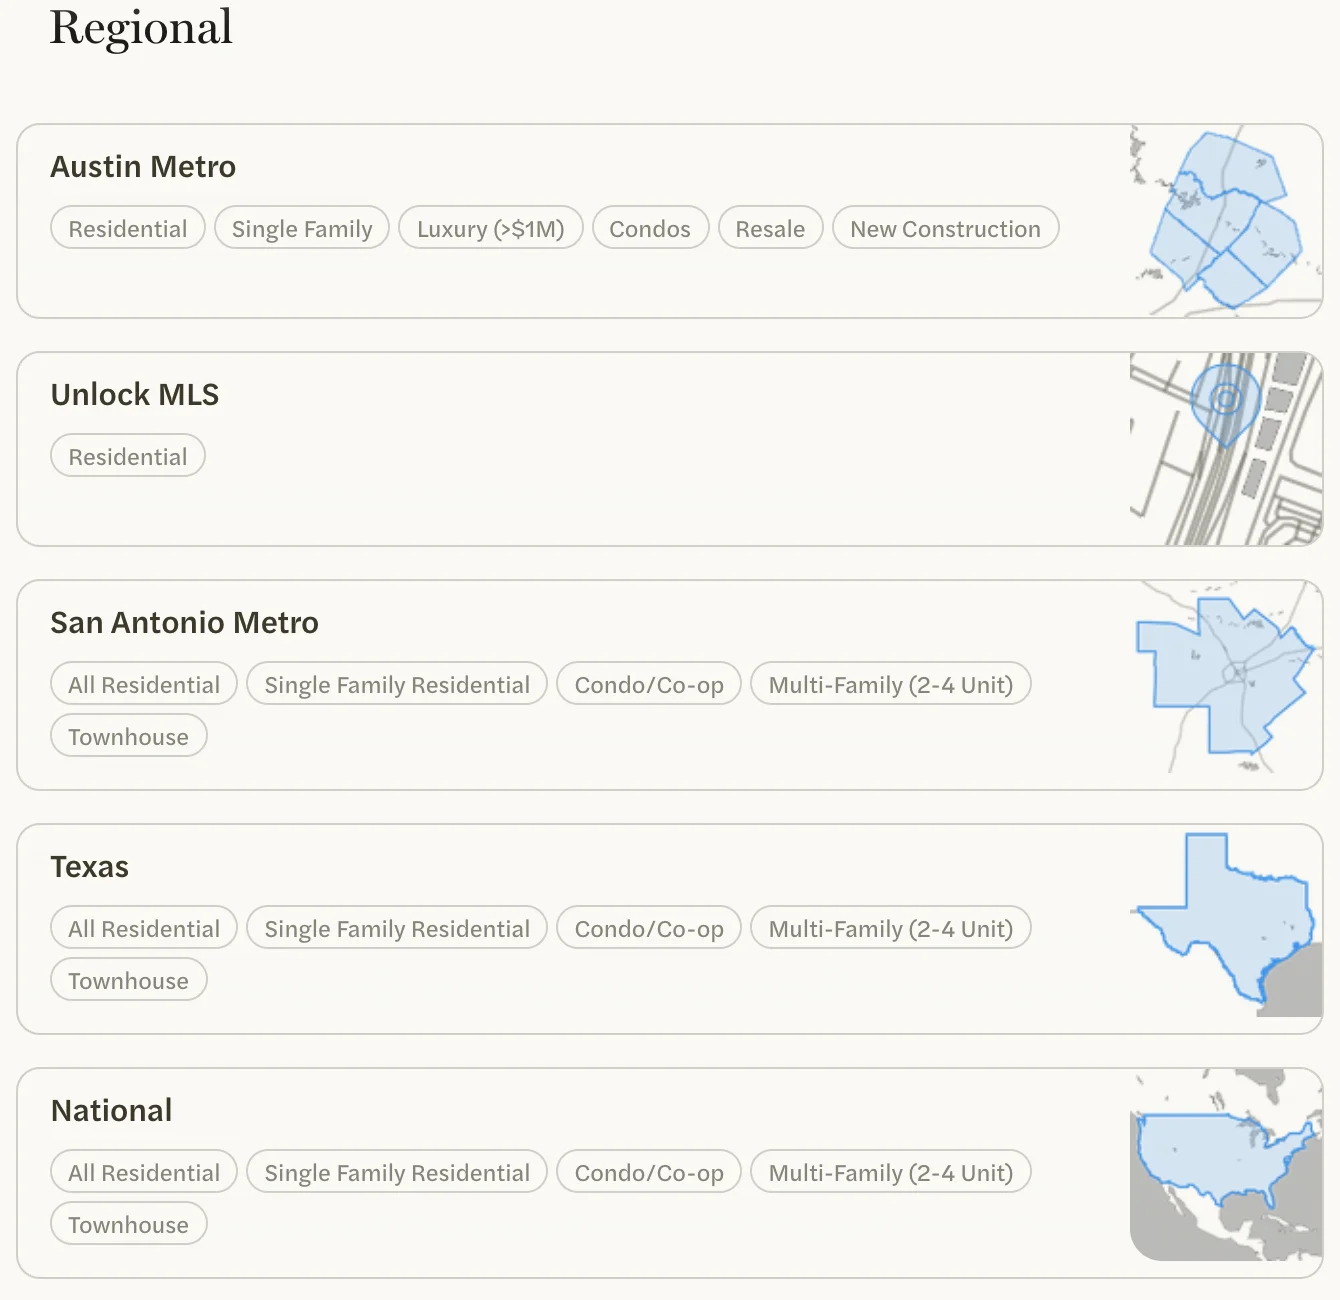
The Markets page. With an MLS Connection, your MLS’s markets come first in each section, and the national markets of your other metros follow them. Adding San Antonio Metro to an Austin account, for example, adds three cards to Regional (San Antonio Metro, Texas and National) and San Antonio’s neighborhoods, zip codes, cities and counties to the other sections. Without an MLS Connection, the page lists the national markets of the metros you choose.
-
Address suggestions. When you type a street address to look up, suggestions lean toward your metros.
Your metros don’t limit search. Search Markets still finds national markets anywhere in the country; see Find a market.
Limits
You always need at least one metro, and nothing is saved until the list follows these rules:
- With an MLS Connection, keep at least one metro your MLS covers. Remove it and Update Metros shows Keep at least one metro from your MLS. Add it back and select Update Metros again.
- Without one, removing every metro shows Pick at least one metro.